Finding the perfect fall dessert that feeds a crowd without spending hours in the kitchen can be tough. Between work, family activities, and everything else on your plate, you need something that comes together quickly but still tastes homemade and seasonal.
That’s where these sheet pan pumpkin bars come in. Made with Libby’s canned pumpkin, they’re incredibly easy to whip up, bake in one pan, and yield plenty of servings for potlucks, bake sales, or just keeping your family happy all week long.
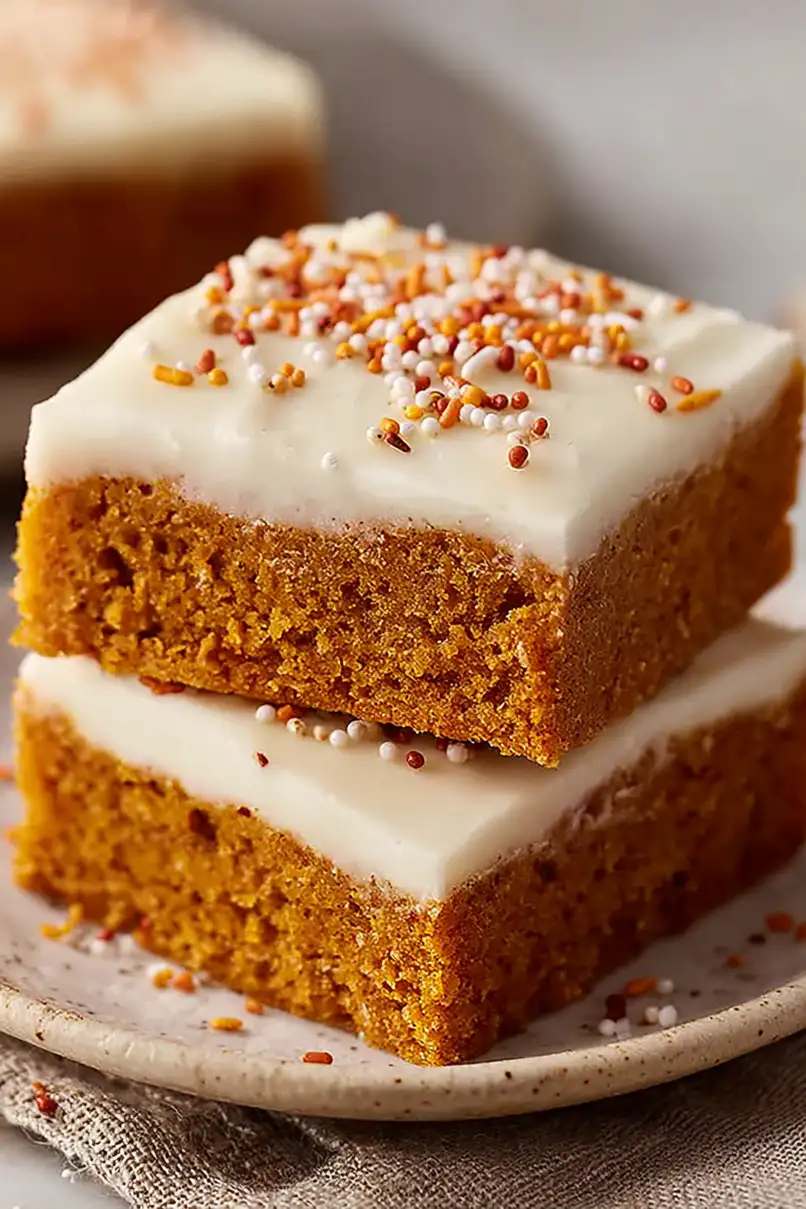
Why You’ll Love These Pumpkin Bars
- Quick and easy dessert – These pumpkin bars come together in under 45 minutes, making them perfect for last-minute gatherings or when you need a sweet treat fast.
- Sheet pan convenience – Baking everything on one pan means less cleanup and more bars to share with friends and family.
- Perfect fall flavor – The combination of pumpkin puree, cinnamon, and pumpkin pie spice gives you all those cozy autumn vibes in every bite.
- Crowd-pleaser – With a creamy frosting and fun toppings, these bars are always a hit at potlucks, bake sales, or holiday parties.
- Simple ingredients – You probably have most of these pantry staples on hand already, and Libby’s pumpkin puree is easy to find at any grocery store.
What Kind of Pumpkin Puree Should I Use?
Libby’s is the go-to brand for pumpkin puree and it’s what I recommend for these bars, but any 100% pure pumpkin puree will work just fine. The key thing is to make sure you’re buying pumpkin puree and not pumpkin pie filling – pie filling already has sugar and spices added, which will throw off your recipe. You’ll find the canned pumpkin in the baking aisle at most grocery stores, and it’s usually available year-round, not just during fall. If you want to use fresh pumpkin, you can roast and puree your own, but honestly, canned pumpkin is more consistent and saves you a ton of time.
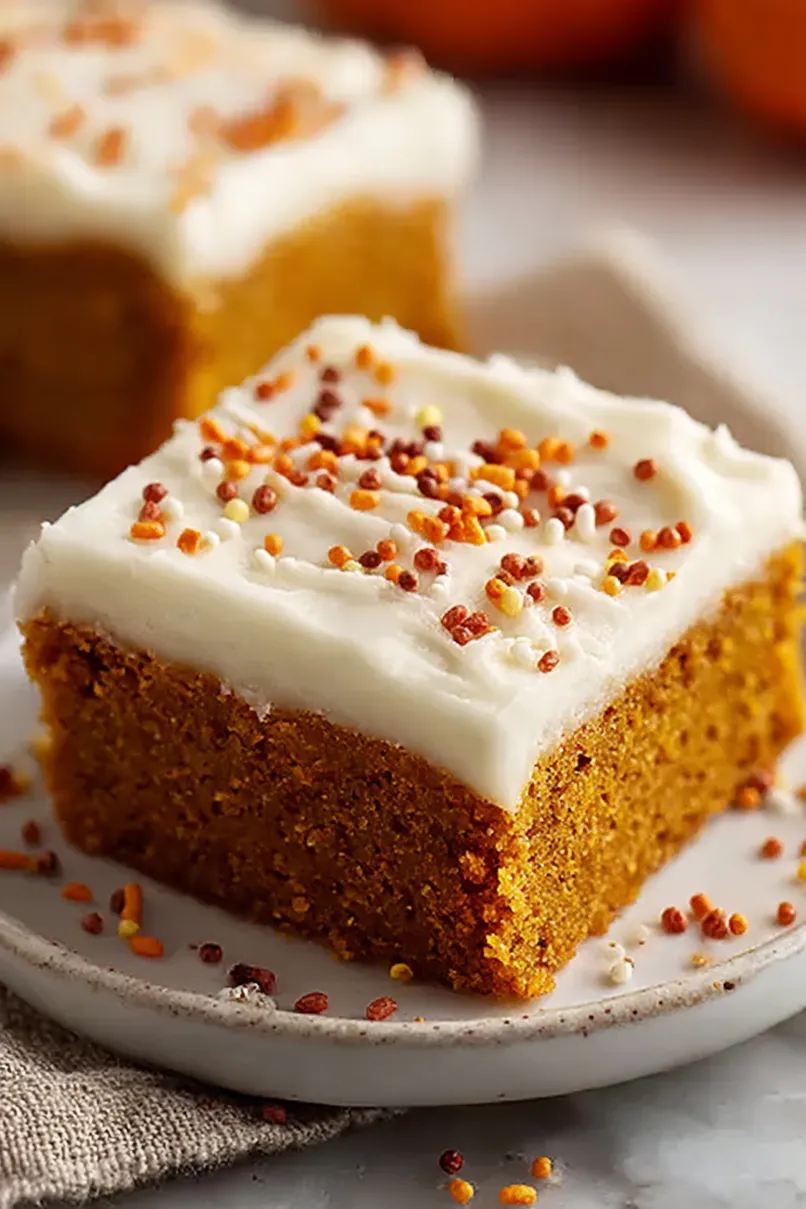
Options for Substitutions
These pumpkin bars are pretty forgiving when it comes to swaps, so here are some options if you need them:
- Pumpkin puree: You can use any brand of pure pumpkin puree – just make sure it’s 100% pumpkin and not pumpkin pie filling, which already has spices and sugar added.
- Pumpkin pie spice: Don’t have pumpkin pie spice? Mix together ½ teaspoon ground ginger, ¼ teaspoon ground nutmeg, and ¼ teaspoon ground cloves as a substitute.
- All-purpose flour: You can swap in whole wheat flour for half the amount if you want a heartier texture, but I’d keep at least 1 cup of all-purpose flour to maintain the right consistency.
- Butter: If you need a dairy-free option, use plant-based butter sticks (not spreads) in the same amounts. The texture will be slightly different but still tasty.
- Cream cheese frosting: For a lighter option, you can make a simple glaze instead using 2 cups confectioners’ sugar mixed with 3-4 tablespoons milk and the vanilla extract.
- Decorative toppings: The sprinkles and candies are totally optional – feel free to skip them or use whatever you have on hand like chopped pecans or a simple dusting of cinnamon.
Watch Out for These Mistakes While Baking
The biggest mistake when making pumpkin bars is using pumpkin pie filling instead of pure pumpkin puree – the filling already contains sugar and spices, which will throw off your recipe’s balance and make the bars overly sweet.
Overmixing the batter can lead to tough, dense bars, so mix just until the ingredients are combined and you no longer see streaks of flour.
Make sure your butter and cream cheese are truly softened to room temperature before starting, as cold ingredients won’t blend properly and can create lumps in both the batter and frosting.
To get perfectly even bars, let them cool completely before frosting – warm bars will melt the cream cheese frosting and turn it into a runny mess, and use an offset spatula to spread the frosting smoothly across the top.
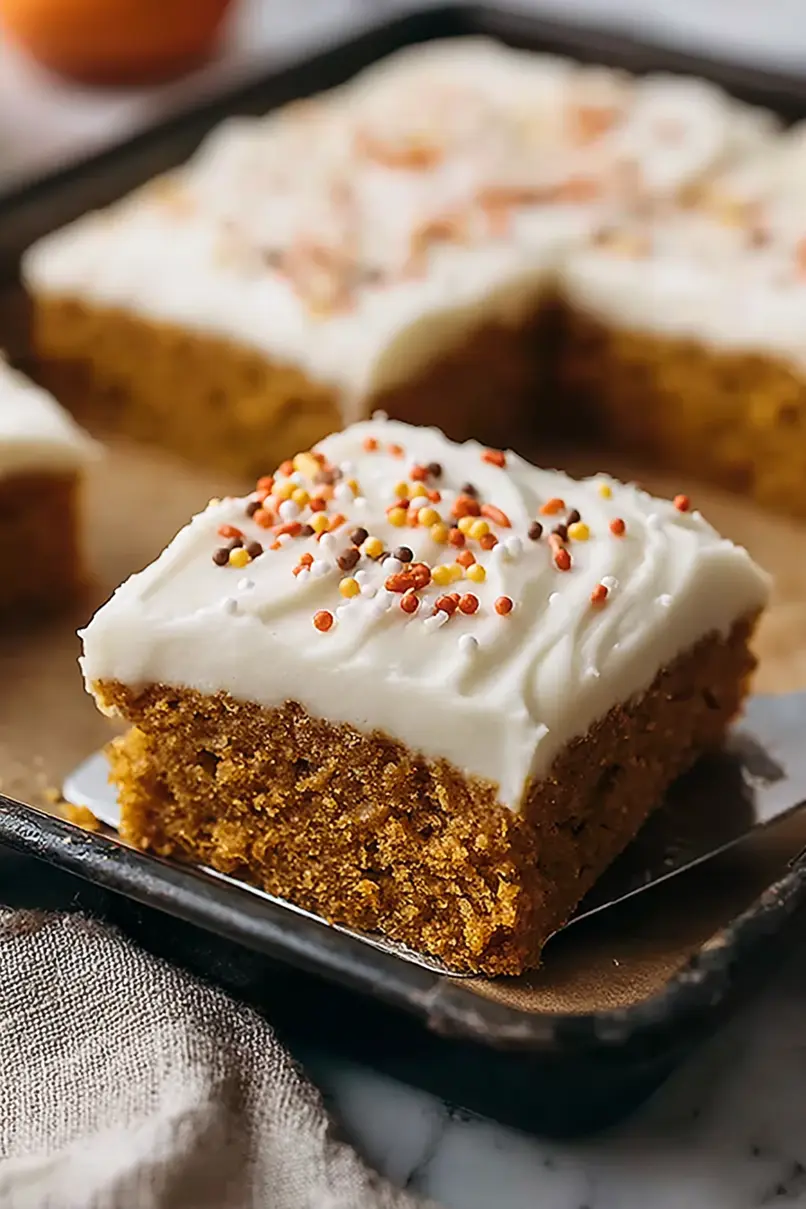
What to Serve With Pumpkin Bars?
These pumpkin bars are pretty sweet and rich on their own, so they pair really well with a hot cup of coffee or spiced chai tea to balance out the sweetness. If you’re serving them at a fall gathering, set out a pitcher of cold apple cider or warm mulled cider alongside them. They also go great with a scoop of vanilla ice cream if you want to turn them into a full-on dessert, or just enjoy them as an afternoon snack with a glass of cold milk.
Storage Instructions
Store: These pumpkin bars stay moist and delicious when kept in an airtight container in the fridge for up to 5 days. The cream cheese frosting needs to be refrigerated, so don’t leave them out on the counter for too long. They actually taste even better the next day once all the flavors have had time to settle in!
Freeze: You can freeze these bars for up to 3 months, which is great for making them ahead for parties or holiday gatherings. I like to freeze them unfrosted in a single layer first, then wrap them well in plastic wrap and foil. You can also freeze them already frosted, just make sure they’re completely frozen before wrapping so the frosting doesn’t smudge.
Serve: Let frozen bars thaw in the refrigerator overnight, or at room temperature for about an hour. If you froze them without frosting, just whip up a fresh batch of cream cheese frosting and spread it on once they’re thawed. They’re best enjoyed slightly chilled or at room temperature.
| Preparation Time | 15-20 minutes |
| Cooking Time | 20-25 minutes |
| Total Time | 35-45 minutes |
| Level of Difficulty | Medium |
Estimated Nutrition
Estimated nutrition for the whole recipe (without optional ingredients):
- Calories: 5400-5800
- Protein: 45-55 g
- Fat: 210-230 g
- Carbohydrates: 830-880 g
Ingredients
For the pumpkin bars:
- 2 cups all-purpose flour (King Arthur all-purpose flour works great)
- 1 1/2 cups sugar
- 2 tsp baking powder
- 1 cup butter, softened (room temperature for easier creaming)
- 1 tsp baking soda
- 4 large eggs (room temperature for better mixing)
- 1/2 tsp salt
- 1 tsp pumpkin pie spice
- 15 oz can pumpkin puree (Libby’s brand recommended for consistent texture)
- 2 tsp ground cinnamon (freshly ground preferred for more flavor)
For the cream cheese frosting:
- 1/4 cup butter, softened
- 8 oz cream cheese, softened (room temperature for smooth frosting)
- 1 tsp vanilla extract (pure vanilla for best flavor)
- 5 cups confectioners’ sugar (sifted to remove lumps)
For decoration:
- Mini pumpkin candies
- Ground cinnamon, for sprinkling
- Fall colored sprinkles (optional but recommended for festive appearance)
Step 1: Prepare Your Mise en Place and Preheat
- 1 cup butter, softened
- 4 large eggs, room temperature
- 8 oz cream cheese, softened
Preheat your oven to 350°F and line a standard sheet pan with parchment paper for easy removal and cleanup.
While the oven heats, gather all ingredients and ensure the butter, eggs, and cream cheese are at room temperature—this is crucial for proper emulsification and a smooth batter and frosting.
Take out a large mixing bowl for the wet ingredients and a separate bowl for the dry ingredients.
Step 2: Mix Dry Ingredients
- 2 cups all-purpose flour
- 1 tsp baking soda
- 2 tsp baking powder
- 1/2 tsp salt
- 2 tsp ground cinnamon
- 1 tsp pumpkin pie spice
In a medium bowl, whisk together the flour, baking soda, baking powder, salt, ground cinnamon, and pumpkin pie spice.
Whisking combines these ingredients evenly and aerates the flour slightly, which helps create a tender crumb in the finished bars.
I like to sift my cinnamon into the dry mix first to break up any clumps and distribute it more evenly—this ensures consistent spice flavor throughout every bite.
Step 3: Cream Butter and Sugar, Then Add Eggs
- 1 cup butter, softened
- 1 1/2 cups sugar
- 4 large eggs, room temperature
In a large bowl, beat the softened butter and sugar together for 2-3 minutes until light and fluffy—this incorporates air into the batter and creates a tender crumb.
Add the eggs one at a time, beating well after each addition.
This gradual incorporation helps emulsify the eggs into the butter, creating a smooth, cohesive batter rather than a curdled one.
Step 4: Combine Wet and Dry Ingredients with Pumpkin
- butter mixture from Step 3
- dry ingredient mixture from Step 2
- 15 oz can pumpkin puree
Add the dry ingredient mixture from Step 2 to the butter mixture from Step 3 in two additions, stirring until just combined after each addition.
Fold in the pumpkin puree and mix until the batter is evenly combined.
I find that folding gently rather than aggressively mixing prevents overdeveloping the gluten, which would make the bars tough instead of tender and cake-like.
Step 5: Bake the Bars
- batter from Step 4
Pour the batter from Step 4 into your prepared sheet pan and spread it evenly into the corners.
Bake for 20-25 minutes, until a toothpick inserted in the center comes out clean or with just a few moist crumbs—overbaking will dry out the bars.
Allow the bars to cool completely in the pan on a wire rack before frosting, which helps them set and makes spreading easier.
Step 6: Make the Cream Cheese Frosting
- 8 oz cream cheese, softened
- 1/4 cup butter, softened
- 1 tsp vanilla extract
- 5 cups confectioners’ sugar, sifted
While the bars cool, beat the softened cream cheese, butter, and vanilla extract together in a medium bowl for 2-3 minutes until smooth and creamy.
Add the sifted confectioners’ sugar in three additions, beating well after each addition and scraping down the bowl as needed.
This gradual addition prevents lumps and ensures a silky, spreadable frosting.
Step 7: Frost and Decorate
- frosting from Step 6
- Ground cinnamon, for sprinkling
- Fall colored sprinkles
- Mini pumpkin candies
Once the cooled bars from Step 5 are completely cool, spread the frosting from Step 6 evenly over the surface using an offset spatula or the back of a spoon.
Sprinkle the top with ground cinnamon and add fall-colored sprinkles and mini pumpkin candies if desired for a festive presentation.
Cut into squares and serve—the bars are best enjoyed within a day or two of baking, though they’ll keep in an airtight container for up to 3 days.
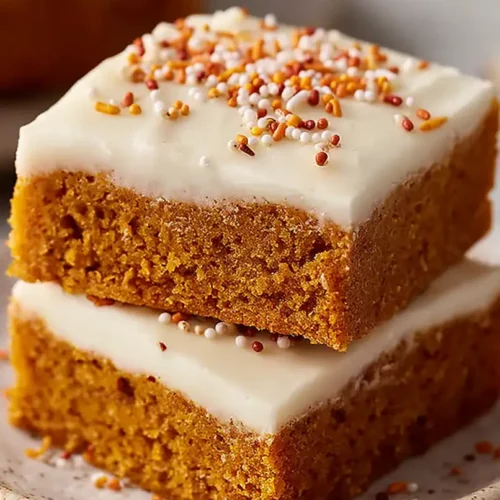
Frosted Sheet Pan Libby’s Pumpkin Bars
Ingredients
Pumpkin bars
- 2 cups all-purpose flour (King Arthur all-purpose flour works great)
- 1 1/2 cups sugar
- 2 tsp baking powder
- 1 cup butter, softened (room temperature for easier creaming)
- 1 tsp baking soda
- 4 large eggs (room temperature for better mixing)
- 1/2 tsp salt
- 1 tsp pumpkin pie spice
- 15 oz can pumpkin puree (Libby’s brand recommended for consistent texture)
- 2 tsp ground cinnamon (freshly ground preferred for more flavor)
Cream cheese frosting
- 1/4 cup butter, softened
- 8 oz cream cheese, softened (room temperature for smooth frosting)
- 1 tsp vanilla extract (pure vanilla for best flavor)
- 5 cups confectioners’ sugar (sifted to remove lumps)
For decoration
- Mini pumpkin candies
- Ground cinnamon, for sprinkling
- Fall colored sprinkles (optional but recommended for festive appearance)
Instructions
- Preheat your oven to 350°F and line a standard sheet pan with parchment paper for easy removal and cleanup. While the oven heats, gather all ingredients and ensure the butter, eggs, and cream cheese are at room temperature—this is crucial for proper emulsification and a smooth batter and frosting. Take out a large mixing bowl for the wet ingredients and a separate bowl for the dry ingredients.
- In a medium bowl, whisk together the flour, baking soda, baking powder, salt, ground cinnamon, and pumpkin pie spice. Whisking combines these ingredients evenly and aerates the flour slightly, which helps create a tender crumb in the finished bars. I like to sift my cinnamon into the dry mix first to break up any clumps and distribute it more evenly—this ensures consistent spice flavor throughout every bite.
- In a large bowl, beat the softened butter and sugar together for 2-3 minutes until light and fluffy—this incorporates air into the batter and creates a tender crumb. Add the eggs one at a time, beating well after each addition. This gradual incorporation helps emulsify the eggs into the butter, creating a smooth, cohesive batter rather than a curdled one.
- Add the dry ingredient mixture from Step 2 to the butter mixture from Step 3 in two additions, stirring until just combined after each addition. Fold in the pumpkin puree and mix until the batter is evenly combined. I find that folding gently rather than aggressively mixing prevents overdeveloping the gluten, which would make the bars tough instead of tender and cake-like.
- Pour the batter from Step 4 into your prepared sheet pan and spread it evenly into the corners. Bake for 20-25 minutes, until a toothpick inserted in the center comes out clean or with just a few moist crumbs—overbaking will dry out the bars. Allow the bars to cool completely in the pan on a wire rack before frosting, which helps them set and makes spreading easier.
- While the bars cool, beat the softened cream cheese, butter, and vanilla extract together in a medium bowl for 2-3 minutes until smooth and creamy. Add the sifted confectioners’ sugar in three additions, beating well after each addition and scraping down the bowl as needed. This gradual addition prevents lumps and ensures a silky, spreadable frosting.
- Once the cooled bars from Step 5 are completely cool, spread the frosting from Step 6 evenly over the surface using an offset spatula or the back of a spoon. Sprinkle the top with ground cinnamon and add fall-colored sprinkles and mini pumpkin candies if desired for a festive presentation. Cut into squares and serve—the bars are best enjoyed within a day or two of baking, though they’ll keep in an airtight container for up to 3 days.







