Finding a dessert that looks impressive but doesn’t require hours in the kitchen can feel nearly impossible, especially when you’re trying to use up those fresh strawberries before they go bad. Between work, family obligations, and everything else on your plate, spending an entire afternoon baking just isn’t realistic for most of us.
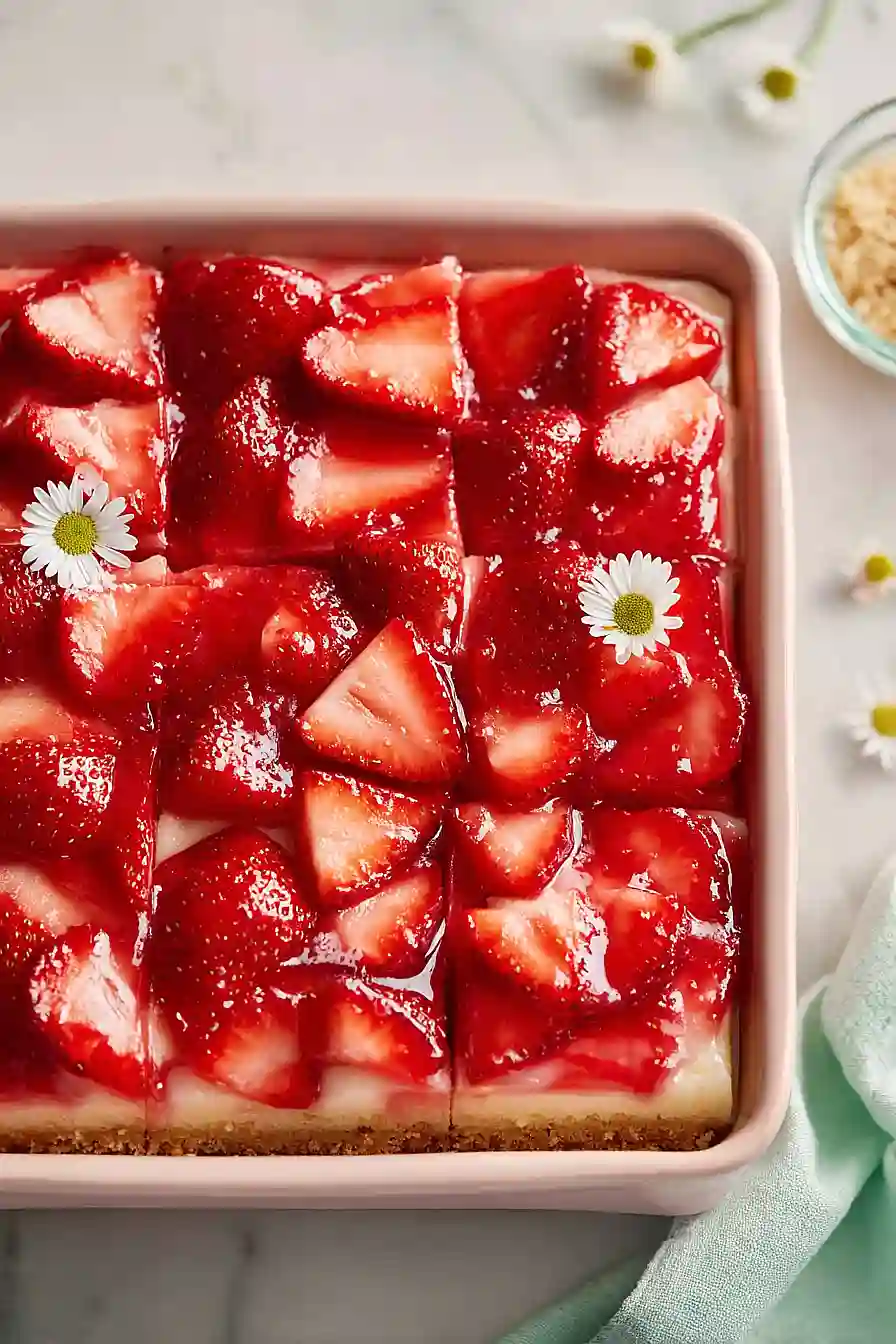
That’s where these strawberry pie bars come in handy. They deliver all the flavor of classic strawberry pie without the fuss of rolling out pie crust or worrying about soggy bottoms. Plus, they’re way easier to serve at gatherings since everyone can just grab a square and go.
Why You’ll Love These Strawberry Pie Bars
- Quick and easy dessert – These bars come together in about an hour, making them perfect for last-minute gatherings or when you need a sweet treat without spending all day in the kitchen.
- Simple ingredients – Starting with a cookie mix means you can skip measuring out a bunch of dry ingredients, and the rest are pantry staples you likely already have.
- Fresh strawberry flavor – Using fresh strawberries gives these bars a bright, fruity taste that’s so much better than anything from a box or store-bought dessert.
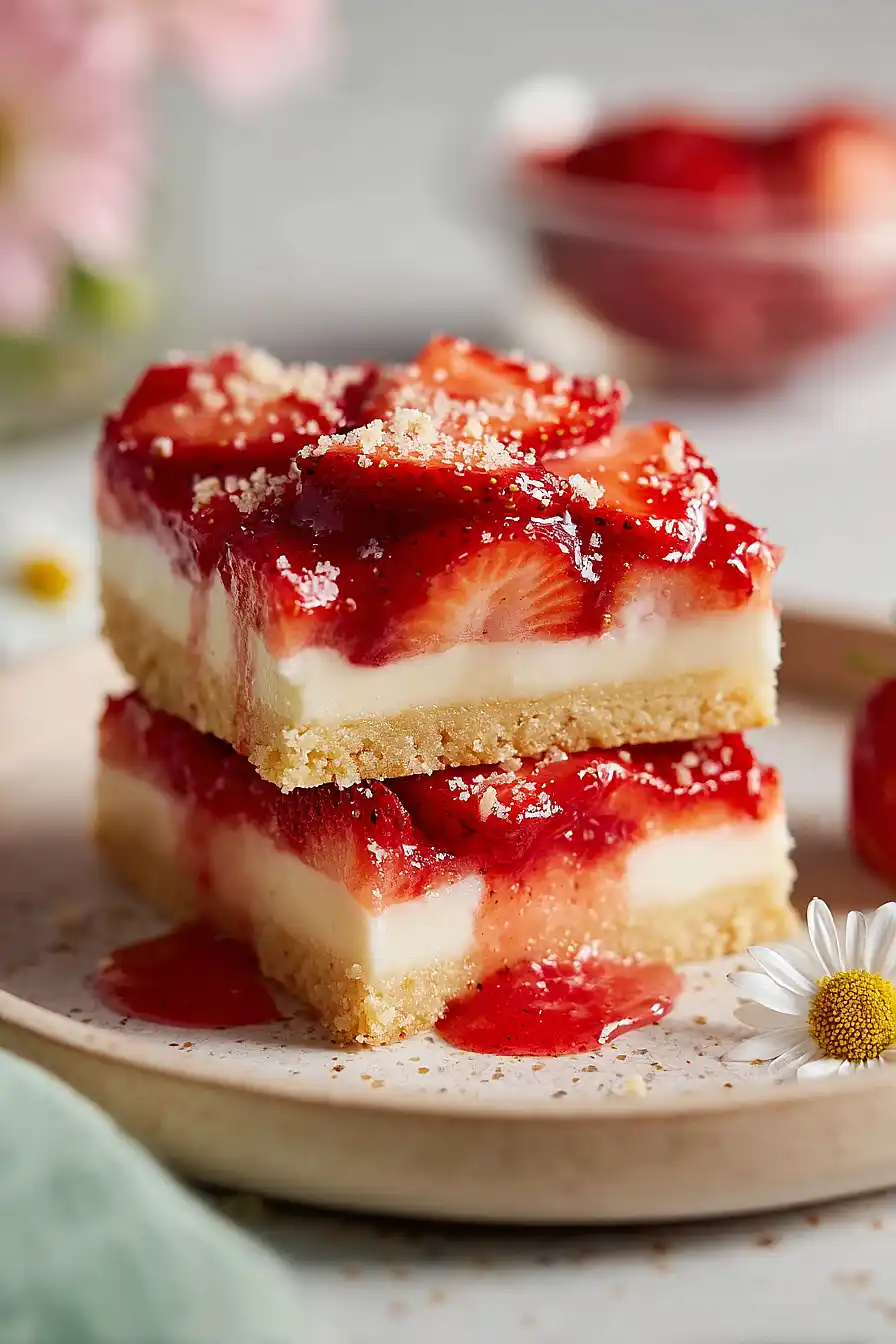
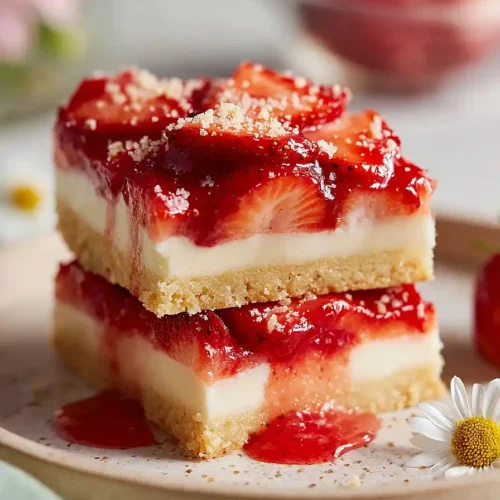
- Crowd-pleaser – The combination of a buttery crust, creamy cheese layer, and sweet strawberry topping makes these bars disappear fast at potlucks, picnics, and family dinners.
- Easy to serve – Unlike a traditional pie, these bars are simple to cut and serve, and they’re portable enough to take anywhere without worrying about mess.
What Kind of Strawberries Should I Use?
Fresh strawberries are definitely the way to go for these bars, and you’ll want to pick ones that are firm and bright red without any soft spots or bruising. If strawberries aren’t in season, you can use frozen strawberries in a pinch, but make sure to thaw them completely and drain off any excess liquid before using them. When you’re at the store or farmer’s market, give them a quick sniff – the best strawberries will have a sweet, fruity aroma that tells you they’re ripe and ready to eat. For this recipe, medium-sized berries work great since they’re easier to slice evenly, but any size will do as long as they’re fresh and flavorful.

Options for Substitutions
These strawberry pie bars are pretty forgiving when it comes to swaps:
- Cookie mix: If you don’t have cookie mix, you can make a simple crust from scratch using 2 cups flour, 1/2 cup sugar, and 1/2 cup butter. Mix until crumbly and press into your pan.
- Butter: You can use margarine or even coconut oil if you prefer, though butter gives the best flavor for the crust.
- Cream cheese: Make sure to use full-fat cream cheese here – low-fat versions won’t set up properly and can make your bars runny.
- Strawberries: Fresh strawberries work best, but if they’re out of season, you can use frozen strawberries. Just thaw them completely and drain excess liquid before using.
- Powdered sugar: In a pinch, you can make your own by blending regular granulated sugar in a blender or food processor until it’s fine and powdery.
- Vanilla essence: Vanilla extract works just the same. If you’re out of vanilla altogether, try almond extract but use only 1/2 teaspoon as it’s stronger.
Watch Out for These Mistakes While Baking
The biggest mistake people make with strawberry pie bars is not letting the crust cool completely before adding the cream cheese layer, which can cause the filling to melt and slide right off.
Another common error is spreading the strawberry glaze while it’s still hot – give it time to cool to room temperature so it thickens up properly and doesn’t make your bars watery.
Make sure to pat your strawberries dry with paper towels before placing them on the cream cheese layer, as excess moisture can prevent the glaze from setting and leave you with a runny mess.
Finally, resist the urge to cut into these bars right away – refrigerate them for at least 2-3 hours so all the layers firm up, making them much easier to slice into clean, picture-perfect squares.
What to Serve With Strawberry Pie Bars?
These strawberry pie bars are pretty rich and sweet on their own, so I like to keep things simple when serving them. A scoop of vanilla ice cream or a dollop of whipped cream on top makes them feel extra special for dessert, especially if you’re serving them warm. They’re also great alongside a cup of coffee or iced tea for an afternoon snack. If you’re putting together a dessert spread for a party or potluck, these bars pair nicely with lighter fruit options like a mixed berry salad or some lemon sorbet to balance out the creaminess.
Storage Instructions
Store: Keep your strawberry pie bars covered in the fridge since they have cream cheese and fresh strawberries. They’ll stay good for about 3-4 days in an airtight container or covered with plastic wrap. The crust might soften a bit over time, but they’ll still taste great!
Freeze: You can freeze these bars, but I’d recommend freezing just the crust and cream cheese layer before adding the strawberry topping. Wrap them well and freeze for up to 2 months. Fresh strawberries don’t freeze as nicely on top, so it’s best to add those after thawing.
Serve: These bars are best served cold straight from the fridge. If you’ve frozen them, let them thaw in the refrigerator overnight before serving. The cream cheese layer tastes best when it’s nice and chilled, and the strawberries stay fresh and juicy that way too.
| Preparation Time | 25-35 minutes |
| Cooking Time | 25-35 minutes |
| Total Time | 50-70 minutes |
| Level of Difficulty | Medium |
| Servings | 24 square_bars |
Estimated Nutrition
Estimated nutrition for the whole recipe (without optional ingredients):
- Calories: 4100-4400
- Protein: 36-44 g
- Fat: 190-210 g
- Carbohydrates: 570-630 g
Ingredients
For the crust:
- 17.5 oz cookie mix (I use Betty Crocker sugar cookie mix)
- 3/4 cup butter (melted and slightly cooled)
- 3 tbsp flour
- 1 egg
For the filling:
- 16 oz cream cheese (room temperature, about 70°F for a smoother texture)
- 1 1/2 tsp vanilla
- 3/4 cup powdered sugar (sifted to remove lumps)
For the topping and glaze:
- 2 quarts strawberries (hulled and sliced into 1/4-inch thick rounds)
- 1/4 cup water
- 3 tbsp cornstarch (I prefer Argo for a perfectly clear glaze)
- 2 tbsp flour
- 1 cup sugar
- 1 tsp lemon juice
Step 1: Prepare the Cookie Crust
- 17.5 oz cookie mix
- 3/4 cup butter
- 1 egg
- 3 tbsp flour
Preheat your oven to 350°F.
In a bowl, combine the cookie mix, melted butter, egg, and flour until the mixture comes together.
Press this mixture firmly and evenly into a 9×13 inch baking dish, making sure to fill all corners and create an even layer.
Bake for 10-12 minutes until the edges are lightly golden but the center still looks slightly underbaked—it will continue to set as it cools.
Remove from the oven and let cool to room temperature before proceeding to the next step.
Step 2: Make the Strawberry Glaze
- 1 cup strawberries
- 1 cup sugar
- 3 tbsp cornstarch
- 2 tbsp flour
- 1/4 cup water
- 1 tsp lemon juice
While the crust cools, prepare the glaze.
In a saucepan, mash 1 cup of the hulled and sliced strawberries with the sugar until the berries break down and release their juices.
Add the cornstarch, flour, and water, stirring until smooth and well combined with no lumps.
Bring the mixture to a boil over medium-high heat, stirring constantly to prevent sticking, and boil for 2 minutes until the mixture thickens and becomes translucent.
Remove from heat, stir in the lemon juice, and let the glaze cool to room temperature—this prevents it from melting the cream cheese layer.
Step 3: Prepare the Cream Cheese Filling
- 16 oz cream cheese
- 1 1/2 tsp vanilla
- 3/4 cup powdered sugar
In a large bowl, beat the room-temperature cream cheese with an electric mixer until smooth and creamy—starting with room temperature cheese prevents lumps and creates a silkier texture.
Add the vanilla extract and sifted powdered sugar, beating until light and fluffy, about 2-3 minutes.
I like to sift the powdered sugar beforehand to avoid any grainy texture in the final filling.
Step 4: Assemble and Chill the Bars
- cream cheese filling from Step 3
- cooled crust from Step 1
- remaining strawberries
- strawberry glaze from Step 2
Spread the cream cheese mixture from Step 3 evenly over the cooled crust from Step 1, creating an even layer that reaches the edges.
Arrange the remaining 1 quart of hulled and sliced strawberries in a single layer over the cream cheese, placing them close together for full coverage.
Pour the cooled strawberry glaze from Step 2 over the strawberries, spreading it gently to coat all the berries and fill in any gaps.
Refrigerate for at least 2 hours until the glaze sets completely and the bars are chilled throughout before cutting and serving.
Homemade Strawberry Pie Bars
Ingredients
For the crust::
- 17.5 oz cookie mix (I use Betty Crocker sugar cookie mix)
- 3/4 cup butter (melted and slightly cooled)
- 3 tbsp flour
- 1 egg
For the filling::
- 16 oz cream cheese (room temperature, about 70°F for a smoother texture)
- 1 1/2 tsp vanilla
- 3/4 cup powdered sugar (sifted to remove lumps)
For the topping and glaze::
- 2 quarts strawberries (hulled and sliced into 1/4-inch thick rounds)
- 1/4 cup water
- 3 tbsp cornstarch (I prefer Argo for a perfectly clear glaze)
- 2 tbsp flour
- 1 cup sugar
- 1 tsp lemon juice
Instructions
- Preheat your oven to 350°F. In a bowl, combine the cookie mix, melted butter, egg, and flour until the mixture comes together. Press this mixture firmly and evenly into a 9x13 inch baking dish, making sure to fill all corners and create an even layer. Bake for 10-12 minutes until the edges are lightly golden but the center still looks slightly underbaked—it will continue to set as it cools. Remove from the oven and let cool to room temperature before proceeding to the next step.
- While the crust cools, prepare the glaze. In a saucepan, mash 1 cup of the hulled and sliced strawberries with the sugar until the berries break down and release their juices. Add the cornstarch, flour, and water, stirring until smooth and well combined with no lumps. Bring the mixture to a boil over medium-high heat, stirring constantly to prevent sticking, and boil for 2 minutes until the mixture thickens and becomes translucent. Remove from heat, stir in the lemon juice, and let the glaze cool to room temperature—this prevents it from melting the cream cheese layer.
- In a large bowl, beat the room-temperature cream cheese with an electric mixer until smooth and creamy—starting with room temperature cheese prevents lumps and creates a silkier texture. Add the vanilla extract and sifted powdered sugar, beating until light and fluffy, about 2-3 minutes. I like to sift the powdered sugar beforehand to avoid any grainy texture in the final filling.
- Spread the cream cheese mixture from Step 3 evenly over the cooled crust from Step 1, creating an even layer that reaches the edges. Arrange the remaining 1 quart of hulled and sliced strawberries in a single layer over the cream cheese, placing them close together for full coverage. Pour the cooled strawberry glaze from Step 2 over the strawberries, spreading it gently to coat all the berries and fill in any gaps. Refrigerate for at least 2 hours until the glaze sets completely and the bars are chilled throughout before cutting and serving.


