Summer afternoons always taste better with something cold and sweet in hand. When I was a kid, we’d chase down the ice cream truck for snow cones, but these days I make them at home whenever the weather heats up. It’s one of those treats that feels fancy but couldn’t be easier to pull off.
The secret is making your own syrup. Store-bought works fine, but homemade syrup tastes better and you can control how sweet it is. Plus, you probably have everything you need already sitting in your pantry. A little sugar, some Kool-Aid for flavor, and crushed ice is all it takes.
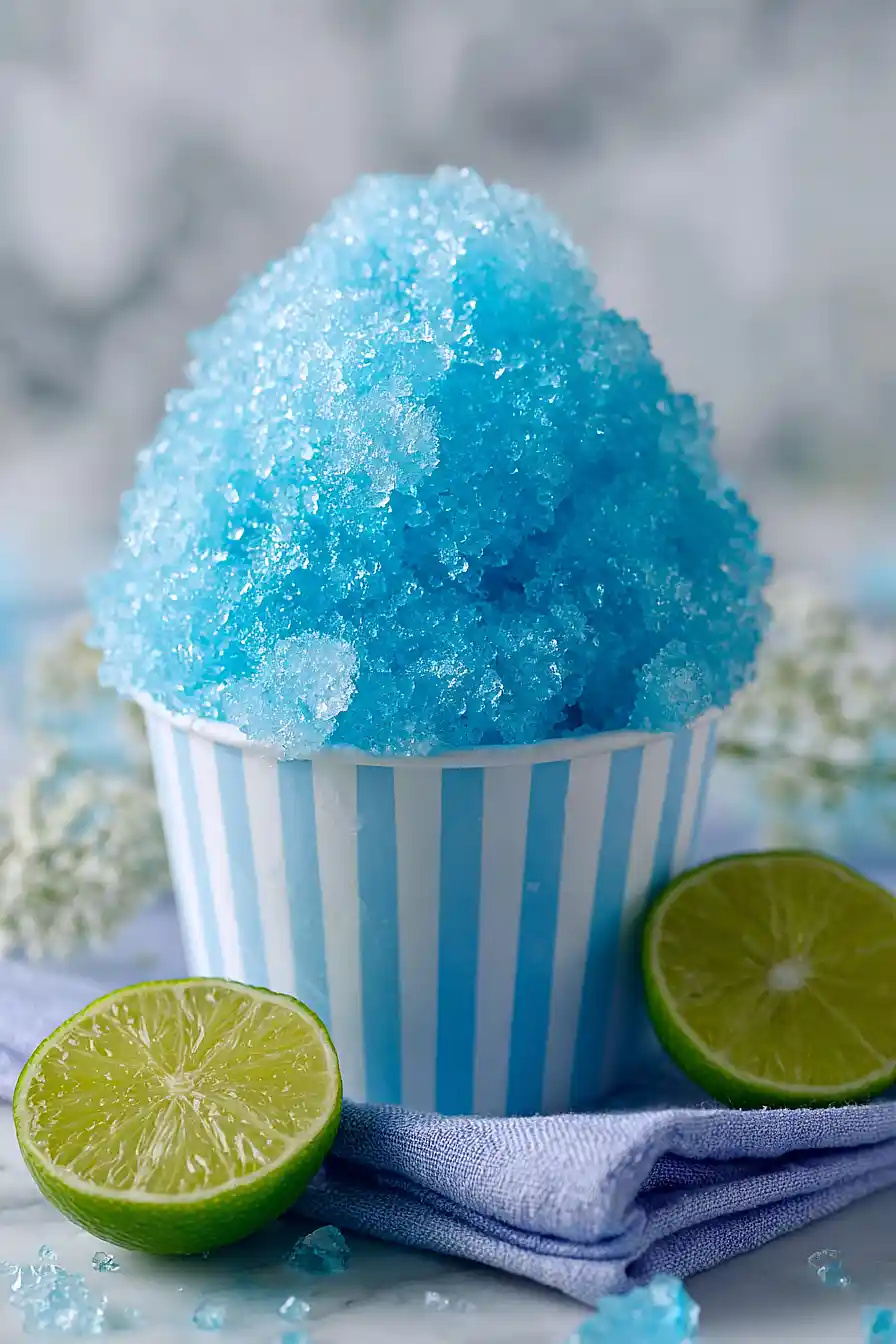
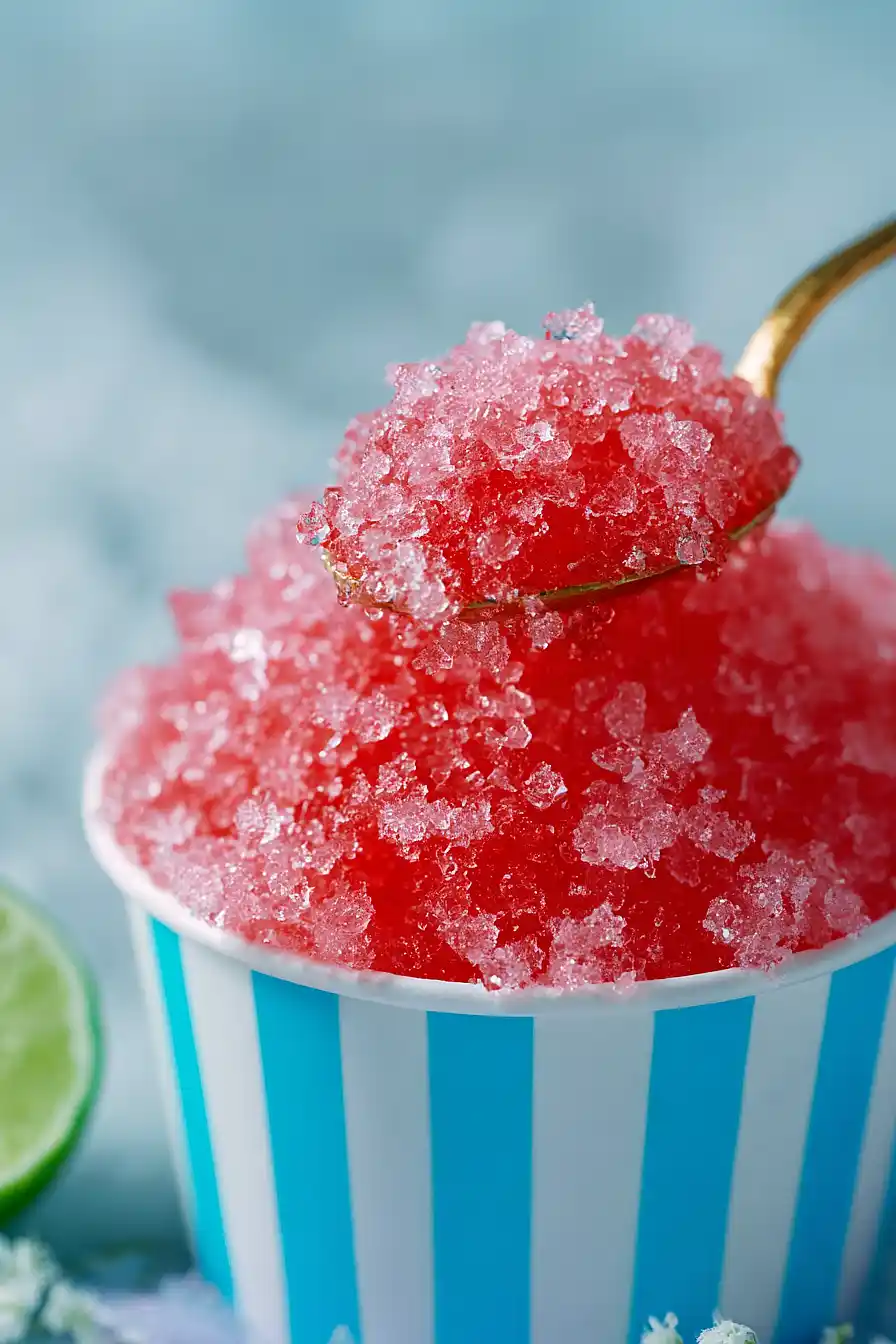
Want cherry? Grab the red packet. Feeling like blue raspberry? You know what to do. My kids like to mix flavors and create their own combinations. I just make sure we have plenty of ice ready to go.

Why You’ll Love These Snow Cones
- Budget-friendly treat – Making snow cones at home costs just pennies compared to buying them from a stand or carnival, and you can make as many as you want.
- Quick and easy – The syrup comes together in about 5 minutes, and you can have fresh snow cones ready in under 20 minutes total.
- Simple ingredients – You only need three basic ingredients for the syrup—sugar, water, and Kool Aid—plus ice, which you probably already have at home.
- Fun for the whole family – Kids love helping make their own snow cones and choosing their favorite flavors, making this a great activity for summer days or parties.
- Customizable flavors – With so many Kool Aid flavors available, you can switch things up every time and never get bored.
What Kind of Ice Should I Use?
Any ice will work for snow cones, whether you’re using cubes from your freezer’s ice maker or ice you’ve frozen in trays yourself. The key is making sure your ice is completely frozen and not starting to melt before you shave it. If you’re using a snow cone maker, regular ice cubes are perfect, but if you’re going the food processor route, smaller ice cubes or crushed ice will be easier on your machine’s blades. Just avoid using ice that’s been sitting in the freezer for months and has that freezer-burned taste – fresh ice makes the best snow cones.
Options for Substitutions
This simple snow cone recipe is easy to customize with a few swaps:
- Sugar: You can use honey or agave syrup instead of sugar, but you’ll need to adjust the water amount – start with half the water and add more if the syrup is too thick. Keep in mind this will change the flavor slightly.
- Kool Aid: Any powdered drink mix works here – try Crystal Light for a sugar-free option, or use fresh fruit juice concentrate for a more natural flavor. If using juice concentrate, skip the water and use the concentrate as-is or dilute it to taste.
- Snow cone maker: Don’t have a snow cone maker? A blender or food processor works fine – just pulse the ice until it’s finely crushed. You can also put ice in a sealed plastic bag and crush it with a rolling pin or mallet for a low-tech option.
- Snow cone cups: Regular cups or bowls work just fine if you don’t have the paper cone cups. You can also use small plastic cups or even hollowed-out orange halves for a fun presentation.
Watch Out for These Mistakes While Making
The biggest mistake people make with homemade snow cone syrup is not simmering it long enough, which leaves you with a thin, watery syrup that slides right off the ice instead of coating it – make sure to let it bubble gently for the full 3 minutes so the sugar fully dissolves and the mixture thickens slightly.
Another common error is pouring hot syrup directly onto the ice, which melts it instantly and turns your fluffy snow cone into a puddle, so always chill your syrup completely in the fridge for at least an hour before serving.
When crushing ice, avoid over-processing it into a slushy texture – you want light, fluffy snow-like pieces, so pulse your food processor in short bursts and stop when the ice looks like fresh powder.
For the best flavor, add the syrup gradually and let it soak in between pours rather than dumping it all at once, which helps distribute the flavor evenly throughout the ice.
What to Serve With Snow Cones?
Snow cones are perfect for hot summer days and pair great with other backyard party favorites. I love serving them alongside grilled hot dogs, hamburgers, or BBQ chicken at cookouts since the cold, sweet treat balances out savory foods really well. They’re also fun to offer at birthday parties with pizza, popcorn, or chips and dip. If you’re going for an all-dessert spread, set up a snow cone bar next to other frozen treats like popsicles or ice cream sandwiches so everyone can pick their favorite way to cool down.
Storage Instructions
Store Syrup: The homemade syrup keeps really well in the fridge for up to 2 weeks. Just pour it into clean bottles or jars with tight-fitting lids and you’re all set. This makes it super easy to whip up snow cones whenever the craving hits without having to make fresh syrup every time.
Make Ahead: I always make a few different flavors of syrup ahead of time so we have options ready to go. You can even double or triple the recipe and store different flavors in separate bottles. Just remember to label them so you know which is which!
| Preparation Time | 10-15 minutes |
| Cooking Time | 5-10 minutes |
| Total Time | 15-25 minutes |
| Level of Difficulty | Easy |
| Servings | 9 snow cones |
Estimated Nutrition
Estimated nutrition for the whole recipe (without optional ingredients):
- Calories: 600-650
- Protein: 0-0 g
- Fat: 0-0 g
- Carbohydrates: 155-160 g
Ingredients
For the syrup:
- 1 cup granulated sugar
- 3/4 cup water
- 1 packet powdered drink mix (Kool-Aid)
- 1 tablespoon light corn syrup
- 1 pinch fine sea salt
For the base:
- 4-6 cups ice (crushed into fine, snow-like crystals)
Step 1: Prepare the Syrup Base
- 1 cup granulated sugar
- 3/4 cup water
Combine sugar and water in a medium saucepan and bring to a boil over medium-high heat, stirring occasionally to help the sugar dissolve.
Once boiling, reduce heat to medium and simmer for 3 minutes to create a light syrup.
This brief simmer helps the sugar fully dissolve and creates the right consistency for the final syrup.
Remove from heat and let cool for 1-2 minutes before proceeding.
Step 2: Build Flavor with Drink Mix and Corn Syrup
- 1 packet powdered drink mix
- 1 tablespoon light corn syrup
- 1 pinch fine sea salt
While the syrup from Step 1 is still warm (but not actively boiling), stir in the powdered drink mix for 1-2 minutes until completely dissolved and the color is evenly distributed throughout.
Add the light corn syrup and pinch of sea salt, stirring well to combine.
The salt enhances the fruity flavor and prevents the syrup from crystallizing as it cools.
Pour the finished syrup into a bottle or container and refrigerate until fully chilled, at least 30 minutes.
I like to chill the syrup ahead of time so it’s ready whenever the snow cones are assembled—this also makes the final product last longer without the ice melting too quickly.
Step 3: Crush Ice and Assemble Snow Cones
- 4-6 cups ice
- chilled syrup from Step 2
Crush the ice into fine, snow-like crystals using a food processor, blender, or ice crusher—aim for a texture similar to shaved ice rather than chunky cubes.
Divide the crushed ice evenly among serving cups, packing it down gently to create a compact mound.
Drizzle the chilled syrup from Step 2 generously over the ice, allowing it to seep through and coat each crystal.
For the best texture and appearance, serve immediately while the ice is still cold and fluffy.
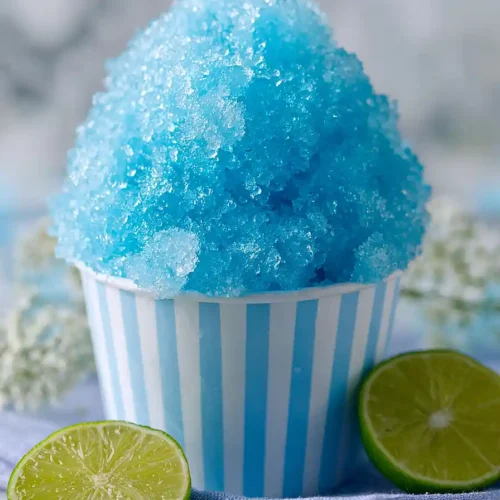
Icy Snow Cones
Ingredients
For the syrup
- 1 cup granulated sugar
- 3/4 cup water
- 1 packet powdered drink mix (Kool-Aid)
- 1 tablespoon light corn syrup
- 1 pinch fine sea salt
For the base
- 4-6 cups ice (crushed into fine, snow-like crystals)
Instructions
- Combine sugar and water in a medium saucepan and bring to a boil over medium-high heat, stirring occasionally to help the sugar dissolve. Once boiling, reduce heat to medium and simmer for 3 minutes to create a light syrup. This brief simmer helps the sugar fully dissolve and creates the right consistency for the final syrup. Remove from heat and let cool for 1-2 minutes before proceeding.
- While the syrup from Step 1 is still warm (but not actively boiling), stir in the powdered drink mix for 1-2 minutes until completely dissolved and the color is evenly distributed throughout. Add the light corn syrup and pinch of sea salt, stirring well to combine. The salt enhances the fruity flavor and prevents the syrup from crystallizing as it cools. Pour the finished syrup into a bottle or container and refrigerate until fully chilled, at least 30 minutes. I like to chill the syrup ahead of time so it's ready whenever the snow cones are assembled—this also makes the final product last longer without the ice melting too quickly.
- Crush the ice into fine, snow-like crystals using a food processor, blender, or ice crusher—aim for a texture similar to shaved ice rather than chunky cubes. Divide the crushed ice evenly among serving cups, packing it down gently to create a compact mound. Drizzle the chilled syrup from Step 2 generously over the ice, allowing it to seep through and coat each crystal. For the best texture and appearance, serve immediately while the ice is still cold and fluffy.


