I’ve always had a soft spot for those little mints you see at weddings and baby showers. You know the ones – they melt on your tongue and taste like butter and peppermint had a baby. For years, I thought you had to buy them from a fancy bakery or candy shop. Turns out, they’re one of the easiest homemade candies you can make.
These butter mints require no special equipment and no candy thermometer. Just a bowl, a spoon, and about ten minutes of your time. The hardest part is waiting for them to firm up in the fridge before you eat them all. I make batches around the holidays because they look nice on a dessert table, but honestly, I’ll whip them up any time I need a sweet treat.
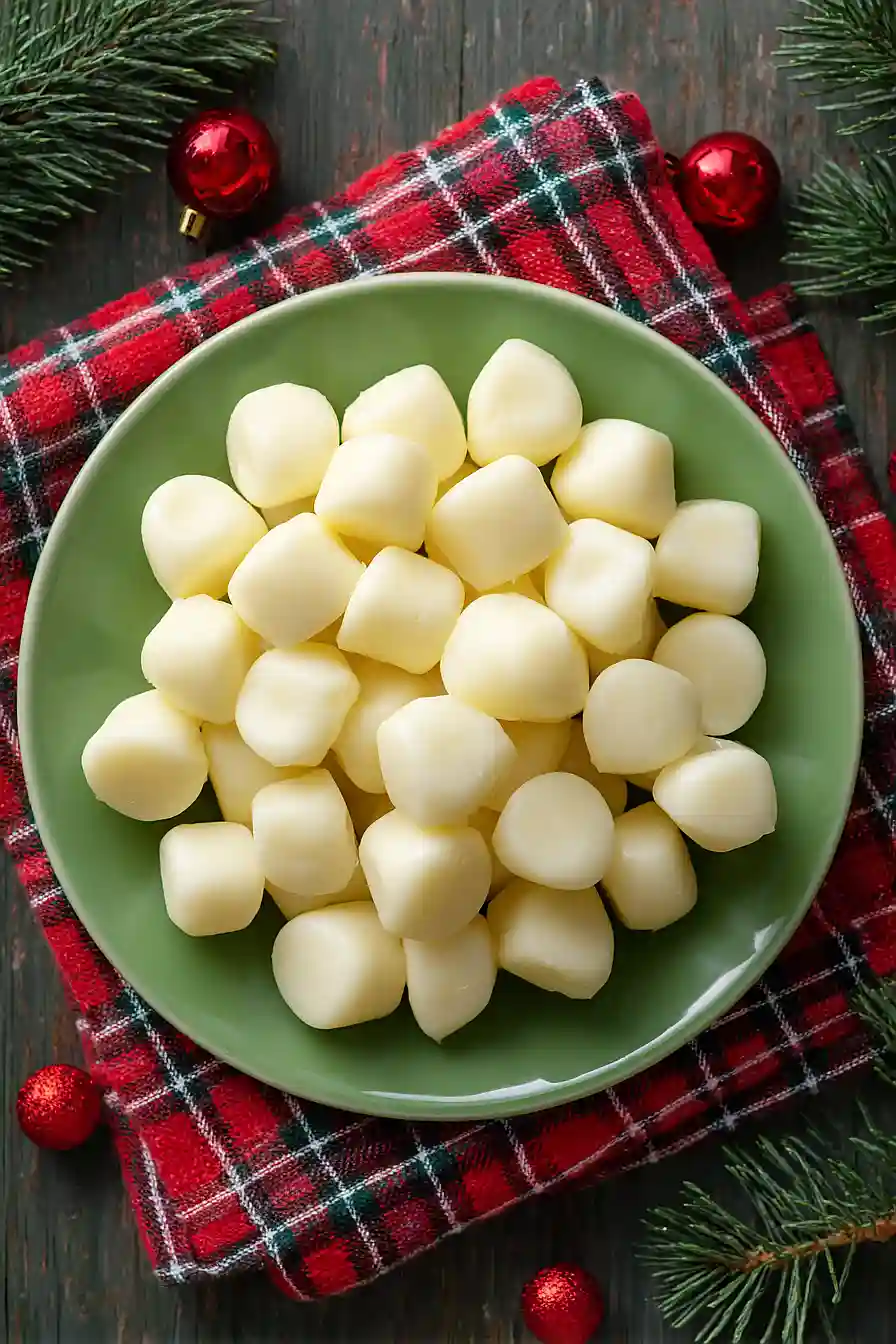
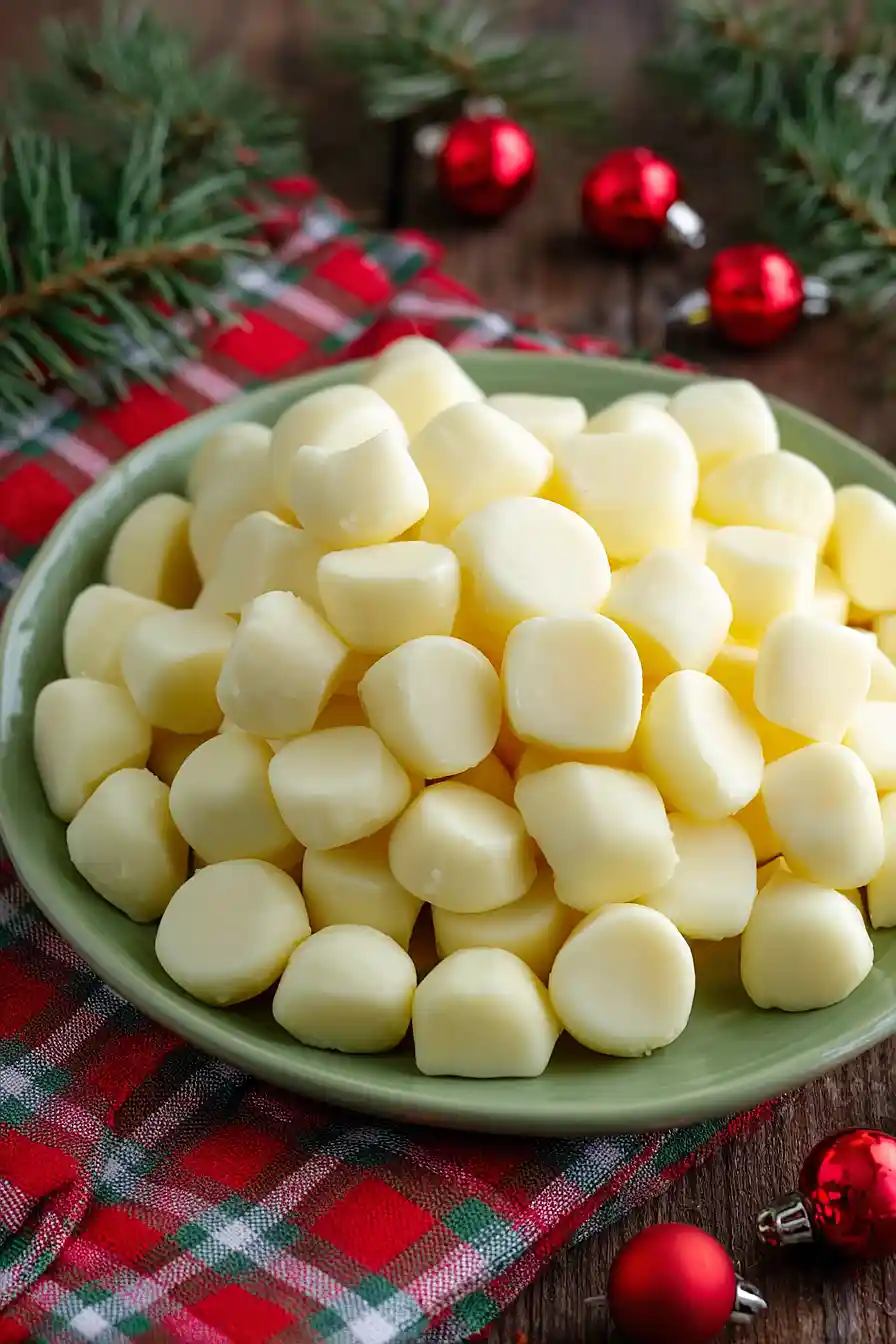
Want pale yellow mints? Add food coloring. Want them white? Skip it. Either way, they taste the same – rich, buttery, and refreshingly minty.
Why You’ll Love These Butter Mints
- Simple ingredients – You probably have most of these pantry staples at home already – just butter, powdered sugar, and a few basic flavorings.
- No baking required – These mints come together without turning on your oven, making them perfect for hot summer days or when your oven is already busy with other dishes.
- Perfect for parties and gifts – These homemade mints look fancy and taste amazing, making them ideal for weddings, baby showers, or packaging up as thoughtful homemade gifts.
- Customizable flavors and colors – You can easily adjust the peppermint level to your taste and use any food coloring you like to match your party theme or holiday.
- Make-ahead friendly – Since these need time to set anyway, you can prepare them days in advance and store them until you’re ready to serve.
What Kind of Butter Should I Use?
For butter mints, regular salted or unsalted butter both work fine since we’re adding a dash of salt to the recipe anyway. The key is making sure your butter is properly softened to room temperature – it should be soft enough to press your finger into easily, but not melted or greasy. If your butter is too cold, it won’t cream well with the powdered sugar and you’ll end up with a lumpy mixture. On the flip side, if it’s too warm or melted, your mints won’t hold their shape properly. I usually just leave my butter out on the counter for about 30-45 minutes before starting, and that does the trick perfectly.
Options for Substitutions
These simple mints are pretty forgiving, so here are some swaps you can make:
- Butter: I’d recommend sticking with real butter here – it’s what gives these mints their signature creamy texture and flavor. Margarine won’t give you the same results.
- Half and half: You can use whole milk, heavy cream, or even a splash of evaporated milk if that’s what you have on hand. The consistency will be pretty much the same.
- Peppermint oil: Peppermint extract works too, but you’ll need about 1 to 1.5 teaspoons since extract is less concentrated than oil. You could also try other flavors like almond extract or lemon oil for a different twist.
- Food coloring: Feel free to use any color you like – pink, green, or leave them white. Gel food coloring gives more intense colors than liquid, so adjust the amount accordingly.
- Vanilla: If you’re going for a pure mint flavor, you can skip the vanilla altogether. Or try almond extract for a different flavor profile.
Watch Out for These Mistakes While Cooking
The biggest mistake when making butter mints is adding too much peppermint oil at once – this flavoring is extremely potent, so start with just a few drops and taste as you go, since you can always add more but can’t take it away.
Softened butter is key here, not melted butter, as melted butter will make your mints greasy and prevent them from holding their shape properly.
If your mint mixture feels too sticky to work with, resist the urge to add more liquid – instead, chill the dough in the refrigerator for 15-20 minutes to make it easier to roll and shape.
When adding food coloring, remember that a little goes a long way, and the color will appear more intense once the mints set, so aim for a shade lighter than your desired final result.

What to Serve With Butter Mints?
Butter mints are perfect for setting out at parties, weddings, or baby showers in little candy dishes around the room. They’re also great to package up in small cellophane bags tied with ribbon as party favors or thank-you gifts for guests. I love keeping a batch in the fridge for after-dinner treats alongside coffee or tea, especially during the holidays. You can also arrange them on a dessert table next to other sweet treats like cookies, fudge, or chocolate truffles for a nice variety of flavors and textures.
Storage Instructions
Store: Keep your butter mints in an airtight container at room temperature for up to 2 weeks. You can also layer them between sheets of wax paper or parchment to prevent them from sticking together, especially if it’s warm in your kitchen.
Refrigerate: If you want them to last longer, store the mints in the fridge in a sealed container for up to a month. They’ll firm up a bit more when cold, which some people actually prefer. Just let them sit out for a few minutes before serving if you want that softer, melt-in-your-mouth texture.
Freeze: Butter mints freeze really well for up to 3 months. Place them in a freezer-safe container with parchment paper between layers, and they’ll be ready whenever you need them for a party or gathering. Thaw them in the fridge or at room temperature before serving.
| Preparation Time | 20-30 minutes |
| Cooking Time | 720-720 minutes |
| Total Time | 740-750 minutes |
| Level of Difficulty | Medium |
| Servings | 80 pieces |
Estimated Nutrition
Estimated nutrition for the whole recipe (without optional ingredients):
- Calories: 1850-2000
- Protein: 0-2 g
- Fat: 90-100 g
- Carbohydrates: 260-280 g
Ingredients
- dash salt
- 1 tsp vanilla extract (pure extract for best flavor)
- 2 drops yellow food coloring (optional, for pale yellow tint)
- 1 tbsp half and half (room temperature)
- 1/2 cup softened butter (I use Kerrygold unsalted butter)
- 4 cups powdered sugar (sifted to remove lumps)
- 1/4 tsp peppermint oil
Step 1: Prepare Mise en Place and Cream the Butter
- 1/2 cup softened butter
- 4 cups powdered sugar
- 1 tbsp half and half
- 1 tsp vanilla extract
- 1/4 tsp peppermint oil
Sift the powdered sugar onto a plate or into a bowl to remove any lumps—this prevents graininess in your final mints.
Have all your liquid ingredients (half and half, vanilla extract, and peppermint oil) measured and ready at room temperature.
Add the softened butter to your mixer bowl and beat on medium speed for 2-3 minutes until it’s light, fluffy, and pale in color.
This incorporation of air is crucial for creating mints with a tender, melt-in-your-mouth texture.
Step 2: Mix in Wet and Dry Ingredients
- creamed butter from Step 1
- 4 cups powdered sugar
- 1 tbsp half and half
- 1 tsp vanilla extract
- 1/4 tsp peppermint oil
- dash salt
Add the sifted powdered sugar, half and half, vanilla extract, peppermint oil, and salt to the creamed butter.
Beat on medium speed, starting slower to prevent powdered sugar from clouding your kitchen, then increase speed once ingredients are incorporated.
Continue beating for 3-4 minutes until the mixture comes together into a stiff dough.
I find that the dough should look somewhat dry and crumbly at first, but keep beating—it will eventually form a cohesive mass as the liquids distribute evenly.
Step 3: Add Color and Finalize the Dough
- dough mixture from Step 2
- 2 drops yellow food coloring
Add the 2 drops of yellow food coloring (if using) to the dough and beat for another 30-60 seconds until the color is evenly distributed and the dough is uniform throughout.
The pale yellow tint gives these mints a professional, buttery appearance.
If you prefer pure white mints, simply skip this step.
Step 4: Shape and Cut the Mints
- dough mixture from Step 3
- powdered sugar
Dust your work surface generously with powdered sugar.
Remove the dough from the mixer bowl and cover the remaining dough with a damp paper towel to prevent it from drying out while you work—this is especially important if you’re shaping in batches.
Working with one portion at a time, roll the dough into a thin rope about 1/2 inch in diameter on the sugared surface.
I like to roll gently and evenly to ensure consistent size.
Cut the rope into bite-sized pieces (roughly 1/2 to 3/4 inch long) using a knife or kitchen shears, wiping your blade occasionally so it doesn’t stick.
Step 5: Dry the Mints
- shaped mints from Step 4
Transfer the cut mints to a baking sheet in a single layer, spacing them slightly apart.
Place them in a cool, dry location (not in the refrigerator) and allow them to air-dry uncovered for at least 8-12 hours, or overnight.
The surface will set and firm up while the inside remains soft and buttery.
Once fully dried, store them in an airtight container at room temperature—they’ll keep for up to 2 weeks, though they rarely last that long!
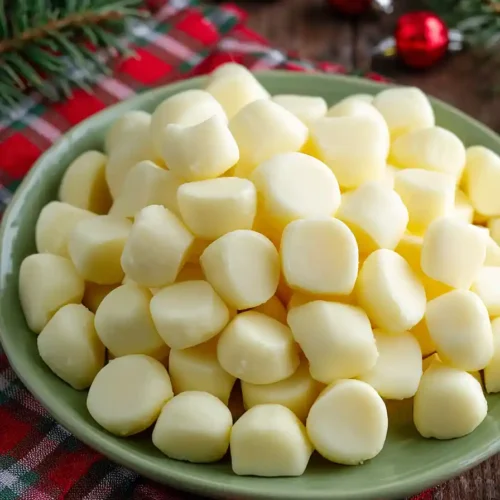
Irresistible Butter Mints
Ingredients
- dash salt
- 1 tsp vanilla extract (pure extract for best flavor)
- 2 drops yellow food coloring (optional, for pale yellow tint)
- 1 tbsp half and half (room temperature)
- 1/2 cup softened butter (I use Kerrygold unsalted butter)
- 4 cups powdered sugar (sifted to remove lumps)
- 1/4 tsp peppermint oil
Instructions
- Sift the powdered sugar onto a plate or into a bowl to remove any lumps—this prevents graininess in your final mints. Have all your liquid ingredients (half and half, vanilla extract, and peppermint oil) measured and ready at room temperature. Add the softened butter to your mixer bowl and beat on medium speed for 2-3 minutes until it's light, fluffy, and pale in color. This incorporation of air is crucial for creating mints with a tender, melt-in-your-mouth texture.
- Add the sifted powdered sugar, half and half, vanilla extract, peppermint oil, and salt to the creamed butter. Beat on medium speed, starting slower to prevent powdered sugar from clouding your kitchen, then increase speed once ingredients are incorporated. Continue beating for 3-4 minutes until the mixture comes together into a stiff dough. I find that the dough should look somewhat dry and crumbly at first, but keep beating—it will eventually form a cohesive mass as the liquids distribute evenly.
- Add the 2 drops of yellow food coloring (if using) to the dough and beat for another 30-60 seconds until the color is evenly distributed and the dough is uniform throughout. The pale yellow tint gives these mints a professional, buttery appearance. If you prefer pure white mints, simply skip this step.
- Dust your work surface generously with powdered sugar. Remove the dough from the mixer bowl and cover the remaining dough with a damp paper towel to prevent it from drying out while you work—this is especially important if you're shaping in batches. Working with one portion at a time, roll the dough into a thin rope about 1/2 inch in diameter on the sugared surface. I like to roll gently and evenly to ensure consistent size. Cut the rope into bite-sized pieces (roughly 1/2 to 3/4 inch long) using a knife or kitchen shears, wiping your blade occasionally so it doesn't stick.
- Transfer the cut mints to a baking sheet in a single layer, spacing them slightly apart. Place them in a cool, dry location (not in the refrigerator) and allow them to air-dry uncovered for at least 8-12 hours, or overnight. The surface will set and firm up while the inside remains soft and buttery. Once fully dried, store them in an airtight container at room temperature—they'll keep for up to 2 weeks, though they rarely last that long!


