Finding the perfect fall dessert that captures all those cozy autumn flavors without spending hours in the kitchen can feel impossible. You want something that tastes like the season – think warm apples, sweet caramel, and that satisfying crunch – but you also need it to actually fit into your busy schedule, especially when you’re juggling work deadlines and family activities.
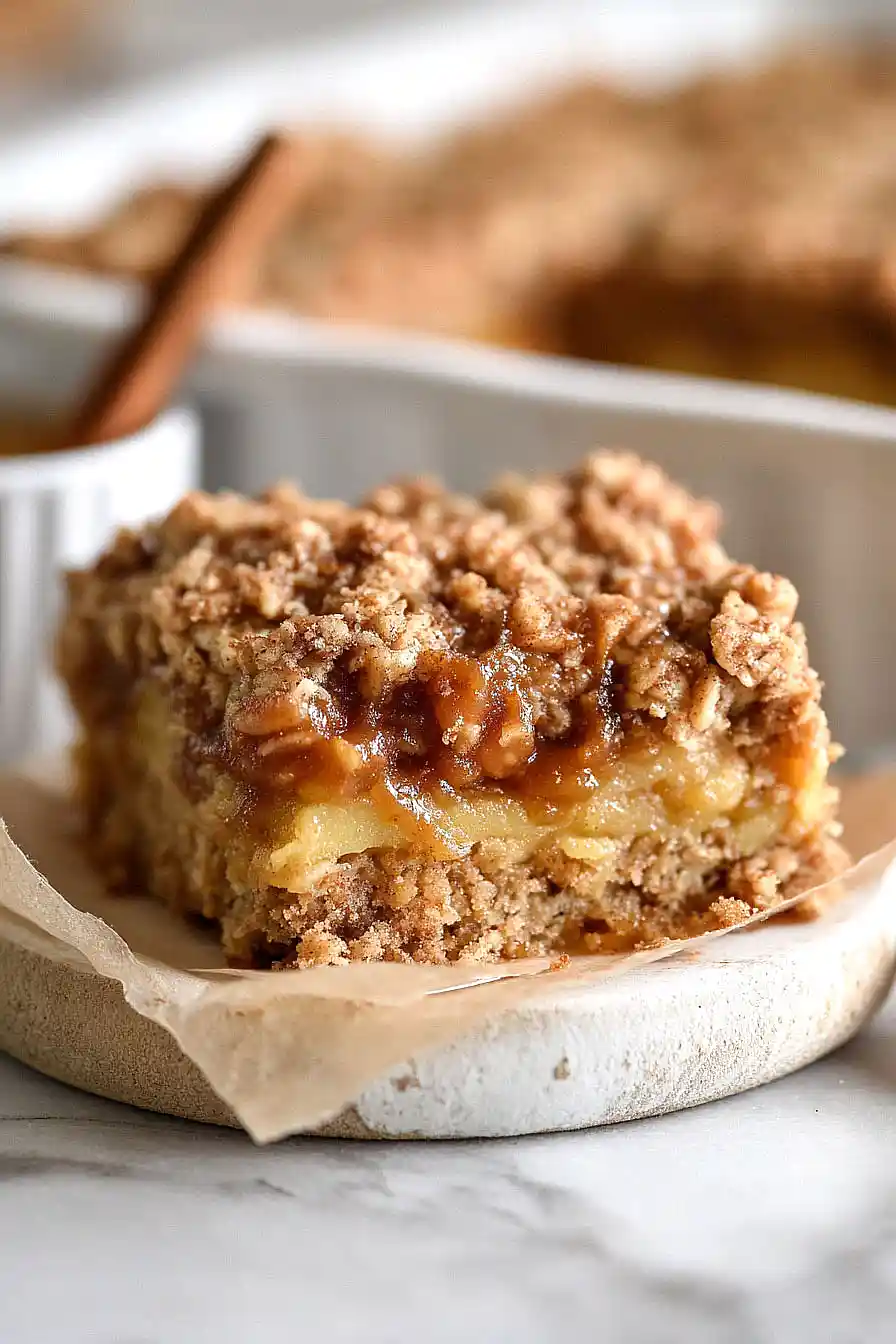
That’s exactly why these caramel apple crisp bars are such a game-changer: they deliver all the comfort of traditional apple crisp with rich caramel goodness, they’re much easier to serve and transport than a whole pie, and you can make them ahead of time for potlucks, school events, or just because your family is craving something sweet.
Why You’ll Love These Caramel Apple Crisp Bars
- Easy bar format – These bars give you all the flavors of traditional apple crisp but in a portable, slice-and-serve format that’s perfect for potlucks or packed lunches.
- Simple ingredients – You probably have most of these pantry staples on hand already – just basic baking ingredients plus fresh apples and jarred caramel sauce.
- Perfect fall dessert – The combination of tender spiced apples, buttery oat topping, and gooey caramel makes these bars taste like autumn in every bite.
- Make-ahead friendly – These bars actually taste even better the next day, making them great for meal prep or when you need to prepare dessert in advance.
- Crowd-pleasing treat – With their familiar apple crisp flavors and easy-to-eat format, these bars are always a hit at gatherings and bake sales.
What Kind of Apples Should I Use?
For caramel apple crisp bars, you’ll want to choose apples that hold their shape well during baking and won’t turn to mush. Granny Smith apples are a classic choice because they’re tart and firm, which balances nicely with the sweet caramel. Honeycrisp and Braeburn apples also work great since they maintain their texture and add a bit of natural sweetness. You can even mix two different varieties for more complex flavor – try pairing a tart apple like Granny Smith with a sweeter one like Gala. Just make sure to slice them thinly and evenly so they cook through properly in the bars.
Options for Substitutions
This recipe is pretty forgiving when it comes to swaps, so here are some easy substitutions you can make:
- Salted butter: If you only have unsalted butter, just add an extra pinch of salt to each layer. You can also substitute with coconut oil (solid, not melted) for a dairy-free option.
- Apples: Granny Smith, Honeycrisp, or Braeburn apples work best since they hold their shape when baked. You can mix different varieties for more complex flavor, but avoid Red Delicious as they get too mushy.
- Caramel sauce: No jarred caramel? You can make a quick version by melting 1/4 cup brown sugar with 2 tablespoons butter and a splash of cream. Butterscotch chips melted with a little cream also work.
- Oatmeal: Old-fashioned oats are best for texture, but quick oats will work too. For a gluten-free option, make sure your oats are certified gluten-free.
- Brown sugar: You can substitute with coconut sugar for a less processed option, or mix white sugar with a tablespoon of molasses if you’re out of brown sugar.
- Ground cinnamon: Feel free to add a pinch of nutmeg or apple pie spice along with the cinnamon for extra warmth and flavor.
Watch Out for These Mistakes While Baking
The biggest mistake when making caramel apple crisp bars is not slicing your apples thin enough, which can leave you with undercooked, crunchy apple pieces that don’t blend well with the tender bar texture – aim for slices about 1/8 inch thick for the best results. Another common error is skipping the step to toss your sliced apples with a little flour before layering, which helps absorb excess moisture and prevents a soggy bottom crust. Don’t forget to press your bottom crust firmly into the pan before adding the apple layer, as a loose crust won’t hold up to the weight of the filling and topping. Finally, resist the urge to cut into these bars while they’re still warm – letting them cool completely allows the caramel to set properly and makes clean slicing much easier.
What to Serve With Caramel Apple Crisp Bars?
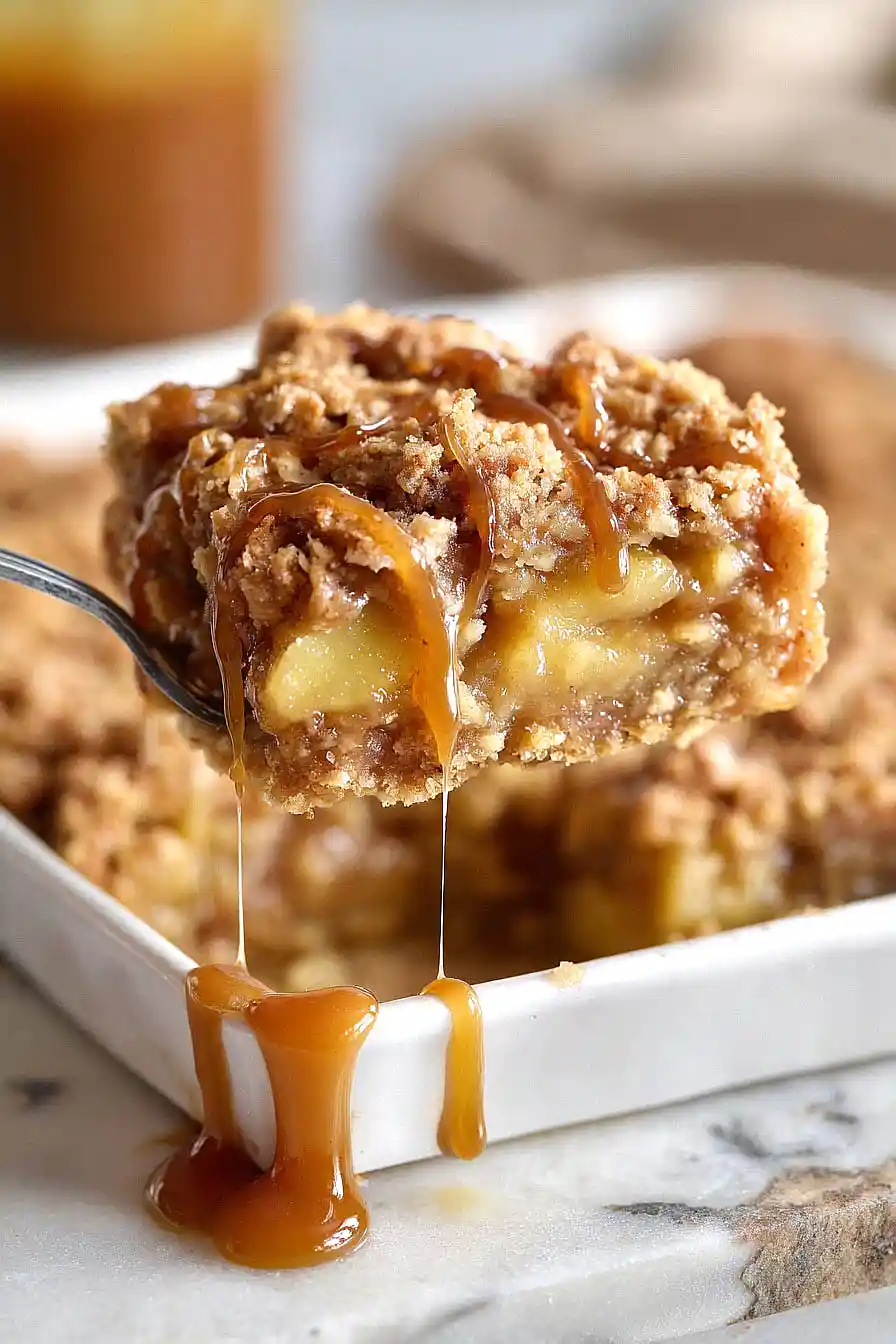
These caramel apple crisp bars are perfect on their own, but they’re even better with a scoop of vanilla ice cream that melts right into all those warm spices and caramel flavors. A dollop of fresh whipped cream works great too, especially if you want something a little lighter than ice cream. For a cozy fall gathering, try serving them alongside a hot cup of coffee or spiced apple cider – the warmth really brings out the cinnamon and apple notes. You can also drizzle a little extra caramel sauce on top right before serving if you’re feeling indulgent!
Storage Instructions
Keep Fresh: These caramel apple crisp bars taste amazing for days! Store them covered at room temperature for up to 3 days, or pop them in the fridge for up to a week. I like to cut them into squares and keep them in an airtight container so they stay nice and chewy.
Freeze: You can definitely freeze these bars for later! Wrap individual squares in plastic wrap or store them in a freezer-safe container with parchment paper between layers. They’ll keep for up to 3 months and make a great treat to pull out when you’re craving something sweet.
Warm Up: While these bars are delicious cold or at room temperature, warming them up brings back that fresh-from-the-oven taste. Just pop a square in the microwave for 15-20 seconds or warm it in a 300°F oven for a few minutes. Drizzle with extra caramel sauce if you’re feeling fancy!
| Preparation Time | 15-20 minutes |
| Cooking Time | 47-52 minutes |
| Total Time | 62-72 minutes |
| Level of Difficulty | Medium |
Estimated Nutrition
Estimated nutrition for the whole recipe (without optional ingredients):
- Calories: 2700-2900
- Protein: 15-20 g
- Fat: 120-130 g
- Carbohydrates: 400-430 g
Ingredients
For the crust:
- 1 1/4 cups all-purpose flour (I use King Arthur all-purpose flour)
- 1/2 cup salted butter (room temperature, about 70°F)
- 1/4 tsp salt
- 2 tbsp brown sugar
For the apple layer:
- 2 tbsp brown sugar
- 1/2 tsp ground cinnamon (freshly ground preferred for more flavor)
- 1/4 cup jarred caramel sauce (I prefer Ghirardelli)
- 1/4 tsp salt
- 4 cups apples (peeled and sliced into 1/4-inch thick slices)
- 1/4 cup all-purpose flour
For the topping:
- 3/4 cup brown sugar
- 1/2 cup rolled oats (old-fashioned oats give better texture)
- 6 tbsp salted butter (room temperature)
- 1/4 tsp ground cinnamon
- 1/2 cup all-purpose flour
For serving (optional):
- Extra caramel sauce (optional but recommended for extra richness)
Step 1: Prepare the Crust and Preheat
- 1/2 cup salted butter
- 1 1/4 cups all-purpose flour
- 2 tbsp brown sugar
- 1/4 tsp salt
Preheat your oven to 350°F.
While it heats, combine the room temperature butter, flour, brown sugar, and salt in a bowl, mixing until the texture resembles coarse breadcrumbs—this should take just a minute or two.
Press this mixture firmly and evenly into a 9×13-inch baking pan, making sure to get it into the corners and create an even base layer.
Bake for 12 minutes until the crust is set but not yet golden; this pre-baking prevents a soggy bottom once you add the apple filling.
Step 2: Prepare the Apple Filling
- 4 cups apples
- 1/4 cup jarred caramel sauce
- 1/4 tsp salt
- 1/2 tsp ground cinnamon
- 2 tbsp brown sugar
- 1/4 cup all-purpose flour
While the crust bakes, peel and slice your apples into 1/4-inch thick slices—this thickness ensures they’ll cook through evenly without falling apart.
In a separate bowl, whisk together the caramel sauce, salt, cinnamon, brown sugar, and flour until you have a smooth, cohesive mixture.
I like to use freshly ground cinnamon here rather than pre-ground, as it gives a noticeably brighter, more aromatic flavor to the filling.
Once the crust comes out of the oven, add the sliced apples to the caramel mixture and gently toss to coat every slice evenly.
Step 3: Assemble the Apple Layer
- caramel-apple mixture from Step 2
Spread the caramel-coated apples from Step 2 evenly over the pre-baked crust, then gently press them down to create a compact layer.
This pressing helps the apples cook more evenly and prevents them from shifting during baking.
Make sure the apples are distributed in a relatively even layer so the crisp topping will bake uniformly.
Step 4: Make the Crisp Topping
- 6 tbsp salted butter
- 3/4 cup brown sugar
- 1/2 cup all-purpose flour
- 1/2 cup rolled oats
- 1/4 tsp ground cinnamon
In a clean bowl, combine the room temperature butter, brown sugar, flour, rolled oats, and cinnamon.
Mix with a fork or your fingertips until the mixture resembles coarse breadcrumbs with some slightly larger clumps—you want texture here, not a smooth paste.
I find that old-fashioned rolled oats work better than quick oats because they hold their shape and give you those delicious crunchy bits that make the crisp texture so satisfying.
Step 5: Top and Bake
- crisp topping mixture from Step 4
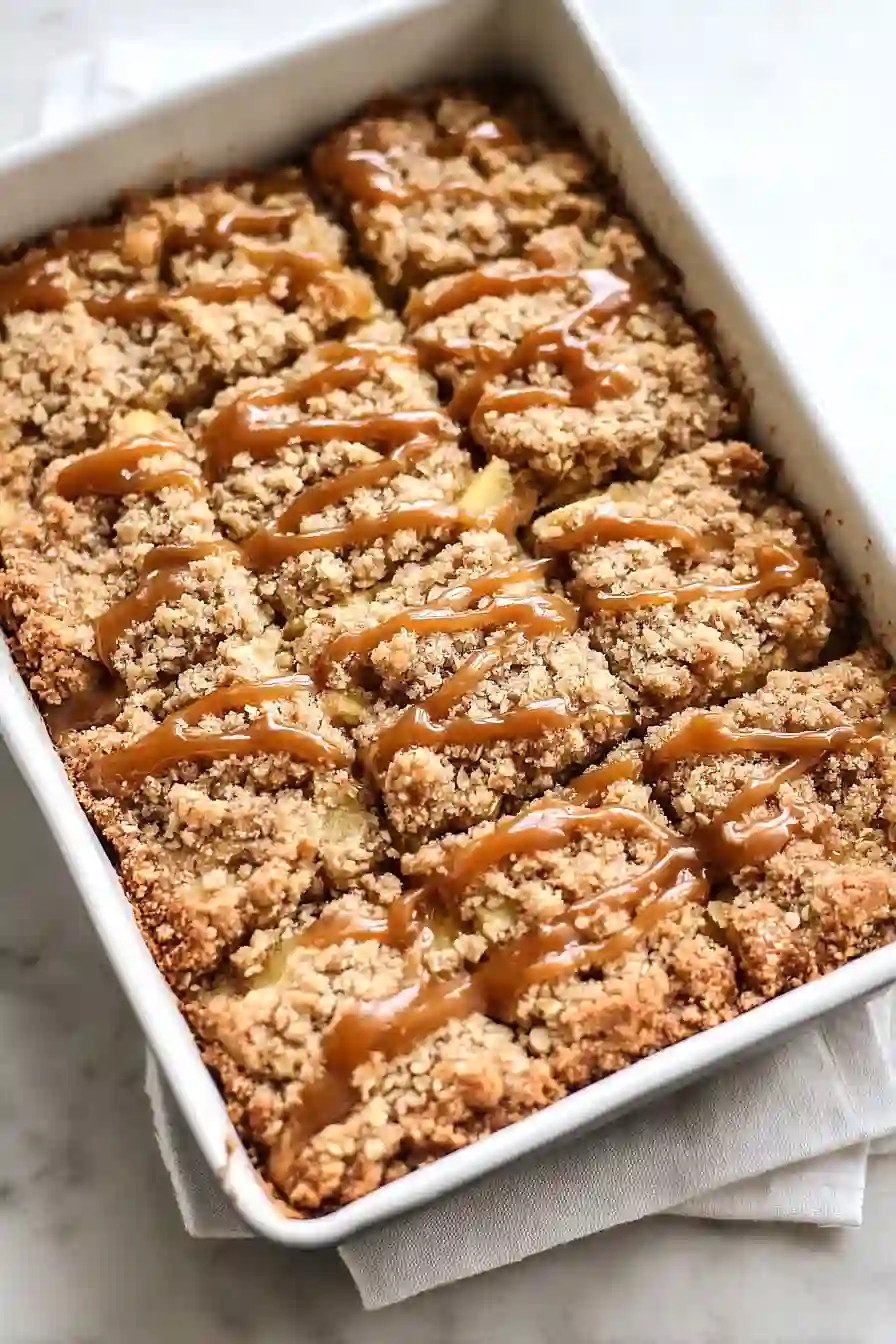
Sprinkle the crisp topping from Step 4 evenly over the apples, then gently press it down with the back of a spoon—this helps it brown more evenly and creates better texture contrast.
Bake for 35-40 minutes at 350°F until the topping is golden brown and you can see a few bubbles of caramel peeking out around the edges of the pan, which signals that the apples are cooked through and the filling is hot.
Step 6: Cool and Finish
- Extra caramel sauce
Remove the bars from the oven and let them cool completely at room temperature—this is crucial because it allows the filling to set so the bars will cut cleanly and hold their shape.
Once completely cooled (at least 2-3 hours), drizzle extra caramel sauce over the top in a decorative pattern or scattered across the surface for that irresistible finishing touch that adds richness and visual appeal.


