If you ask me, black cocoa cookies are perfect for Halloween.
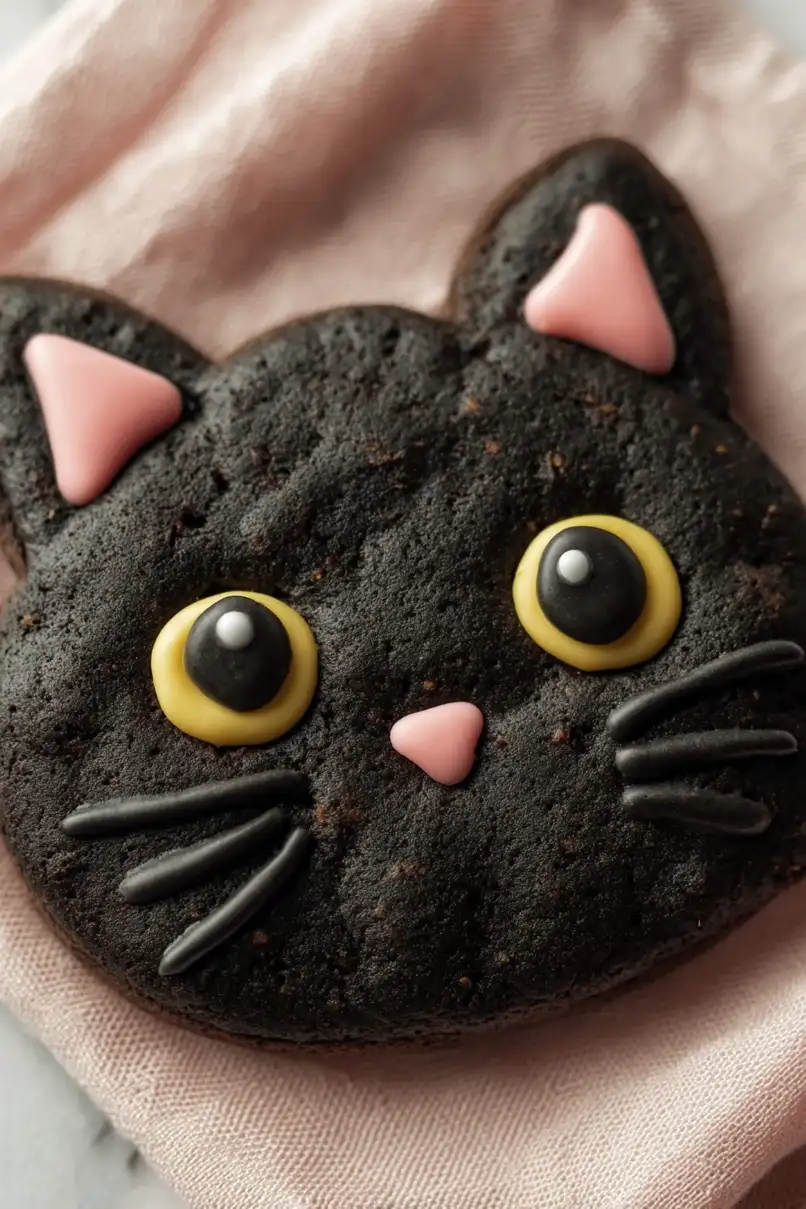
These spooky cat-shaped treats make a fun family project that’s packed with rich chocolate flavor. The deep black color comes from special black cocoa powder that gives regular cookies a dramatic makeover.
They’re simple to roll out and cut with cookie cutters, then decorated with basic icing details. A sprinkle of sugar and some piped-on features help bring these little cats to life.
It’s a crowd-pleasing recipe that works great for parties, a perfect way to get everyone excited about Halloween.
Why You’ll Love These Halloween Black Cocoa Cat Cookies
- Quick and easy baking – These cookies come together in just 30-45 minutes, making them perfect for last-minute Halloween treats or when you need something festive fast.
- Dairy-free friendly – Made with dairy-free butter and milk, these cookies work great for anyone avoiding dairy without sacrificing taste or texture.
- Budget-friendly treat – At under $3 total for the whole batch, you can make adorable Halloween cookies without breaking the bank.
- Fun Halloween theme – The black cocoa powder creates naturally dark cookies that are perfect for spooky season, and decorating them as cats makes baking feel like a fun activity rather than a chore.
- Simple pantry ingredients – Most of these ingredients are basic baking staples you probably already have, so you won’t need a special shopping trip to make them.
What Kind of Black Cocoa Powder Should I Use?
Black cocoa powder is what gives these cookies their deep, dark color that’s perfect for Halloween treats. You can find black cocoa powder at most baking supply stores or online – brands like King Arthur Baking and Hershey’s Special Dark work well for this recipe. If you can’t find black cocoa powder, you can substitute it with additional regular cocoa powder, though your cookies won’t be quite as dramatically dark. The combination of regular cocoa powder and black cocoa powder creates the perfect balance of chocolate flavor and that spooky black color that makes these cat cookies so fun.
Options for Substitutions
These spooky cookies are pretty adaptable, so here are some swaps you can make:
- Black cocoa powder: This is what gives the cookies their deep black color, but if you can’t find it, you can use regular cocoa powder plus a few drops of black gel food coloring. The cookies won’t be quite as dark, but they’ll still taste great.
- Dairy-free butter: Regular unsalted butter works perfectly if you’re not avoiding dairy. You can also use coconut oil (solid, not melted) or vegetable shortening in the same amount.
- Dairy-free milk: Any milk you have on hand will work – regular milk, almond milk, oat milk, or even water in a pinch. Start with 2 tablespoons and add more if the dough seems too dry.
- Brown sugar: You can use all granulated sugar if that’s what you have, though the cookies will be slightly less chewy. Or swap it for coconut sugar for a deeper flavor.
- Vegan royal icing: Regular royal icing made with egg whites works just fine if you’re not avoiding eggs. You can also keep it simple and use melted chocolate chips for decorating instead.
Watch Out for These Mistakes While Baking
The biggest mistake when making black cocoa cookies is overmixing the dough once you add the flour, which can lead to tough, dense cookies instead of tender ones – mix just until the ingredients come together and stop there. Another common error is adding too much liquid at once; start with just 2 tablespoons of dairy-free milk and add more only if the dough feels too dry and crumbly. Since black cocoa can make cookies more fragile than regular chocolate cookies, be extra gentle when transferring them to and from the baking sheet, and let them cool completely on the pan for at least 10 minutes before moving them. For the best cat shapes, chill your dough for 30 minutes before rolling and cutting, and when decorating with royal icing, make sure the cookies are completely cool or the icing will melt and run off.
What to Serve With Black Cocoa Cat Cookies?
These spooky little cat cookies are perfect on their own, but they’re even better paired with a tall glass of cold milk or your favorite hot beverage like coffee or hot chocolate. I love setting them out on a Halloween party table alongside other themed treats like pumpkin cupcakes or candy corn for a fun spread that kids and adults will both enjoy. They also make great additions to Halloween gift bags or lunch boxes – just wrap a few in cellophane with a cute ribbon. For a cozy autumn evening, try dunking them in some warm spiced cider or chai tea while watching your favorite Halloween movies.
Storage Instructions
Keep Fresh: These spooky cat cookies stay crisp and delicious when stored in an airtight container at room temperature for up to one week. Just make sure the royal icing is completely set before stacking them, or they might stick together and ruin all your cute decorating work!
Freeze: You can freeze these cookies for up to 3 months, which is perfect for getting ahead on Halloween prep. Store them in a freezer-safe container with parchment paper between layers. I like to freeze the plain cookies before decorating, then thaw and add the icing when I’m ready to serve.
Make Ahead: The cookie dough can be made up to 2 days ahead and kept wrapped in the fridge, or you can freeze it for up to 3 months. Just let it come to room temperature before rolling and cutting. This makes Halloween party prep so much easier when you can bake fresh cookies without all the mixing!
| Preparation Time | 20-30 minutes |
| Cooking Time | 10-13 minutes |
| Total Time | 30-45 minutes |
| Level of Difficulty | Medium |
Estimated Nutrition
Estimated nutrition for the whole recipe (without optional ingredients):
- Calories: 1300-1450
- Protein: 13-16 g
- Fat: 62-72 g
- Carbohydrates: 185-200 g
Ingredients
For the cookie dough:
- 1/4 cup brown sugar, packed
- 1/4 tsp salt
- 1/4 cup sugar
- 1/2 tsp baking soda
- 2 to 4 tbsp non-dairy milk (add gradually until dough comes together)
- 1 tsp vanilla extract (for best flavor)
- 2 tbsp black cocoa powder (for deep, dark color)
- 1 1/4 cups all-purpose flour (I use King Arthur all-purpose flour)
- 1 tbsp cocoa powder
- 1/2 cup melted plant-based butter, cooled (I prefer Earth Balance for neutral flavor)
For decorating:
- Vegan royal icing or melted vegan white and dark chocolate (oil-based food dye for coloring if desired)
Step 1: Prepare Dry Ingredients and Preheat Oven
- 1 1/4 cups all-purpose flour
- 1 tbsp cocoa powder
- 2 tbsp black cocoa powder
- 1/2 tsp baking soda
- 1/4 tsp salt
Whisk together the all-purpose flour, cocoa powder, black cocoa powder, baking soda, and salt in a medium bowl.
I like using black cocoa powder because it gives these cookies an almost eerily authentic dark color—much more dramatic than regular cocoa alone.
While you’re mixing, preheat your oven to 350°F (177°C) and line two baking sheets with parchment paper so everything is ready when you need it.
Step 2: Cream Together Wet Ingredients
- 1/2 cup melted plant-based butter, cooled
- 1/4 cup sugar
- 1/4 cup brown sugar, packed
- 1 tsp vanilla extract
In a stand mixer (or by hand with a whisk), combine the melted plant-based butter that has cooled slightly, sugar, brown sugar, and vanilla extract.
Mix until well combined—about 1-2 minutes—until the mixture is light and slightly fluffy.
The cooling step is important because if your melted butter is too hot, it will cook the sugars slightly and change the texture of your dough.
Step 3: Combine and Adjust Dough Consistency
- dry ingredient mixture from Step 1
- wet ingredient mixture from Step 2
- 2 to 4 tbsp non-dairy milk
Add the dry ingredient mixture from Step 1 to the wet ingredients from Step 2, mixing on low speed or by hand until just combined—don’t overmix or your cookies will be tough.
The dough should come together but might look slightly dry.
Add the non-dairy milk gradually, 1 tablespoon at a time, mixing gently until the dough is cohesive and holds together when squeezed but isn’t sticky.
You may not need all 4 tablespoons depending on your flour brand and humidity.
Step 4: Shape Dough into Cat Heads and Ears
- dough from Step 3
Working with the dough from Step 3, roll portions into balls about the size of walnuts and place them on your prepared baking sheets.
Gently flatten each ball into a disk about 1/4-inch thick to create the cat’s head.
For each cookie, pinch off two small pieces of dough and roll them into thin triangles for ears; press these firmly onto the top of each flattened disk so they stick during baking.
Space the cookies about 1 1/2 inches apart to allow for any slight spreading.
Step 5: Bake and Cool Cookies Completely
Bake in your preheated 350°F oven for 10-13 minutes—they should look set but still slightly soft to the touch; the edges will firm up as they cool.
Remove from the oven and let the cookies rest on the baking sheet for 5-10 minutes to firm up enough to handle without breaking, then transfer them to a wire rack to cool completely.
This gradual cooling prevents cracks and helps them maintain their shape.
Step 6: Decorate with Halloween Cat Details
- cooled cookies from Step 5
- Vegan royal icing or melted vegan white and dark chocolate
- oil-based food dye for coloring
Once the cooled cookies from Step 5 are at room temperature, prepare your vegan royal icing or melted vegan white and dark chocolate for decorating.
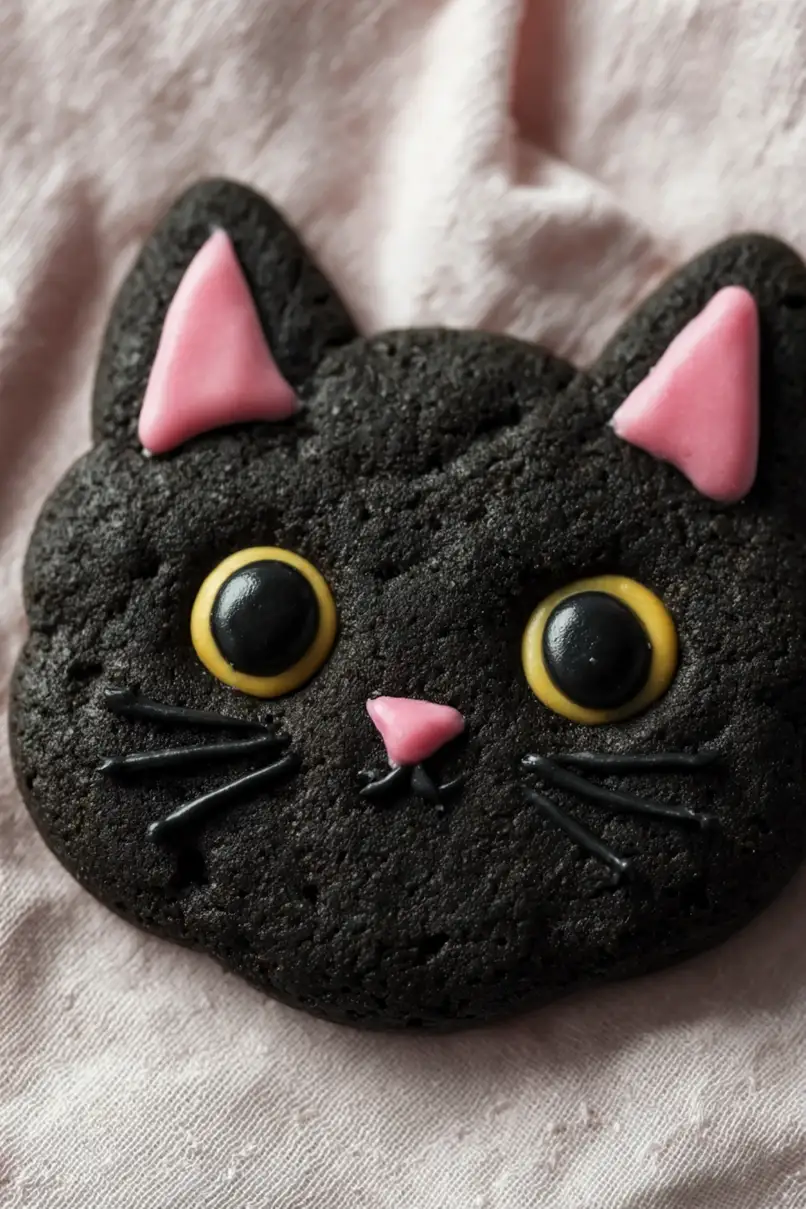
Using a small piping bag or paintbrush, add yellow eyes, a pink nose, pink ear accents, and black whiskers and pupils to create playful cat faces.
Let the icing or chocolate set completely before serving.
I find that melted chocolate sets faster than royal icing if you’re in a time crunch, but royal icing gives a more refined, polished look.







