I didn’t realize how much I missed s’mores until I couldn’t eat them anymore. After my daughter was diagnosed with celiac disease three years ago, I thought campfire treats were a thing of the past. Regular graham crackers were out, and finding good gluten-free ones felt impossible.
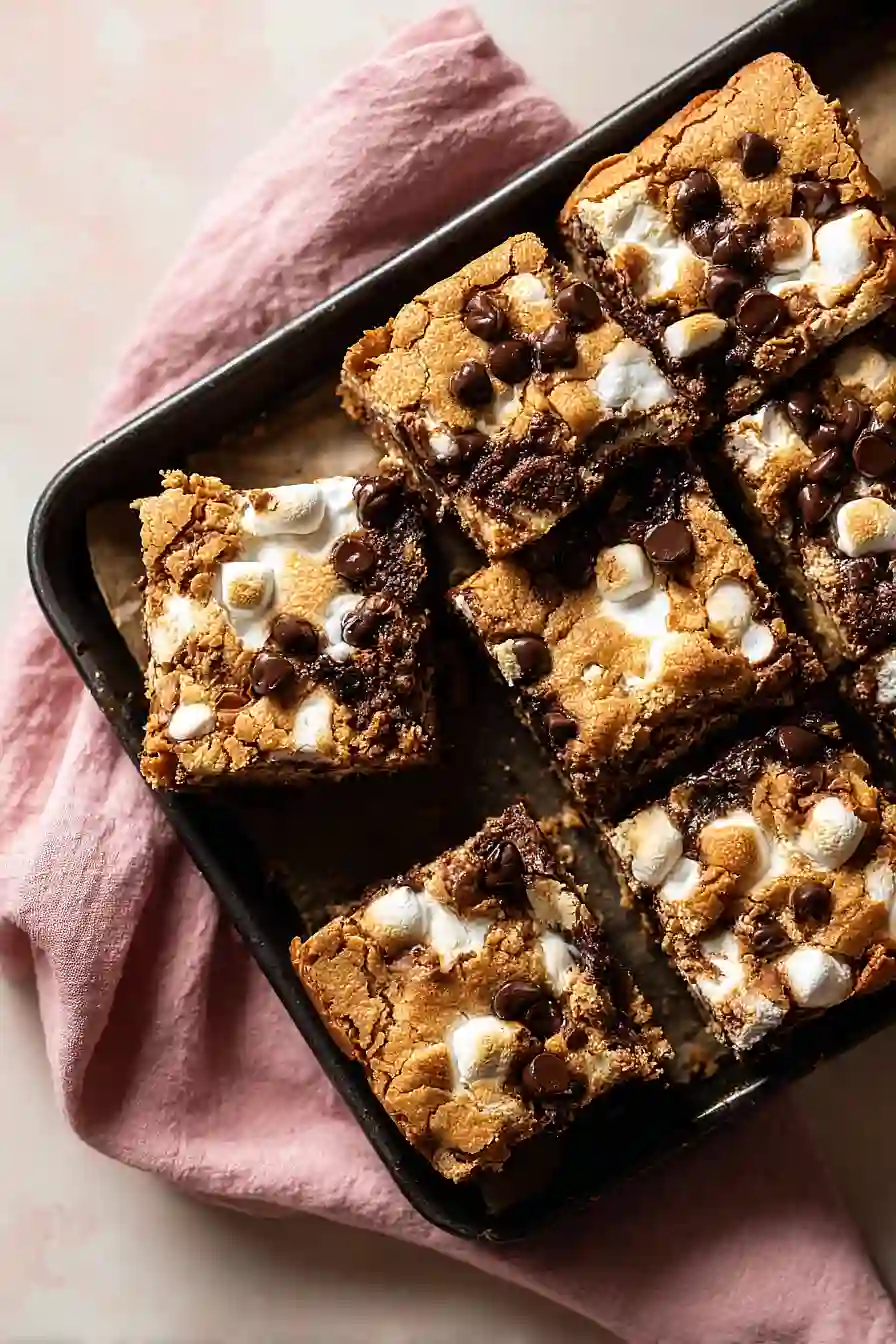
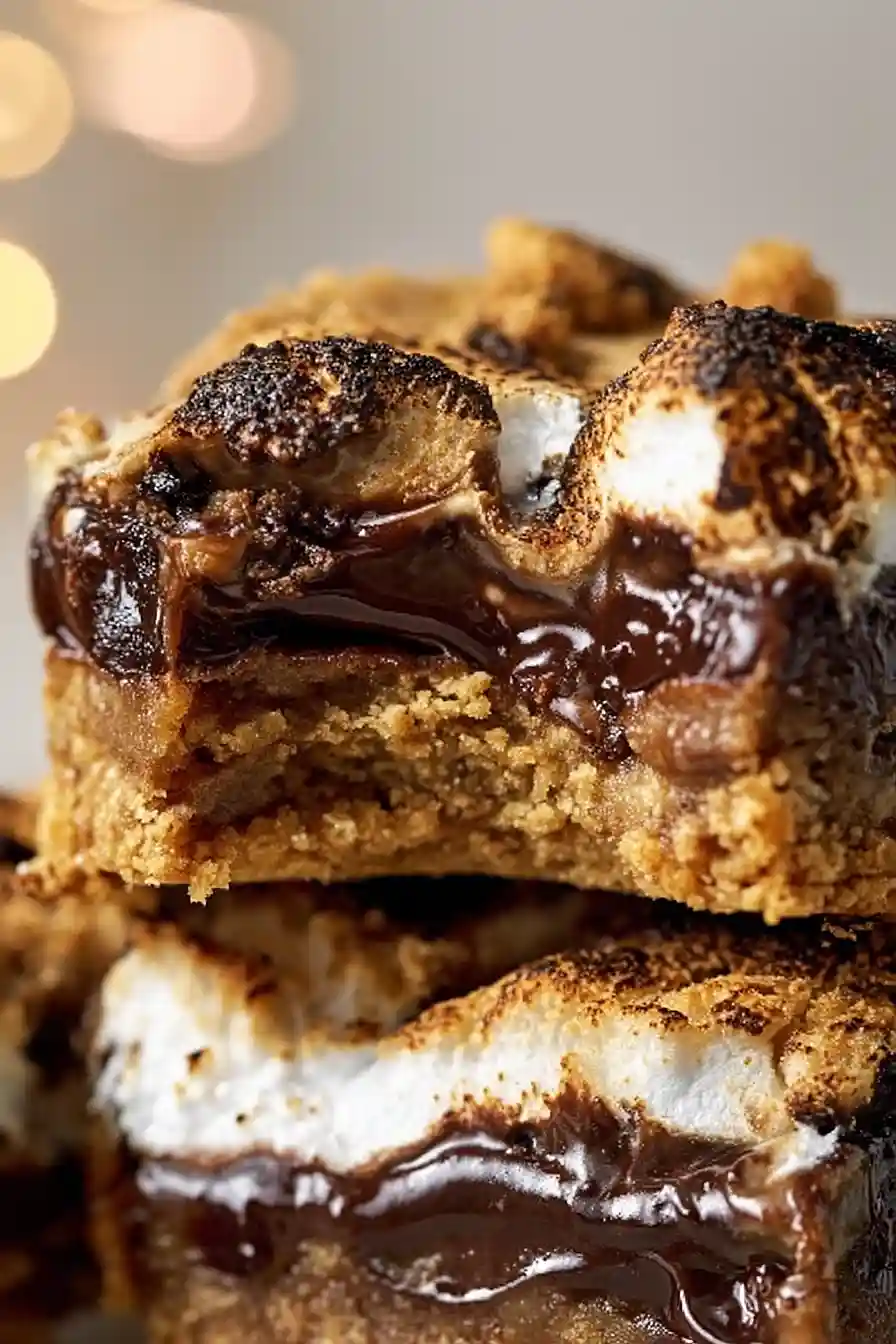
Then I discovered you can make s’mores bars at home with gluten-free ingredients that actually taste like the real thing. No campfire needed, no burnt marshmallows, and definitely no mystery ingredients. Just a simple bar cookie that captures all those gooey, chocolatey, graham cracker flavors we remember—except everyone at the table can actually eat them.

Why You’ll Love These S’mores Bars
- Gluten-free campfire classic – You get all the nostalgic flavors of s’mores without needing a campfire or worrying about gluten. Perfect for anyone with dietary restrictions who doesn’t want to miss out.
- No campfire needed – Make these indulgent bars right in your oven any time of year, rain or shine. No outdoor setup required.
- Ready in under an hour – From start to finish, you’ll have these gooey, chocolatey bars ready to enjoy in about an hour.
- Crowd-pleasing dessert – These bars are always a hit at potlucks, parties, or family gatherings. Most people won’t even realize they’re gluten-free.
- Simple ingredients – You probably have most of these pantry staples on hand already, and the specialty gluten-free items are easy to find at most grocery stores.
What Kind of Gluten Free Graham Crackers Should I Use?
For these s’mores bars, you’ll need to crush up gluten free graham crackers into crumbs, and the brand you choose really does matter here. Kinnikinnick makes a solid gluten free graham cracker that crumbles nicely and has that classic graham flavor we all know and love. If you can’t find that brand, look for other gluten free graham crackers at your local grocery store or health food store – just make sure they’re labeled gluten free if that’s important for your diet. You’ll need about 8-10 full graham cracker sheets to get 1 cup of crumbs, and the easiest way to crush them is to toss them in a food processor or put them in a sealed plastic bag and roll over them with a rolling pin.
Options for Substitutions
Here are some swaps you can make to customize these s’mores bars:
- Gluten free baking flour blend: Make sure you use a blend that includes xanthan gum or another binder – this is really important for the texture to hold together. Bob’s Red Mill 1-to-1 or King Arthur Measure for Measure work great.
- Gluten free graham cracker crumbs: If you can’t find Kinnikinnick brand, Schar Honeygrams or Pamela’s graham crackers work well too. Just crush them up in a food processor or put them in a sealed bag and roll with a rolling pin.
- Butter: The recipe works with either regular butter or vegan butter, so use whichever fits your dietary needs. Just make sure it’s softened to room temperature before mixing.
- Marshmallow creme: Marshmallow Fluff is naturally gluten free, but double-check labels on other brands. In a pinch, you could use mini marshmallows instead – about 3 cups – though the texture will be slightly different.
- Chocolate chips: Any gluten free chocolate chips will work here. Milk chocolate is fine if you prefer it sweeter, or stick with dark chocolate for a more traditional s’mores taste.
Watch Out for These Mistakes While Baking
The biggest mistake when making s’mores bars is using a gluten free flour blend without xanthan gum or another binder, which can cause your bars to crumble apart instead of holding together nicely.
Another common error is not letting the butter soften properly to room temperature – cold butter won’t cream well with the sugar and can lead to uneven texture throughout your bars.
When spreading the marshmallow creme layer, work quickly and use an offset spatula or the back of a spoon dipped in water to prevent sticking, and make sure to leave a small border around the edges so it doesn’t overflow during baking.
Finally, resist the urge to cut into these bars right away – letting them cool completely in the pan for at least an hour helps them set properly and makes slicing much cleaner.
What to Serve With S’mores Bars?
These s’mores bars are pretty rich and sweet on their own, so I like to serve them with a big scoop of vanilla ice cream to balance out all that chocolate and marshmallow goodness. A cold glass of milk is always a winner too, especially if you’re serving these to kids (or kids at heart!). If you’re putting together a dessert spread for a party, try pairing them with fresh berries like strawberries or raspberries – the tartness cuts through the sweetness nicely. Hot coffee or even hot chocolate makes these bars feel extra cozy, especially during fall and winter months when you’re craving that campfire vibe indoors.
Storage Instructions
Store: Keep your s’mores bars in an airtight container at room temperature for up to 3 days, or in the fridge for up to a week. The marshmallow layer stays gooey and delicious either way, though I prefer them at room temp for that classic s’mores texture.
Freeze: These bars freeze really well for up to 3 months. Just cut them into individual portions, wrap each one in plastic wrap, and store them in a freezer-safe container or bag. They’re great to have on hand when you need a quick sweet treat!
Serve: If you’ve frozen your bars, let them thaw at room temperature for about 30 minutes before eating. For an extra special treat, you can warm them in the microwave for about 10-15 seconds to get that melty chocolate and gooey marshmallow experience all over again.
| Preparation Time | 20-30 minutes |
| Cooking Time | 32-35 minutes |
| Total Time | 52-65 minutes |
| Level of Difficulty | Medium |
Estimated Nutrition
Estimated nutrition for the whole recipe (without optional ingredients):
- Calories: 3200-3500
- Protein: 30-36 g
- Fat: 145-160 g
- Carbohydrates: 430-460 g
Ingredients
For the base layer:
- 1 cup gluten-free flour blend (King Arthur Baking Company works great)
- 1/2 tsp baking powder
- 1/4 tsp salt
- 1 large egg
- 1/2 cup butter, softened (room temperature for easier mixing)
- 1 tsp vanilla extract (pure vanilla for best flavor)
- 3/4 cup brown sugar (packed)
- 1 cup gluten-free graham cracker crumbs (Enjoy Life brand recommended)
For the toppings:
- 1.25 cups gluten-free dark chocolate chips (melted before spreading)
- 7 oz marshmallow creme
Step 1: Prepare the Pan and Preheat Oven
Preheat your oven to 350°F and prepare an 8×8-inch or 9×9-inch baking pan by lining it with parchment paper or lightly greasing it.
This ensures your bars won’t stick and makes removal much easier once they’re baked.
Step 2: Mix Dry Ingredients
- 1 cup gluten-free flour blend
- 1 cup gluten-free graham cracker crumbs
- 1/2 tsp baking powder
- 1/4 tsp salt
In a medium bowl, whisk together the gluten-free flour blend, gluten-free graham cracker crumbs, baking powder, and salt until evenly combined.
This distributes the leavening agent throughout and prevents lumps in your final batter.
Step 3: Cream Butter and Sugar, Then Add Wet Ingredients
- 1/2 cup butter, softened
- 3/4 cup brown sugar
- 1 large egg
- 1 tsp vanilla extract
In a large bowl, beat the softened butter and packed brown sugar together for 2 minutes until light and fluffy—this helps incorporate air and creates a better texture.
Add the egg and vanilla extract, mixing until fully combined and smooth.
I find that room temperature butter makes this step much easier and ensures everything incorporates evenly without lumps.
Step 4: Combine and Rest the Dough
- dry ingredient mixture from Step 2
- wet ingredient mixture from Step 3
Add the dry ingredient mixture from Step 2 to the wet ingredients from Step 3, folding and stirring until just combined.
Don’t overmix—a few streaks of flour are fine.
Let the dough rest for 5 minutes; this allows the gluten-free flour to fully hydrate and makes the dough easier to work with.
Step 5: Layer the Base, Marshmallow, and Chocolate
- dough from Step 4
- 7 oz marshmallow creme
- 1.25 cups gluten-free dark chocolate chips, melted
Press half of the dough from Step 4 evenly into the bottom of your prepared pan.
Spread the marshmallow creme in an even layer over the dough base.
Sprinkle the melted dark chocolate chips over the marshmallow layer, spreading gently with a spatula or the back of a spoon.
I like to melt the chocolate chips in the microwave in 20-second bursts, stirring between each one, so they’re pourable but not scorched.
Drop small scoops of the remaining dough over the chocolate layer—don’t worry about covering everything completely, as the bars will have a rustic, textured top.
Step 6: Bake and Cool
Place the pan in your preheated 350°F oven and bake for 32-35 minutes, until the top is golden brown and a toothpick inserted into the dough portions comes out with just a few moist crumbs.
Remove from the oven and let the bars cool completely in the pan—this is important because they’ll continue to set as they cool, making them easier to cut cleanly.
Once fully cooled, use the parchment paper to lift the entire slab out of the pan and cut into squares.
Marshmallow Gluten Free S'mores Bars
Ingredients
For the base layer:
- 1 cup gluten-free flour blend (King Arthur Baking Company works great)
- 1/2 tsp baking powder
- 1/4 tsp salt
- 1 large egg
- 1/2 cup butter, softened (room temperature for easier mixing)
- 1 tsp vanilla extract (pure vanilla for best flavor)
- 3/4 cup brown sugar (packed)
- 1 cup gluten-free graham cracker crumbs (Enjoy Life brand recommended)
For the toppings:
- 1.25 cups gluten-free dark chocolate chips (melted before spreading)
- 7 oz marshmallow creme
Instructions
- Preheat your oven to 350°F and prepare an 8x8-inch or 9x9-inch baking pan by lining it with parchment paper or lightly greasing it. This ensures your bars won't stick and makes removal much easier once they're baked.
- In a medium bowl, whisk together the gluten-free flour blend, gluten-free graham cracker crumbs, baking powder, and salt until evenly combined. This distributes the leavening agent throughout and prevents lumps in your final batter.
- In a large bowl, beat the softened butter and packed brown sugar together for 2 minutes until light and fluffy—this helps incorporate air and creates a better texture. Add the egg and vanilla extract, mixing until fully combined and smooth. I find that room temperature butter makes this step much easier and ensures everything incorporates evenly without lumps.
- Add the dry ingredient mixture from Step 2 to the wet ingredients from Step 3, folding and stirring until just combined. Don't overmix—a few streaks of flour are fine. Let the dough rest for 5 minutes; this allows the gluten-free flour to fully hydrate and makes the dough easier to work with.
- Press half of the dough from Step 4 evenly into the bottom of your prepared pan. Spread the marshmallow creme in an even layer over the dough base. Sprinkle the melted dark chocolate chips over the marshmallow layer, spreading gently with a spatula or the back of a spoon. I like to melt the chocolate chips in the microwave in 20-second bursts, stirring between each one, so they're pourable but not scorched. Drop small scoops of the remaining dough over the chocolate layer—don't worry about covering everything completely, as the bars will have a rustic, textured top.
- Place the pan in your preheated 350°F oven and bake for 32-35 minutes, until the top is golden brown and a toothpick inserted into the dough portions comes out with just a few moist crumbs. Remove from the oven and let the bars cool completely in the pan—this is important because they'll continue to set as they cool, making them easier to cut cleanly. Once fully cooled, use the parchment paper to lift the entire slab out of the pan and cut into squares.


