I didn’t try coconut johnny cake until I was visiting my friend Sarah in the Caribbean, and I couldn’t believe what I’d been missing. She made it fresh one morning, and the smell of that coconut milk mixing with the baking dough had me practically hovering over her shoulder.
When I got back home to Portland, I knew I had to figure out how to make it myself. The thing is, johnny cake recipes can vary a lot depending on who’s making them, but adding coconut milk takes it to another level. It’s not complicated—just a simple quick bread that comes together in one bowl. No yeast, no waiting around, and you get these slightly sweet, tender cakes that go with pretty much anything.
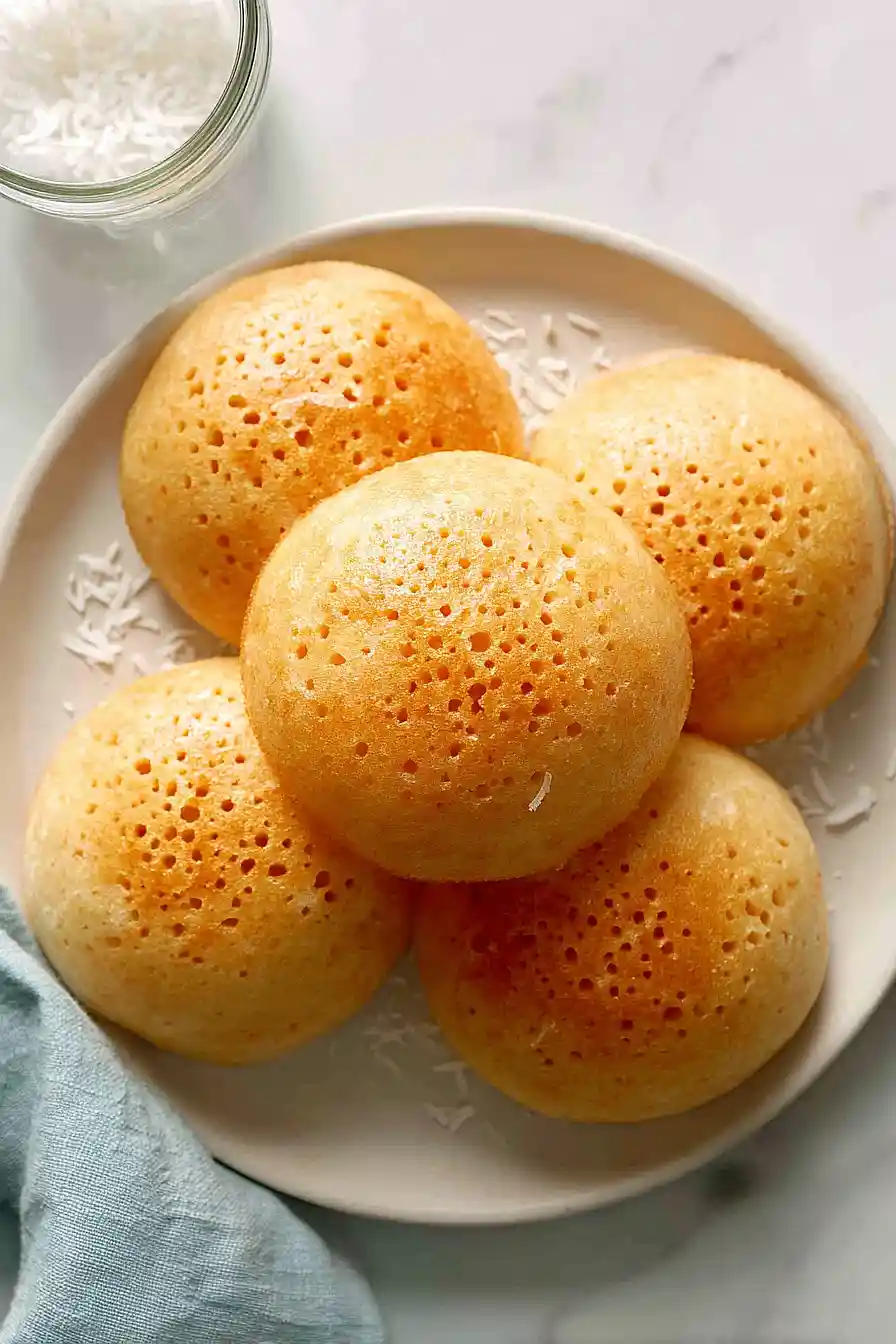
Why You’ll Love This Coconut Johnny Cake
- Quick and easy – Ready in just 30-40 minutes, this coconut johnny cake is perfect when you need fresh-baked bread without spending hours in the kitchen.
- Simple pantry ingredients – You probably have most of these basic staples on hand already, making this an easy recipe to whip up anytime.
- Tropical coconut flavor – The coconut milk adds a subtle sweetness and unique taste that makes this johnny cake stand out from regular bread.
- Versatile side dish – This works great alongside soups, stews, or breakfast dishes, and you can even enjoy it on its own with some butter.
What Kind of Coconut Milk Should I Use?
For this coconut johnny cake, you’ll want to use canned coconut milk rather than the carton kind you’d pour over cereal. The canned version is much thicker and creamier, which gives the johnny cake its rich texture and authentic coconut flavor. Full-fat coconut milk works best here, but if you only have light coconut milk on hand, it’ll still turn out just fine – your cake might just be a bit less rich. Before you measure it out, give the can a good shake since the cream and liquid tend to separate while sitting on the shelf.
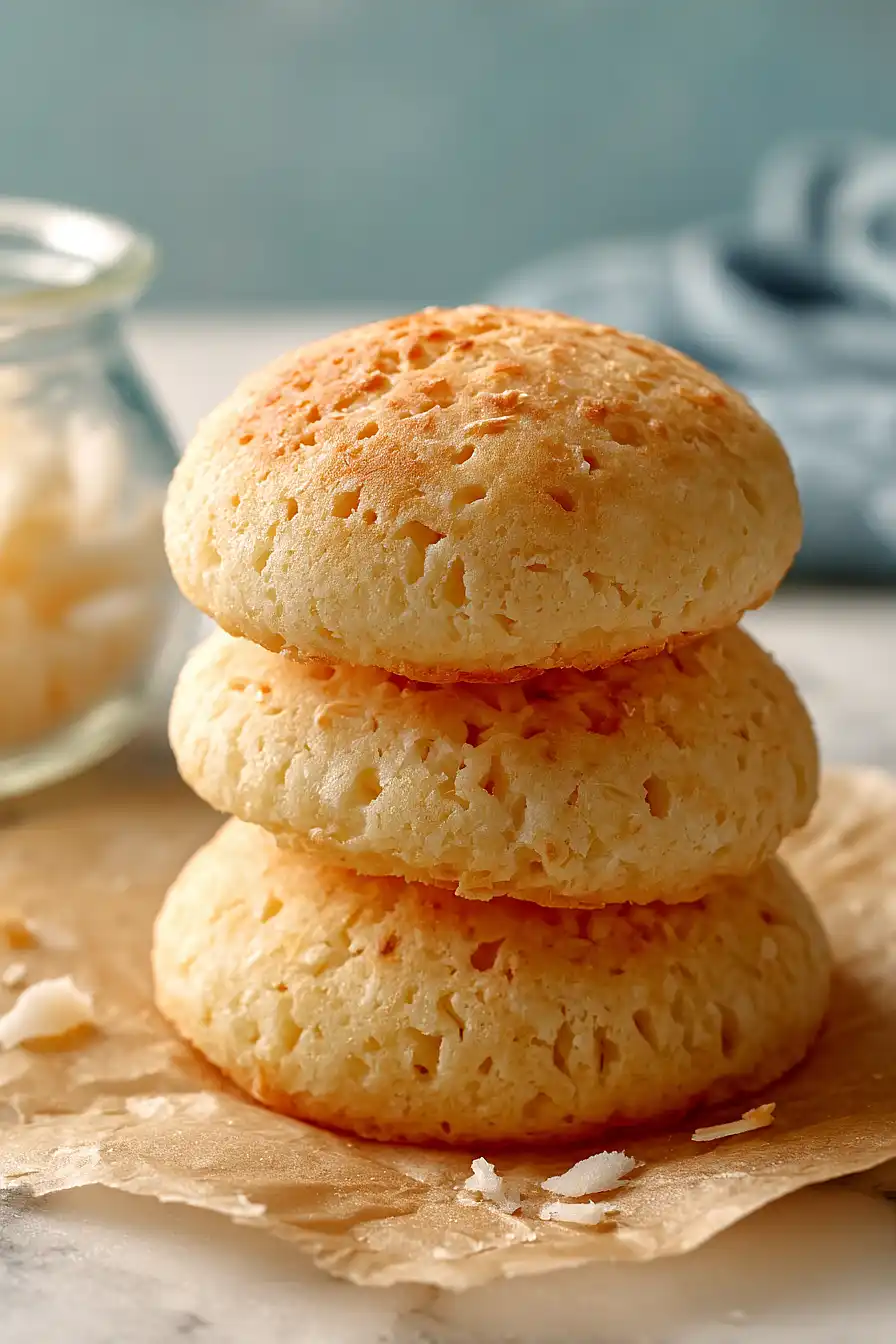
Options for Substitutions
This simple johnny cake recipe is pretty forgiving with a few easy swaps:
- Coconut milk: If you don’t have coconut milk, regular whole milk works fine. You’ll lose the coconut flavor, but the texture will be just as good. For a richer taste, try using half-and-half instead.
- Shortening: You can swap shortening for butter (same amount) for a richer flavor, or use vegetable oil if that’s what you have on hand. With oil, you might need to add it gradually since the dough consistency can vary slightly.
- All-purpose flour: While all-purpose flour is best for this recipe, you can use half whole wheat flour for a nuttier taste. Just know the texture will be a bit denser and you might need to add a splash more liquid.
- Baking powder: Make sure your baking powder is fresh – this is what gives the johnny cake its rise, so don’t skip it or substitute with baking soda unless you adjust the recipe accordingly.
- Sugar: You can adjust the sugar to your taste, going up to 3 tablespoons for a sweeter cake or down to 1 tablespoon if you prefer it less sweet.
Watch Out for These Mistakes While Baking
The biggest mistake when making johnny cakes is overworking the dough after adding the coconut milk, which develops too much gluten and creates tough, dense cakes instead of tender ones – aim for just enough kneading to bring it together, about 1 minute max.
Many people skip poking holes in the dough with a fork, but this step is important because it prevents the cakes from puffing up unevenly and creates a better texture throughout.
Another common error is baking them too long in pursuit of golden color, so start checking at 15 minutes and remove them when they’re just lightly golden on top – they’ll continue cooking slightly as they cool.
If your dough feels too sticky to work with, resist the urge to add lots of extra flour, and instead lightly flour your hands and work surface to prevent the cakes from becoming dry and crumbly.

What to Serve With Coconut Johnny Cake?
Coconut johnny cake is perfect alongside hearty stews and curries, where it can soak up all those flavorful sauces. I love serving it with Caribbean-style dishes like jerk chicken, oxtail stew, or curry goat – the slightly sweet coconut flavor pairs really well with spicy and savory meats. You can also enjoy it for breakfast with some butter and jam, or even with fried fish and a simple cabbage slaw for a more traditional island-style meal. If you’re keeping things simple, it’s delicious on its own with a cup of coffee or tea.
Storage Instructions
Store: Keep your coconut johnny cakes in an airtight container or wrapped in foil at room temperature for up to 2 days. They’re best enjoyed fresh, but they’ll still taste good the next day, especially if you warm them up a bit before eating.
Freeze: You can freeze these for up to a month if you want to make them ahead. Just wrap each johnny cake individually in plastic wrap, then put them all in a freezer bag. This way you can grab just one or two whenever you need them.
Warm Up: To bring them back to life, wrap in foil and warm in a 300°F oven for about 10 minutes, or pop them in the microwave for 20-30 seconds. You can also slice them in half and toast them in a pan with a little butter for a crispy outside.
| Preparation Time | 15-20 minutes |
| Cooking Time | 15-20 minutes |
| Total Time | 30-40 minutes |
| Level of Difficulty | Easy |
| Servings | 12 pieces |
Estimated Nutrition
Estimated nutrition for the whole recipe (without optional ingredients):
- Calories: 1850-2000
- Protein: 26-30 g
- Fat: 65-75 g
- Carbohydrates: 310-330 g
Ingredients
- 3 cups flour (I always use King Arthur all-purpose flour)
- 3 tbsp sugar
- 3.5 tsp baking powder
- 1 tsp salt
- 4 tbsp shortening (I like Crisco for a flakier crust)
- 1 1/4 cups coconut milk (I use Goya for a rich, authentic flavor)
- 1/2 tsp vanilla extract
Step 1: Preheat Oven and Combine Dry Ingredients
- 3 cups flour
- 3 tbsp sugar
- 3.5 tsp baking powder
- 1 tsp salt
Preheat your oven to 375°F so it reaches the proper temperature by the time your dough is ready to bake.
While the oven heats, whisk together the flour, sugar, baking powder, and salt in a large mixing bowl.
This ensures the leavening agent is evenly distributed throughout, which gives you consistent rise and a tender crumb in every bite.
Step 2: Cut in Shortening Until Crumbly
- dry ingredient mixture from Step 1
- 4 tbsp shortening
Add the shortening to the dry mixture and use a pastry cutter, fork, or your fingertips to work it in until the mixture resembles coarse breadcrumbs with some pea-sized pieces of shortening still visible.
This technique creates pockets of fat that produce a flaky, tender texture in the finished johnny cake.
I like Crisco for this because it creates a noticeably flakier crust than butter alone.
Step 3: Add Coconut Milk and Knead Dough
- crumbly mixture from Step 2
- 1 1/4 cups coconut milk
- 1/2 tsp vanilla extract
Stir the coconut milk and vanilla extract into the crumbly mixture until a shaggy dough forms.
Turn the dough out onto a lightly floured surface and knead gently for about 1 minute—just enough to bring it together into a cohesive mass without developing too much gluten, which would make the johnny cakes tough.
The dough should feel soft and slightly sticky, not dry or elastic.
Step 4: Shape and Prepare for Baking
- kneaded dough from Step 3
Divide the dough into 12 equal pieces and roll each into a ball.
Flatten each ball to about ½ inch thickness—they’ll puff up slightly as they bake.
Place them on a parchment-lined baking sheet, poke each one several times with a fork to prevent large air pockets from forming, and brush the tops lightly with milk for a subtle golden finish.
I find that poking with a fork helps the johnny cakes bake more evenly and gives them a nice rustic texture.
Step 5: Bake Until Golden
Bake at 375°F for 15-18 minutes, until the tops are light golden brown.
They should be firm to the touch but still tender inside.
Baking time may vary slightly depending on your oven, so start checking around the 15-minute mark.
Remove from the oven and serve warm—they’re best enjoyed within a few hours while still soft and fragrant.
Mouthwatering Coconut Johnny Cake
Ingredients
- 3 cups flour (I always use King Arthur all-purpose flour)
- 3 tbsp sugar
- 3.5 tsp baking powder
- 1 tsp salt
- 4 tbsp shortening (I like Crisco for a flakier crust)
- 1 1/4 cups coconut milk (I use Goya for a rich, authentic flavor)
- 1/2 tsp vanilla extract
Instructions
- Preheat your oven to 375°F so it reaches the proper temperature by the time your dough is ready to bake. While the oven heats, whisk together the flour, sugar, baking powder, and salt in a large mixing bowl. This ensures the leavening agent is evenly distributed throughout, which gives you consistent rise and a tender crumb in every bite.
- Add the shortening to the dry mixture and use a pastry cutter, fork, or your fingertips to work it in until the mixture resembles coarse breadcrumbs with some pea-sized pieces of shortening still visible. This technique creates pockets of fat that produce a flaky, tender texture in the finished johnny cake. I like Crisco for this because it creates a noticeably flakier crust than butter alone.
- Stir the coconut milk and vanilla extract into the crumbly mixture until a shaggy dough forms. Turn the dough out onto a lightly floured surface and knead gently for about 1 minute—just enough to bring it together into a cohesive mass without developing too much gluten, which would make the johnny cakes tough. The dough should feel soft and slightly sticky, not dry or elastic.
- Divide the dough into 12 equal pieces and roll each into a ball. Flatten each ball to about ½ inch thickness—they'll puff up slightly as they bake. Place them on a parchment-lined baking sheet, poke each one several times with a fork to prevent large air pockets from forming, and brush the tops lightly with milk for a subtle golden finish. I find that poking with a fork helps the johnny cakes bake more evenly and gives them a nice rustic texture.
- Bake at 375°F for 15-18 minutes, until the tops are light golden brown. They should be firm to the touch but still tender inside. Baking time may vary slightly depending on your oven, so start checking around the 15-minute mark. Remove from the oven and serve warm—they're best enjoyed within a few hours while still soft and fragrant.







