If you ask me, brownies made with dates are a genius idea.
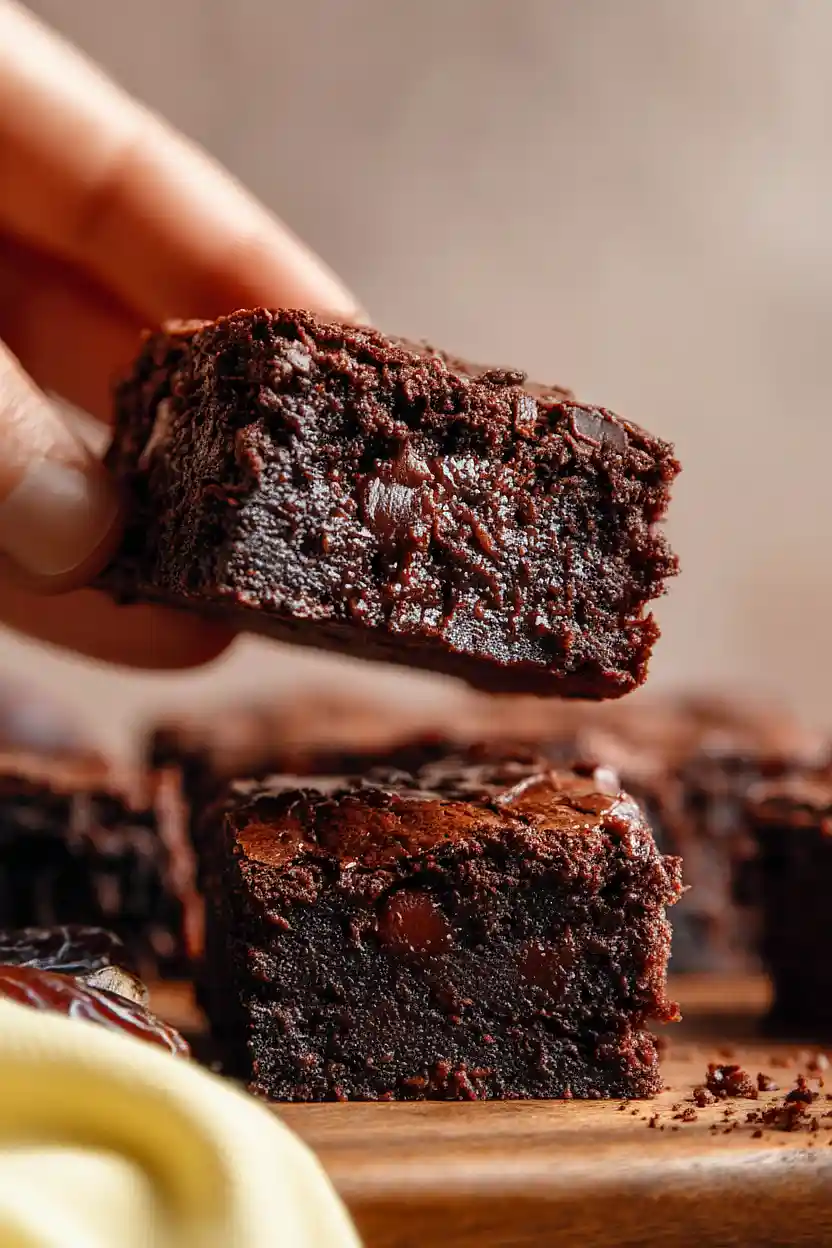
These fudgy gluten-free brownies get their natural sweetness from dates instead of refined sugar. The dates blend right into the batter, giving you a rich chocolate treat that’s moist and satisfying.
They’re made with simple ingredients like cocoa powder, eggs, and coconut oil, plus a good measure of chocolate chips for extra chocolatey goodness. The gluten-free flour keeps things light while the dates add a deep, caramel-like sweetness.
It’s a crowd-pleasing dessert that feels a bit healthier than regular brownies, perfect for when you want something sweet without the guilt.
Why You’ll Love These Date Brownies
- Naturally sweetened – Dates replace refined sugar in these brownies, giving you a rich, caramel-like sweetness that feels indulgent without the guilt.
- Gluten-free friendly – Perfect for anyone avoiding gluten, these brownies are just as fudgy and satisfying as traditional ones.
- Simple ingredients – You probably have most of these pantry staples on hand already, making this an easy recipe to whip up anytime a chocolate craving hits.
- Healthier dessert option – With dates providing natural fiber and nutrients, you can feel a little better about enjoying these chocolatey treats.
- Fudgy and decadent – Don’t let the healthier ingredients fool you—these brownies are seriously rich and chocolatey, satisfying even the strongest sweet tooth.
What Kind of Dates Should I Use?
Medjool dates are your best bet for these brownies since they’re naturally soft, sweet, and blend up really smoothly. If you can only find the smaller Deglet Noor dates, those will work too, but you might want to soak them in warm water for about 10 minutes first to soften them up. Make sure to remove all the pits before you start – there’s nothing worse than biting into a brownie and hitting a hard pit! When you’re shopping, look for dates that feel slightly sticky and pliable rather than dried out or hard, as fresher dates will give you a better texture and sweeter flavor in your brownies.
Options for Substitutions
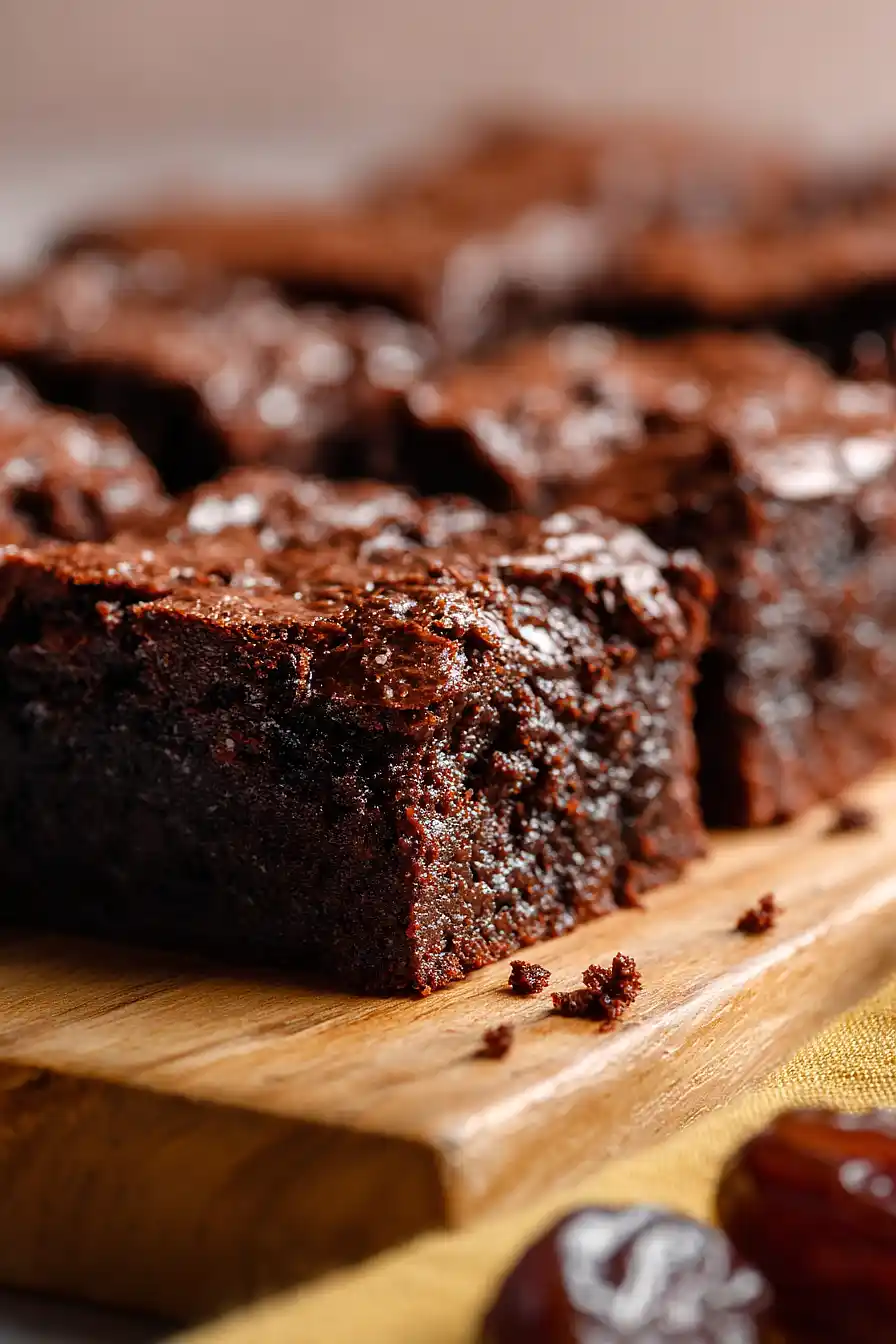
These brownies are naturally adaptable, so here are some swaps you can make:
- Dates: Dates are what make these brownies naturally sweet and fudgy, so they’re pretty essential here. Make sure to use soft, fresh dates – if yours are dried out, soak them in warm water for 10 minutes before using.
- Coconut oil: You can swap coconut oil with melted butter or any neutral oil like vegetable or canola oil. If using butter, the brownies will have a slightly richer taste.
- Gluten-free flour: Any gluten-free flour blend works here – almond flour, oat flour, or a store-bought mix. If using almond flour, you might need to add a tablespoon or two extra since it’s more dense.
- Cocoa powder: Dutch-processed or natural cocoa powder both work fine. Just stick with unsweetened cocoa to keep the sweetness balanced.
- Chocolate chips: Use whatever chocolate you like – dark, milk, or semi-sweet chips all work. You can also chop up a chocolate bar instead. For a nut-free option, skip the chips entirely or add dried fruit.
- Eggs: For an egg-free version, try using flax eggs (3 tablespoons ground flaxseed mixed with 12 tablespoons water, let sit for 5 minutes). The texture will be slightly different but still tasty.
Watch Out for These Mistakes While Baking
The biggest mistake with date brownies is not soaking the dates long enough or in water that’s too cool, which makes them impossible to blend smoothly and leaves you with chunks throughout your brownies – make sure the water is actually hot and give them the full 15 minutes to soften completely.
Overblending the batter after adding the dry ingredients can develop too much gluten in the flour and turn your brownies tough and cakey instead of fudgy, so stick to those 20 seconds of mixing and resist the urge to keep going.
Since these brownies are naturally denser than traditional ones, underbaking is a real concern – they should still have a slight jiggle in the center when you take them out, but a toothpick inserted should come out with just a few moist crumbs, not wet batter.
Finally, skipping the cooling time is tempting but will result in a crumbly mess when you try to cut them, so be patient and let them set for the full 20 minutes.
What to Serve With Date Brownies?
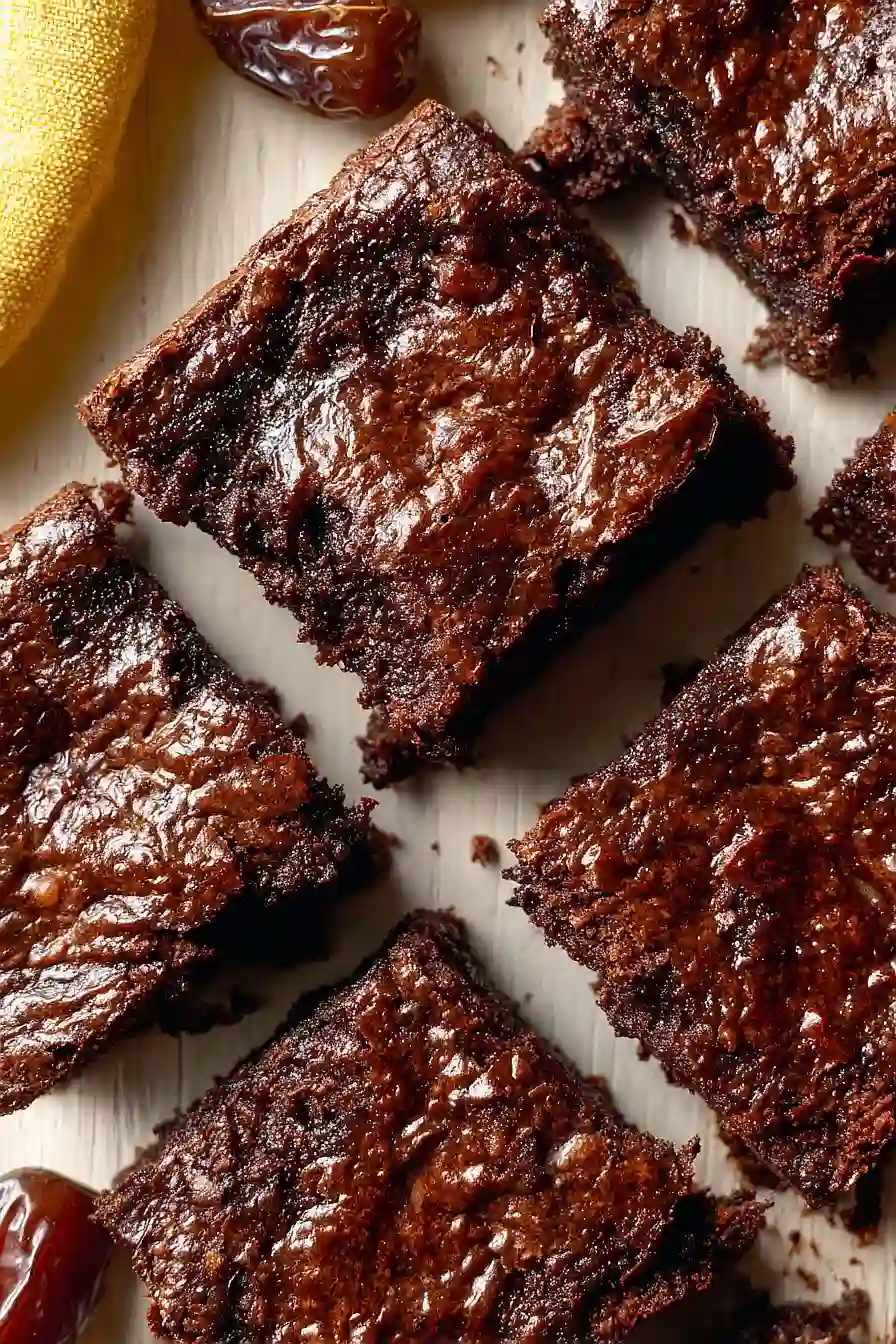
These brownies are rich and fudgy on their own, but they’re even better with a scoop of vanilla ice cream melting on top. A dollop of whipped cream or some fresh berries like raspberries or strawberries add a nice contrast to the chocolate flavor. If you want to make them extra special for dessert, drizzle some caramel sauce over the top or serve them alongside a hot cup of coffee or cold glass of milk. They also work great as an afternoon snack with a cup of tea.
Storage Instructions
Store: Keep your date brownies in an airtight container at room temperature for up to 3 days, or in the fridge for up to a week. They actually taste even better the next day once the flavors have had time to meld together!
Freeze: These brownies are perfect for freezing. Cut them into individual squares and wrap each one in plastic wrap, then store in a freezer bag for up to 3 months. It’s great to have a stash ready whenever you need a chocolate fix.
Serve: If you’ve stored them in the fridge, let the brownies sit at room temperature for about 10 minutes before eating so they soften up a bit. Frozen brownies can be thawed on the counter for 30 minutes, or you can microwave them for 15-20 seconds for that fresh-baked warmth.
| Preparation Time | 20-30 minutes |
| Cooking Time | 40-45 minutes |
| Total Time | 60-75 minutes |
| Level of Difficulty | Medium |
| Servings | 12 pieces |
Estimated Nutrition
Estimated nutrition for the whole recipe (without optional ingredients):
- Calories: 3500-3800
- Protein: 40-48 g
- Fat: 185-210 g
- Carbohydrates: 430-470 g
Ingredients
- 14 oz dates
- 4 eggs (room temperature, about 70°F)
- 2 1/2 tsp vanilla essence
- 1 cup coconut oil (melted and cooled to room temperature)
- 3/4 cup cocoa powder
- 3/4 cup flour (King Arthur Measure for Measure for gluten-free baking)
- 1/2 tsp salt
- 1 tsp baking soda
- 3/4 cup chocolate chips
Step 1: Prepare the Date Paste Base
- 14 oz dates
- hot water
Heat oven to 350°F and line an 8×8 inch or 9×9 inch baking pan with parchment paper.
Pour hot water over the dates and let them soak for 15 minutes to soften—this rehydration is crucial for creating a smooth, fudgy texture.
Drain the dates well, reserving exactly ¼ cup of the soaking liquid.
Add the dates and reserved liquid to a food processor and blend until you have a completely smooth paste with no lumps, scraping down the sides as needed.
Step 2: Create the Wet Ingredient Mixture
- date paste from Step 1
- 4 eggs
- 1 cup coconut oil
- 2 1/2 tsp vanilla essence
To the date paste from Step 1, add the room-temperature eggs, melted and cooled coconut oil, and vanilla essence.
Blend until the mixture is completely smooth and well-combined—you’re looking for a silky, uniform base.
This blending incorporates air and ensures the eggs are fully emulsified with the oil, which creates the fudgy crumb structure these brownies are known for.
I find that letting the coconut oil cool completely prevents it from cooking the eggs prematurely.
Step 3: Combine Dry Ingredients and Fold Into Batter
- 3/4 cup cocoa powder
- 3/4 cup gluten-free flour
- 1/2 tsp salt
- 1 tsp baking soda
- wet ingredient mixture from Step 2
In a separate bowl, whisk together the cocoa powder, gluten-free flour, salt, and baking soda until no lumps remain.
Pour the wet ingredient mixture from Step 2 into the dry mixture and fold gently with a spatula for about 20 seconds—just until the dry ingredients disappear and no flour streaks remain.
Overmixing can develop too much gluten structure (especially important with alternative flours), so stop as soon as the batter comes together.
Let the batter rest for 5 minutes; this allows the gluten-free flour to fully hydrate and the baking soda to activate slightly, leading to better rise and texture.
Step 4: Bake the Brownies
- batter from Step 3
- 3/4 cup chocolate chips
Pour the rested batter into your prepared pan and spread evenly.
Sprinkle the chocolate chips evenly over the top—I like to press them down gently so they anchor into the batter and stay distributed throughout rather than sinking to the bottom.
Bake at 350°F for 40 to 45 minutes, until a toothpick inserted into the center comes out with just a few moist crumbs attached (not wet batter, but not completely dry either).
This indicates a perfect fudgy center.
Let the brownies cool in the pan for at least 20 minutes before cutting—they’ll firm up considerably as they cool and won’t crumble apart.
Mouthwatering Gluten Free Date Brownies
Ingredients
- 14 oz dates
- 4 eggs (room temperature, about 70°F)
- 2 1/2 tsp vanilla essence
- 1 cup coconut oil (melted and cooled to room temperature)
- 3/4 cup cocoa powder
- 3/4 cup flour (King Arthur Measure for Measure for gluten-free baking)
- 1/2 tsp salt
- 1 tsp baking soda
- 3/4 cup chocolate chips
Instructions
- Heat oven to 350°F and line an 8x8 inch or 9x9 inch baking pan with parchment paper. Pour hot water over the dates and let them soak for 15 minutes to soften—this rehydration is crucial for creating a smooth, fudgy texture. Drain the dates well, reserving exactly ¼ cup of the soaking liquid. Add the dates and reserved liquid to a food processor and blend until you have a completely smooth paste with no lumps, scraping down the sides as needed.
- To the date paste from Step 1, add the room-temperature eggs, melted and cooled coconut oil, and vanilla essence. Blend until the mixture is completely smooth and well-combined—you're looking for a silky, uniform base. This blending incorporates air and ensures the eggs are fully emulsified with the oil, which creates the fudgy crumb structure these brownies are known for. I find that letting the coconut oil cool completely prevents it from cooking the eggs prematurely.
- In a separate bowl, whisk together the cocoa powder, gluten-free flour, salt, and baking soda until no lumps remain. Pour the wet ingredient mixture from Step 2 into the dry mixture and fold gently with a spatula for about 20 seconds—just until the dry ingredients disappear and no flour streaks remain. Overmixing can develop too much gluten structure (especially important with alternative flours), so stop as soon as the batter comes together. Let the batter rest for 5 minutes; this allows the gluten-free flour to fully hydrate and the baking soda to activate slightly, leading to better rise and texture.
- Pour the rested batter into your prepared pan and spread evenly. Sprinkle the chocolate chips evenly over the top—I like to press them down gently so they anchor into the batter and stay distributed throughout rather than sinking to the bottom. Bake at 350°F for 40 to 45 minutes, until a toothpick inserted into the center comes out with just a few moist crumbs attached (not wet batter, but not completely dry either). This indicates a perfect fudgy center. Let the brownies cool in the pan for at least 20 minutes before cutting—they'll firm up considerably as they cool and won't crumble apart.







