Making homemade caramels might sound like something that requires fancy candy thermometers, constant stirring over a hot stove, and way more time than you actually have. Trust me, I used to think the same thing – until I discovered this microwave method that completely changed the game.
These 6 minute microwave caramels are exactly what they sound like: rich, chewy caramels that come together in your microwave in just minutes. No special equipment needed, no babysitting a pot on the stove, and no stress about whether you’ve hit the right temperature. Just a few simple ingredients, a microwave-safe bowl, and you’re on your way to homemade caramels that taste like you spent hours making them.
Why You’ll Love These Microwave Caramels
- Super quick – These caramels come together in just 6 minutes in the microwave, making them perfect for last-minute gift giving or when you need a sweet treat fast.
- No candy thermometer needed – Skip the guesswork and complicated equipment. The microwave does all the temperature control for you, so you can’t mess it up.
- Simple pantry ingredients – You probably have everything you need already sitting in your kitchen, so there’s no special shopping trip required.
- Foolproof recipe – Even if you’ve never made candy before, this recipe is so straightforward that you’ll get perfect, chewy caramels every single time.
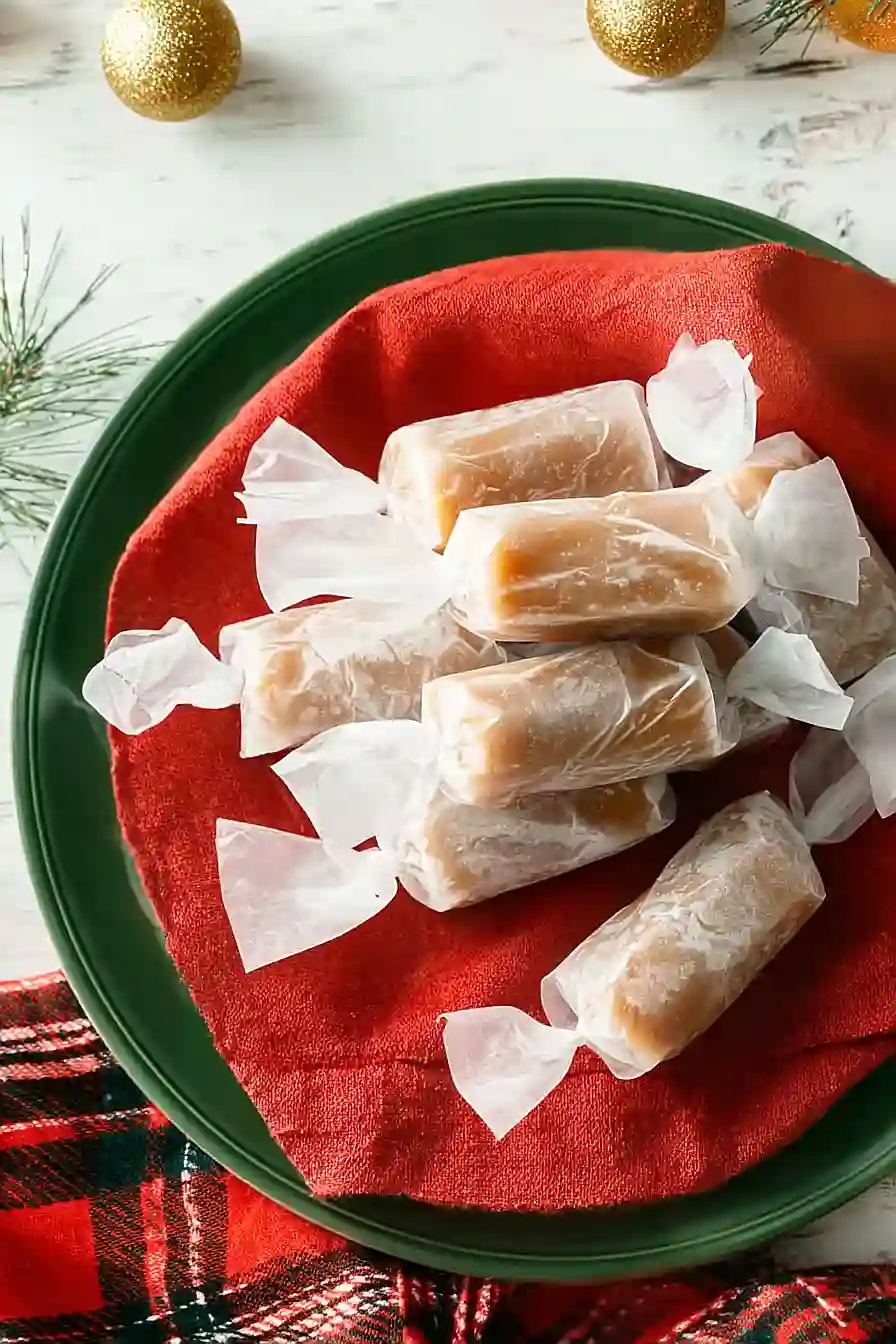
- Great for gifting – Wrap these homemade caramels in wax paper and they make thoughtful presents that look like you spent hours in the kitchen.
What Kind of Butter Should I Use?
This recipe calls for salted butter, which adds a nice balance to the sweetness of the caramels. If you only have unsalted butter on hand, you can definitely use it – just add a pinch of salt (about 1/4 teaspoon) to the mixture to get that same sweet and salty flavor. Make sure your butter is cut into pieces before you start so it melts evenly in the microwave. Room temperature butter will melt faster and more consistently than cold butter straight from the fridge, which helps prevent hot spots and ensures your caramels turn out smooth and creamy.
Options for Substitutions
While caramel recipes can be a bit finicky, here are some swaps you can make if needed:
- Salted butter: You can use unsalted butter instead, but add a pinch of salt (about 1/4 teaspoon) to the mixture to get that nice sweet-salty balance.
- Light corn syrup: This ingredient is pretty important for texture and preventing crystallization, so it’s best not to substitute it. If you absolutely must, you can try golden syrup, but the texture might be slightly different.
- Brown sugar: In a pinch, you can use all granulated sugar (making it 1 cup total), though you’ll lose some of that deeper molasses flavor that brown sugar brings.
- Sweetened condensed milk: This is really essential for microwave caramels – it helps them set properly and gives that creamy texture. I wouldn’t recommend substituting this one.
- Vanilla extract: Feel free to experiment with other extracts like almond or maple, or even add a pinch of sea salt for salted caramels.
Watch Out for These Mistakes While Cooking
The biggest mistake when making microwave caramels is not stirring the mixture thoroughly between heating intervals, which can lead to hot spots that burn while other parts stay undercooked – make sure to stir well every 2 minutes to distribute the heat evenly.
Another common error is stopping too early when the caramel hasn’t reached the right temperature, so use a candy thermometer to check that it hits 245°F for firm caramels that hold their shape when cut.
Skipping the step of greasing your pan or lining it with parchment paper will make removing the caramels nearly impossible, and be careful when handling the bowl after microwaving since the sugar mixture gets extremely hot and can cause serious burns.
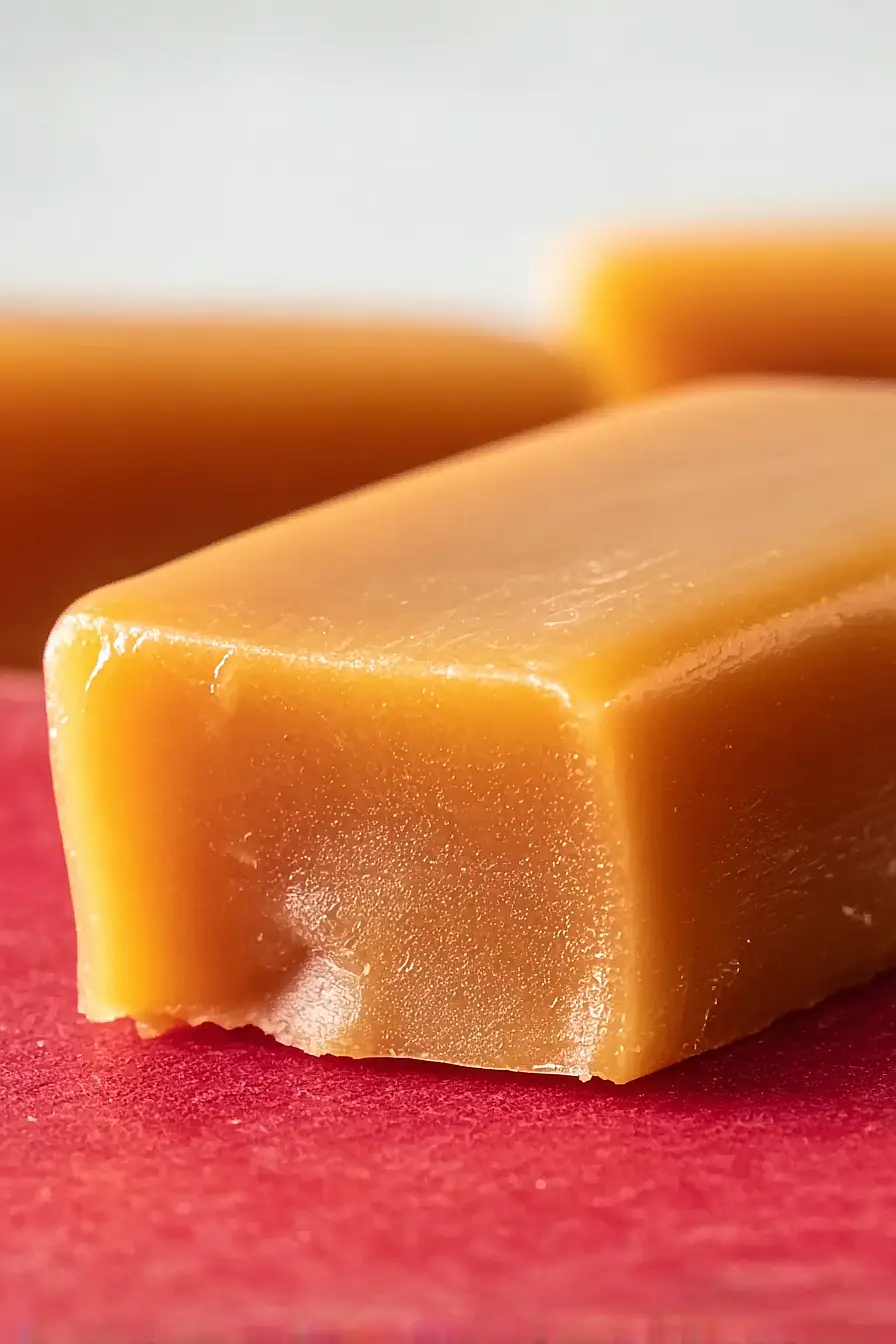
For cleaner cuts, let the caramels cool completely at room temperature for at least 2 hours before slicing, and lightly oil your knife between cuts to prevent sticking.
What to Serve With Microwave Caramels?
These caramels are perfect on their own, but they’re also great for topping ice cream sundaes or drizzling over apple slices for a quick dessert. You can chop them up and mix them into brownies or blondies before baking, or melt them down slightly to use as a dip for pretzels and graham crackers. They also make a nice addition to a dessert board alongside chocolate squares, nuts, and fresh fruit like strawberries or pear slices. If you’re feeling fancy, wrap individual caramels in wax paper and package them up as homemade gifts for friends and family.
Storage Instructions
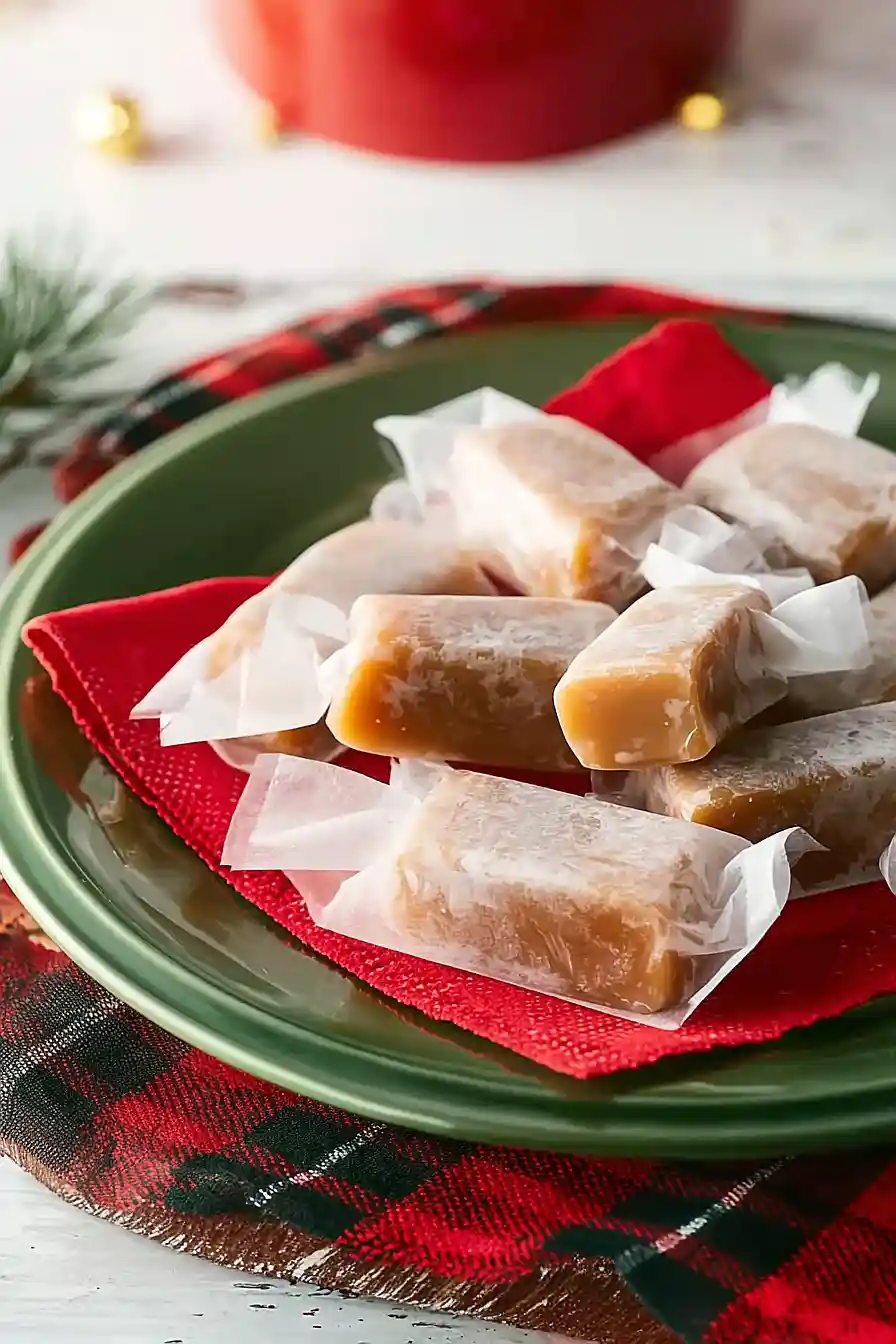
Store: Once your caramels are completely cooled and cut, wrap each piece in wax paper or parchment paper squares. Keep them in an airtight container at room temperature for up to 2 weeks, or in the fridge for about a month if your kitchen tends to get warm.
Prevent Sticking: The key to keeping these caramels from turning into one big sticky blob is wrapping them individually. If you skip this step, they’ll stick together and you’ll have a mess on your hands. Trust me, the extra few minutes of wrapping is totally worth it!
| Preparation Time | 10-15 minutes |
| Cooking Time | 5-10 minutes |
| Total Time | 15-25 minutes |
| Level of Difficulty | Easy |
| Servings | 32 pieces |
Estimated Nutrition
Estimated nutrition for the whole recipe (without optional ingredients):
- Calories: 1700-1850
- Protein: 5-7 g
- Fat: 50-60 g
- Carbohydrates: 320-340 g
Ingredients
- 1/2 cup salted butter (I use Kerrygold for richer flavor)
- 1/2 cup brown sugar (packed)
- 1/2 cup sugar
- 1/2 cup sweetened condensed milk (makes it extra creamy and rich)
- 1 tsp vanilla extract (for best flavor)
- 1/2 cup light corn syrup
Step 1: Prepare the Baking Dish
- salted butter
Butter a 9×9 inch baking dish or similar-sized dish, coating the bottom and sides generously.
This prevents the caramel from sticking and makes it easy to remove once set.
Set aside while you prepare the caramel mixture.
Step 2: Combine All Caramel Ingredients
- 1/2 cup salted butter
- 1/2 cup brown sugar
- 1/2 cup sugar
- 1/2 cup sweetened condensed milk
- 1/2 cup light corn syrup
In a microwave-safe bowl (I recommend glass or ceramic, not plastic, as the mixture gets very hot), combine the butter, brown sugar, sugar, corn syrup, and sweetened condensed milk.
Stir everything together until well combined—the mixture should look somewhat uniform, though the sugars may still be grainy.
This initial mixing ensures even cooking in the microwave and prevents hot spots.
Step 3: Microwave the Caramel
- caramel mixture from Step 2
Microwave the mixture on high for 6 minutes without stirring.
The caramel will bubble up and darken as it cooks—this is exactly what you want.
At 6 minutes, carefully remove the bowl (use oven mitts, as it will be extremely hot) and test the consistency by dropping a small spoonful into ice water.
If it forms a soft ball that’s pliable but holds its shape, it’s done.
If it’s too soft, return it to the microwave for 30 seconds and test again.
Step 4: Finish and Pour
- 1 tsp vanilla extract
- caramel from Step 3
- buttered baking dish from Step 1
Once the caramel reaches the correct consistency, stir in the vanilla extract immediately—I add it at the end to preserve its delicate flavor notes rather than letting them cook off during the microwave time.
Carefully pour the hot caramel into the buttered baking dish, working quickly but safely.
The caramel will continue to set as it cools, so don’t worry if it seems slightly softer than you’d like—it firms up considerably once it reaches room temperature.
Step 5: Cool and Cut
Let the caramel cool at room temperature for at least 30 minutes until it’s completely set and no longer sticky to the touch.
Once set, cut into squares using a buttered or oiled knife (this prevents sticking).
Store in an airtight container at room temperature for up to 2 weeks, or wrap individual pieces in parchment paper for easy serving.
Perfect 6 Minute Microwave Caramels
Ingredients
- 1/2 cup salted butter (I use Kerrygold for richer flavor)
- 1/2 cup brown sugar (packed)
- 1/2 cup sugar
- 1/2 cup sweetened condensed milk (makes it extra creamy and rich)
- 1 tsp vanilla extract (for best flavor)
- 1/2 cup light corn syrup
Instructions
- Butter a 9x9 inch baking dish or similar-sized dish, coating the bottom and sides generously. This prevents the caramel from sticking and makes it easy to remove once set. Set aside while you prepare the caramel mixture.
- In a microwave-safe bowl (I recommend glass or ceramic, not plastic, as the mixture gets very hot), combine the butter, brown sugar, sugar, corn syrup, and sweetened condensed milk. Stir everything together until well combined—the mixture should look somewhat uniform, though the sugars may still be grainy. This initial mixing ensures even cooking in the microwave and prevents hot spots.
- Microwave the mixture on high for 6 minutes without stirring. The caramel will bubble up and darken as it cooks—this is exactly what you want. At 6 minutes, carefully remove the bowl (use oven mitts, as it will be extremely hot) and test the consistency by dropping a small spoonful into ice water. If it forms a soft ball that's pliable but holds its shape, it's done. If it's too soft, return it to the microwave for 30 seconds and test again.
- Once the caramel reaches the correct consistency, stir in the vanilla extract immediately—I add it at the end to preserve its delicate flavor notes rather than letting them cook off during the microwave time. Carefully pour the hot caramel into the buttered baking dish, working quickly but safely. The caramel will continue to set as it cools, so don't worry if it seems slightly softer than you'd like—it firms up considerably once it reaches room temperature.
- Let the caramel cool at room temperature for at least 30 minutes until it's completely set and no longer sticky to the touch. Once set, cut into squares using a buttered or oiled knife (this prevents sticking). Store in an airtight container at room temperature for up to 2 weeks, or wrap individual pieces in parchment paper for easy serving.







