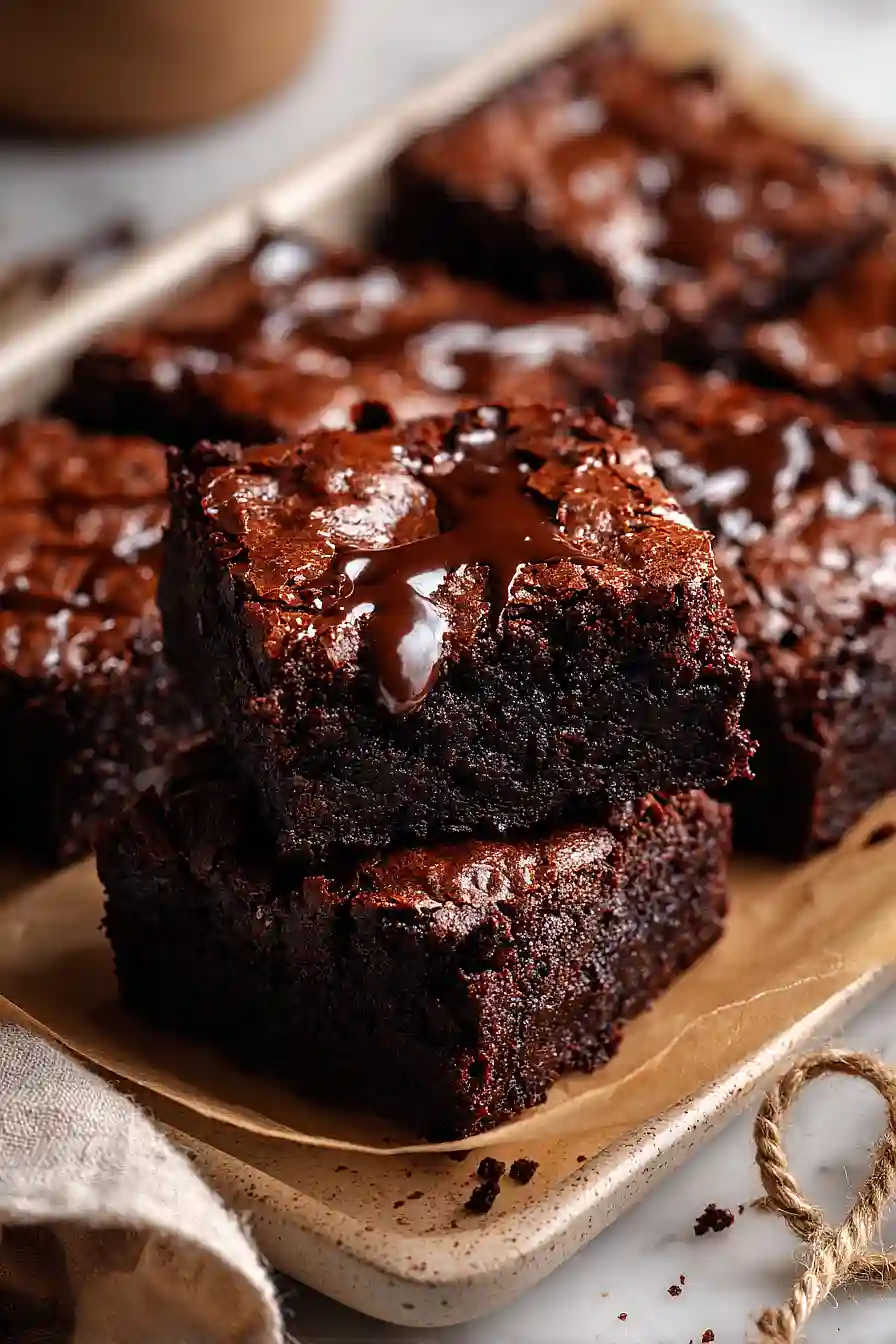
Here are my 3 ingredient applesauce brownies, made with just applesauce, peanut butter, and cocoa powder for a simple, fudgy treat that comes together in minutes.
These brownies have saved me so many times when I need a quick dessert but don’t have many ingredients on hand. My kids love them, and I love that they’re ready in less than 30 minutes. Plus, you probably already have everything you need in your pantry right now!

Why You’ll Love These Applesauce Brownies
- Just 4 simple ingredients – You probably have most of these in your pantry already, making this recipe perfect for when you need a quick dessert without a grocery store run.
- Healthier brownie option – Using applesauce instead of butter and eggs cuts down on calories and fat while keeping these brownies moist and fudgy.
- Naturally gluten-free – There’s no flour in this recipe, so it’s a great option if you’re avoiding gluten or just want a lighter treat.
- Easy mixing – No fancy equipment needed—just stir everything together in one bowl and you’re ready to bake.
What Kind of Applesauce Should I Use?
Any type of applesauce will work great for these brownies, whether it’s store-bought or homemade. Unsweetened applesauce is your best bet since it lets you control the sweetness level, but if sweetened is all you have on hand, your brownies will just turn out a bit sweeter. Smooth applesauce tends to create a more uniform texture in the final product, though chunky applesauce can add some interesting texture if that’s your thing. Just make sure your applesauce is at room temperature before mixing it in, as this helps everything blend together more easily.
Options for Substitutions
Even with just a few ingredients, you’ve got some room to work with here:
- Peanut butter: If you have a peanut allergy or just prefer something else, almond butter, cashew butter, or sunflower seed butter all work great. Just make sure you’re using the creamy kind, not natural separated nut butter, as it helps hold everything together.
- Applesauce: Mashed banana works as a swap here, though it will add a slight banana flavor to your brownies. Use the same amount and make sure the bananas are really ripe.
- Cocoa powder: Stick with unsweetened cocoa powder for this recipe – it’s really what gives these brownies their chocolate flavor. Dutch-processed or natural cocoa both work fine.
- Chocolate chips: You can use any kind of chocolate chips you like – dark, milk, or even white chocolate. Or skip them altogether if you want to keep things super simple, though they do add nice pockets of melty chocolate.
Watch Out for These Mistakes While Baking
The biggest mistake with these brownies is expecting them to have the same texture as traditional brownies – they’ll be more cake-like and less fudgy since there’s no flour or butter, so don’t overbake them thinking they need to firm up more.
Make sure your peanut butter is well-stirred before measuring, especially if you’re using natural peanut butter, because separated oil can throw off the consistency of your batter and lead to greasy brownies.
Skipping the cooling time is tempting, but these brownies are extra delicate when warm and will fall apart if you try to cut them too soon – waiting the full cooling period makes all the difference.
If you want a fudgier texture, try adding an extra tablespoon of peanut butter and reducing the baking time by 5 minutes, checking with a toothpick that should come out with a few moist crumbs.
What to Serve With Applesauce Brownies?
These brownies are pretty rich on their own, so I like keeping things simple with a cold glass of milk or a scoop of vanilla ice cream on top while they’re still warm. If you’re serving them for a party or get-together, they pair really well with fresh berries like strawberries or raspberries, which add a nice tartness that balances out the chocolate. You could also serve them alongside some whipped cream or Greek yogurt for a lighter option that still feels indulgent. For a cozy afternoon snack, I love enjoying these with a hot cup of coffee or tea.
Storage Instructions
Store: Keep your applesauce brownies in an airtight container at room temperature for up to 3 days, or in the fridge for about a week. They actually taste pretty great cold from the fridge if you like a fudgier texture!
Freeze: These brownies freeze really well for up to 3 months. Cut them into individual squares and wrap each one in plastic wrap, then store them all in a freezer bag. That way you can grab just one or two whenever a chocolate craving hits.
Thaw: Just let a brownie sit at room temperature for about 20-30 minutes to thaw, or if you’re impatient like me, microwave it for 15-20 seconds. They’re also surprisingly good eaten straight from the freezer if you like a firmer, almost fudge-like bite.
| Preparation Time | 10-15 minutes |
| Cooking Time | 25-35 minutes |
| Total Time | 90-120 minutes |
| Level of Difficulty | Easy |
| Servings | 12 brownies |
Estimated Nutrition
Estimated nutrition for the whole recipe (without optional ingredients):
- Calories: 1100-1250
- Protein: 22-28 g
- Fat: 60-72 g
- Carbohydrates: 135-155 g
Ingredients
- 1 1/4 cups applesauce (I prefer Mott’s Unsweetened for the best texture)
- 1/2 cup peanut butter (I always use Jif creamy for a smoother batter)
- 0.6 cup cocoa powder
- 1/2 cup chocolate chips (optional but recommended for extra richness)
- 1/4 teaspoon salt
Step 1: Prepare the Pan and Preheat the Oven
Preheat your oven to 350°F.
While it heats, line an 8×8 inch baking pan with parchment paper or foil, leaving some overhang on the sides for easy removal.
Lightly grease the lined pan with butter or cooking spray to prevent sticking.
Having your pan ready before mixing the batter ensures you can pour immediately after combining ingredients, which prevents the cocoa powder from settling.
Step 2: Mix the Batter Base
- 1 1/4 cups applesauce
- 1/2 cup peanut butter
- 0.6 cup cocoa powder
- 1/4 teaspoon salt
In a medium bowl, combine the applesauce and peanut butter, stirring until well blended and smooth.
Add the cocoa powder and salt, mixing thoroughly until no dry cocoa streaks remain.
I like to use unsweetened applesauce paired with creamy peanut butter because it creates a fudgy texture without being overly sweet.
The cocoa powder blends better when stirred into the wet ingredients gradually rather than all at once.
Step 3: Fold in Chocolate Chips and Pour into Pan
- batter mixture from Step 2
- 1/2 cup chocolate chips
Gently fold the chocolate chips into the batter from Step 2, if using them.
The chips add pockets of richness and improve the brownie’s texture.
Pour the batter into your prepared pan from Step 1, using a spatula to spread it evenly into the corners.
I find the optional chocolate chips are definitely worth including since this recipe has no added sweetener—they provide bursts of sweetness throughout.
Step 4: Bake Until Set
Place the pan in your preheated 350°F oven and bake for 25 to 35 minutes, until the top looks set and a toothpick inserted in the center comes out with a few moist crumbs (not completely dry).
The exact time depends on your oven and how fudgy you prefer them—start checking at 25 minutes.
These brownies should be dense and chewy, not cakey.
Step 5: Cool and Serve
Remove the pan from the oven and let the brownies cool in the pan for 10 minutes.
This resting period helps them set without becoming too firm.
Transfer the pan to a wire cooling rack and let cool completely before cutting into squares.
For clean cuts, I wipe my knife with a damp paper towel between each slice.
Quick 3 Ingredient Applesauce Brownies
Ingredients
- 1 1/4 cups applesauce (I prefer Mott's Unsweetened for the best texture)
- 1/2 cup peanut butter (I always use Jif creamy for a smoother batter)
- 0.6 cup cocoa powder
- 1/2 cup chocolate chips (optional but recommended for extra richness)
- 1/4 teaspoon salt
Instructions
- Preheat your oven to 350°F. While it heats, line an 8x8 inch baking pan with parchment paper or foil, leaving some overhang on the sides for easy removal. Lightly grease the lined pan with butter or cooking spray to prevent sticking. Having your pan ready before mixing the batter ensures you can pour immediately after combining ingredients, which prevents the cocoa powder from settling.
- In a medium bowl, combine the applesauce and peanut butter, stirring until well blended and smooth. Add the cocoa powder and salt, mixing thoroughly until no dry cocoa streaks remain. I like to use unsweetened applesauce paired with creamy peanut butter because it creates a fudgy texture without being overly sweet. The cocoa powder blends better when stirred into the wet ingredients gradually rather than all at once.
- Gently fold the chocolate chips into the batter from Step 2, if using them. The chips add pockets of richness and improve the brownie's texture. Pour the batter into your prepared pan from Step 1, using a spatula to spread it evenly into the corners. I find the optional chocolate chips are definitely worth including since this recipe has no added sweetener—they provide bursts of sweetness throughout.
- Place the pan in your preheated 350°F oven and bake for 25 to 35 minutes, until the top looks set and a toothpick inserted in the center comes out with a few moist crumbs (not completely dry). The exact time depends on your oven and how fudgy you prefer them—start checking at 25 minutes. These brownies should be dense and chewy, not cakey.
- Remove the pan from the oven and let the brownies cool in the pan for 10 minutes. This resting period helps them set without becoming too firm. Transfer the pan to a wire cooling rack and let cool completely before cutting into squares. For clean cuts, I wipe my knife with a damp paper towel between each slice.


