My dogs go crazy when they hear the treat jar open. They’ll do just about anything for a snack, but I’m not always thrilled about what’s in those store-bought treats. Too many ingredients I can’t pronounce, and honestly, they’re pretty expensive for what you get.
That’s why I started making homemade dog treats. I can control exactly what goes in them, and my dogs love them even more than the fancy stuff from the pet store. Plus, I usually have everything I need already sitting in my pantry.
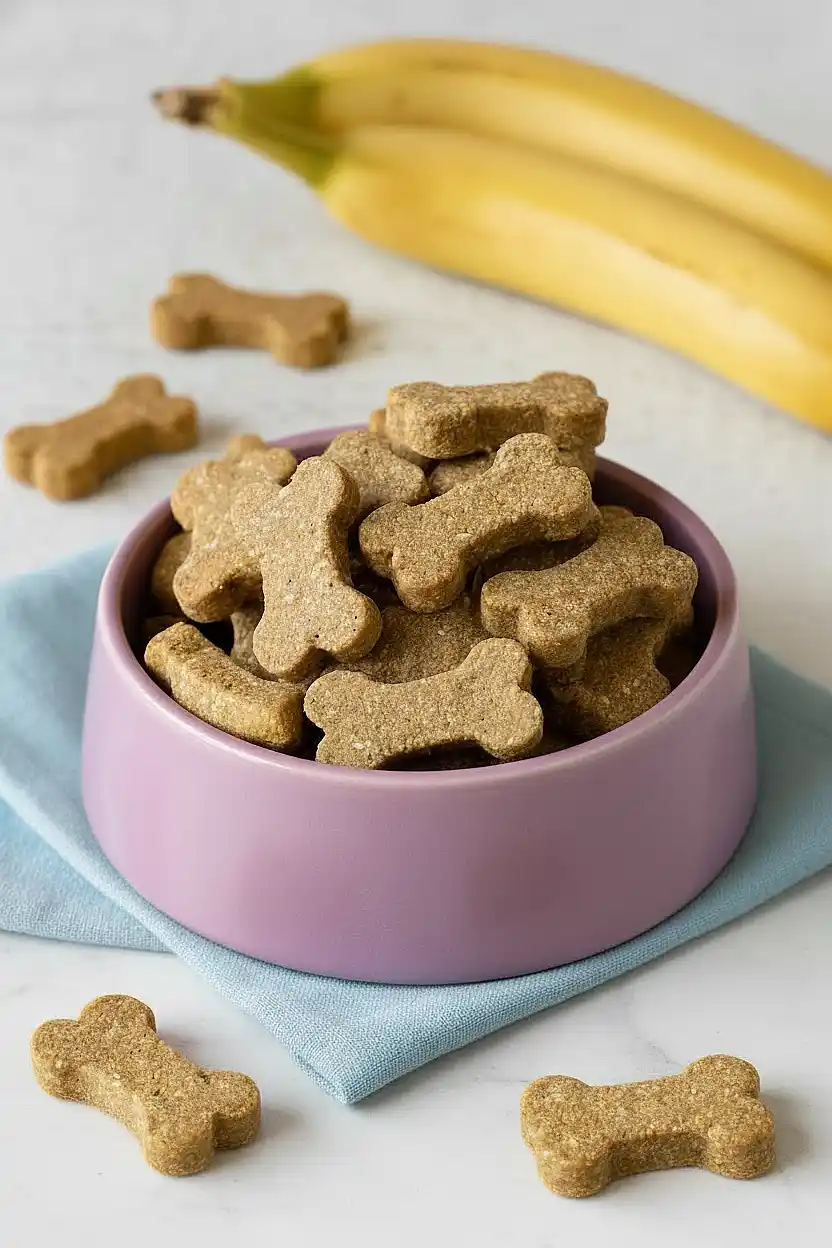
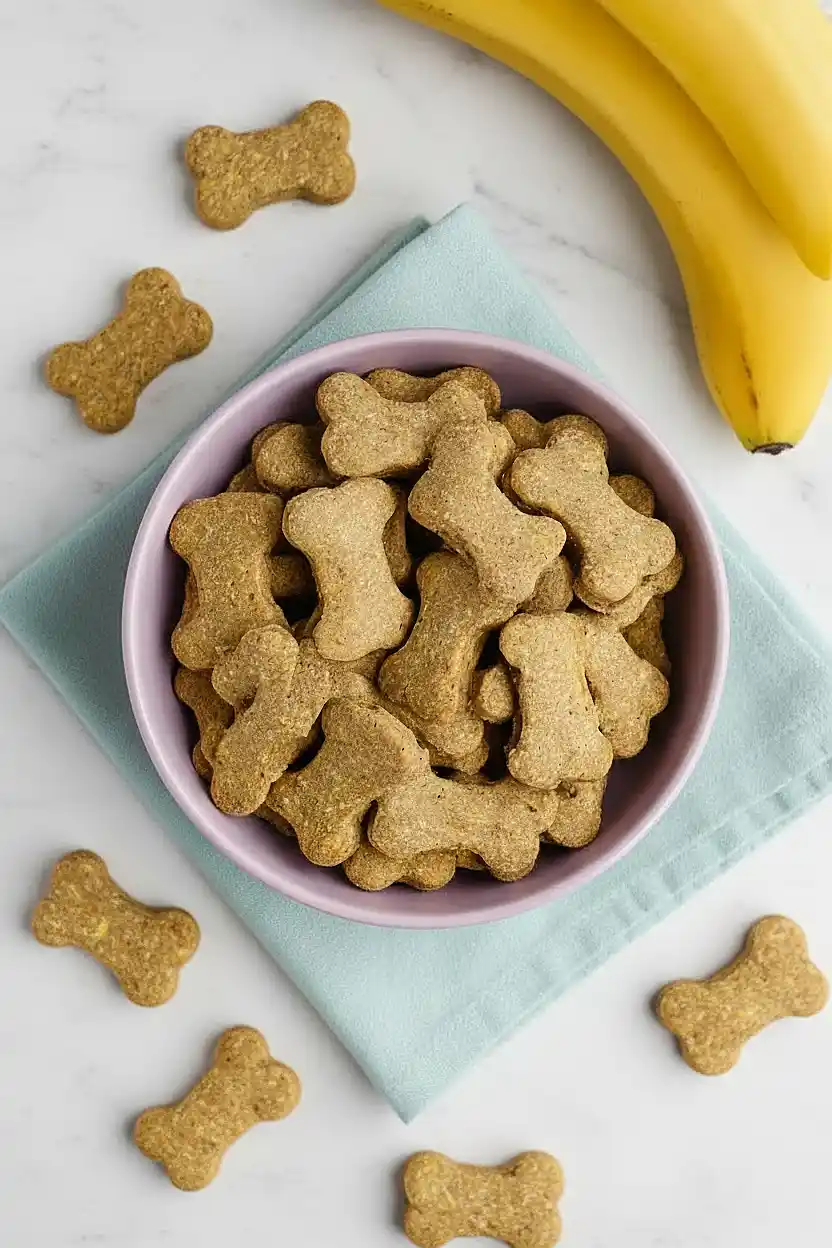
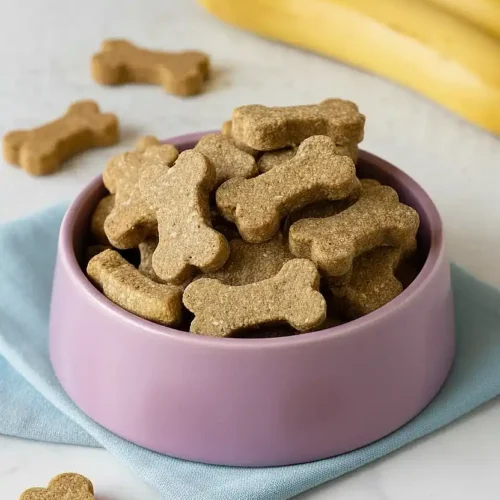
These peanut butter banana treats are my go-to recipe. They’re easy to make, they smell amazing while they’re baking, and my dogs think I’m the best person in the world when I pull them out of the oven. Just make sure your peanut butter doesn’t have Xylitol in it – that stuff is dangerous for dogs.
Why You’ll Love These Peanut Butter Banana Dog Treats
- Simple, wholesome ingredients – You probably already have oats, banana, peanut butter, and an egg in your kitchen, so you can whip these up anytime without a special trip to the store.
- Healthier than store-bought – You know exactly what’s going into your pup’s treats—no weird preservatives or fillers, just real food your dog will love.
- Quick and easy to make – These treats come together in under an hour, and the prep work is so straightforward that even beginner bakers can nail it.
- Budget-friendly – Making your own dog treats costs way less than buying fancy ones at the pet store, and you’ll get a big batch that lasts for weeks.
- Tail-wagging approved – The combo of peanut butter and banana is like doggy heaven, and you’ll love seeing how excited your furry friend gets when they smell these baking.
What Kind of Peanut Butter Should I Use?
When making dog treats, the type of peanut butter you choose is really important for your pup’s safety. Always go for natural peanut butter that contains only peanuts and maybe a little salt – check the label carefully to make sure it doesn’t contain xylitol, which is toxic to dogs. Creamy peanut butter works best for these treats since it mixes more easily into the dough, but chunky will work too if that’s what you have on hand. If your natural peanut butter has separated with oil on top, just give it a good stir before measuring it out so you get the right consistency in your treats.
Options for Substitutions
Making homemade dog treats is easy, and you can swap a few things based on what you have in your pantry:
- Oats: You can use either old-fashioned or quick oats for this recipe. If you need a grain-free option, try using oat flour instead, but you may need to adjust the amount of water slightly.
- Peanut butter: Make sure you’re using dog-safe peanut butter without xylitol, which is toxic to dogs. You can substitute with almond butter or sunflower seed butter if your pup has peanut allergies. Just check that whatever you use doesn’t contain xylitol or added sweeteners.
- Banana: If you don’t have a banana on hand, you can use 1/4 cup of unsweetened applesauce or pumpkin puree instead. Both add moisture and a little natural sweetness dogs enjoy.
- Egg: The egg helps bind everything together, but if your dog has an egg allergy, you can use 1/4 cup of unsweetened applesauce as a binder instead.
- Flour: Regular all-purpose flour works fine, but you can also use whole wheat flour for extra fiber or coconut flour if you want a grain-free option. If using coconut flour, start with 1 tablespoon as it absorbs more liquid.
Watch Out for These Mistakes While Baking
The biggest mistake when making dog treats is rolling the dough too thick, which can leave the centers soft and reduce shelf life – aim for a consistent 1/8 inch thickness so they bake evenly and get nice and crunchy. Make sure you’re using natural peanut butter without xylitol, a sweetener that’s toxic to dogs, and always check the label before you start baking. Don’t skip the step of flipping the treats halfway through baking, as this helps both sides dry out properly and prevents them from getting too brown on the bottom. If your dough feels too sticky to work with, resist the urge to add too much flour at once – add just a tablespoon at a time until it’s manageable, since too much flour can make the treats hard and crumbly.
What to Serve With Peanut Butter Banana Dog Treats?
These homemade treats are perfect on their own as a training reward or afternoon snack for your pup. I like to keep a batch in an airtight container and hand them out throughout the day when my dog does something good or just needs a little pick-me-up. You can also crumble them over your dog’s regular kibble to make mealtime more exciting, or pack a few in a bag when you’re heading to the park or on a walk. If you’re feeling extra generous, pair these treats with some fresh apple slices or carrot sticks for a healthy snack mix your dog will go crazy for.
Storage Instructions
Store: Keep these homemade dog treats in an airtight container at room temperature for up to 5 days, or pop them in the fridge if you want them to last up to 2 weeks. Since these don’t have preservatives like store-bought treats, they’re best enjoyed fresh!
Freeze: These treats freeze really well for longer storage. Just toss them in a freezer bag or container and they’ll keep for up to 3 months. Your pup won’t even notice the difference when you pull one out for them!
Serve: If you’ve frozen the treats, you can give them to your dog straight from the freezer for a cool snack, or let them thaw at room temperature for about 10 minutes. My dog actually loves them frozen on hot summer days!
| Preparation Time | 25-35 minutes |
| Cooking Time | 15-20 minutes |
| Total Time | 40-55 minutes |
| Level of Difficulty | Easy |
| Servings | 48 cookies |
Estimated Nutrition
Estimated nutrition for the whole recipe (without optional ingredients):
- Calories: 1100-1250
- Protein: 32-38 g
- Fat: 39-47 g
- Carbohydrates: 160-175 g
Ingredients
- 3.5 cups oats (I always use Quaker Old Fashioned style for better texture)
- 1 large banana (ripened with brown spots for natural sweetness)
- 1/2 cup peanut butter (ensure it’s Xylitol-free and dog-safe; I prefer Jif)
- 1 large egg
- 3 tbsp flour
- 2 tbsp water
- 1/4 teaspoon ground cinnamon
Step 1: Prepare Equipment and Preheat Oven
Preheat your oven to 350°F and line a baking sheet with parchment paper.
This ensures your treats won’t stick and gives you even heat distribution for consistent baking.
Step 2: Process Oats into Flour and Mix Dry Ingredients
- 3.5 cups oats
- 3 tbsp flour
- 1/4 teaspoon ground cinnamon
Pour the oats into a food processor and blend for 30-60 seconds until they break down into a flour-like consistency—you want a texture somewhere between coarse flour and sand, not ultra-fine powder.
Transfer the processed oats to a mixing bowl and stir in the cinnamon and flour.
This pre-mixing of dry ingredients helps them distribute evenly throughout the dough.
Step 3: Combine Wet Ingredients
- 1 large banana
- 1/2 cup peanut butter
- 1 large egg
In the food processor (no need to rinse), add the ripe banana, peanut butter, and egg.
Blend until you have a smooth, well-combined mixture with no visible chunks of banana—this becomes the base that binds everything together.
I like to use bananas with brown spots because they’re naturally sweeter and more flavorful for the dogs.
Step 4: Combine Wet and Dry Mixtures into Dough
- wet ingredient mixture from Step 3
- dry ingredient mixture from Step 2
- 2 tbsp water
Pour the wet ingredient mixture from Step 3 into the dry ingredient mixture from Step 2 and stir until a shaggy dough begins to form.
If the dough seems too dry and crumbly, add the water a tablespoon at a time until it comes together into a cohesive dough that holds its shape but isn’t sticky.
The goal is a dough similar in texture to thick cookie dough—moist but not wet.
Step 5: Roll and Shape the Dough
- dough from Step 4
Turn the dough out onto a clean counter and gently knead it a few times to ensure everything is evenly distributed.
If it’s sticky, dust the work surface and your hands with a bit of flour.
Using a rolling pin, roll the dough to about 1/8 inch thick, then use dog-bone-shaped cookie cutters or any fun shapes to cut out your treats.
Place each cut piece on your prepared baking sheet, spacing them about an inch apart so they can bake evenly.
Step 6: Bake Treats Until Golden
Bake for 8-9 minutes, then flip each treat over and bake for another 8-9 minutes (about 16-18 minutes total) until the treats are firm and lightly golden on the edges.
Flipping halfway through ensures even browning and prevents one side from getting too dark while the other stays pale.
Step 7: Cool and Store
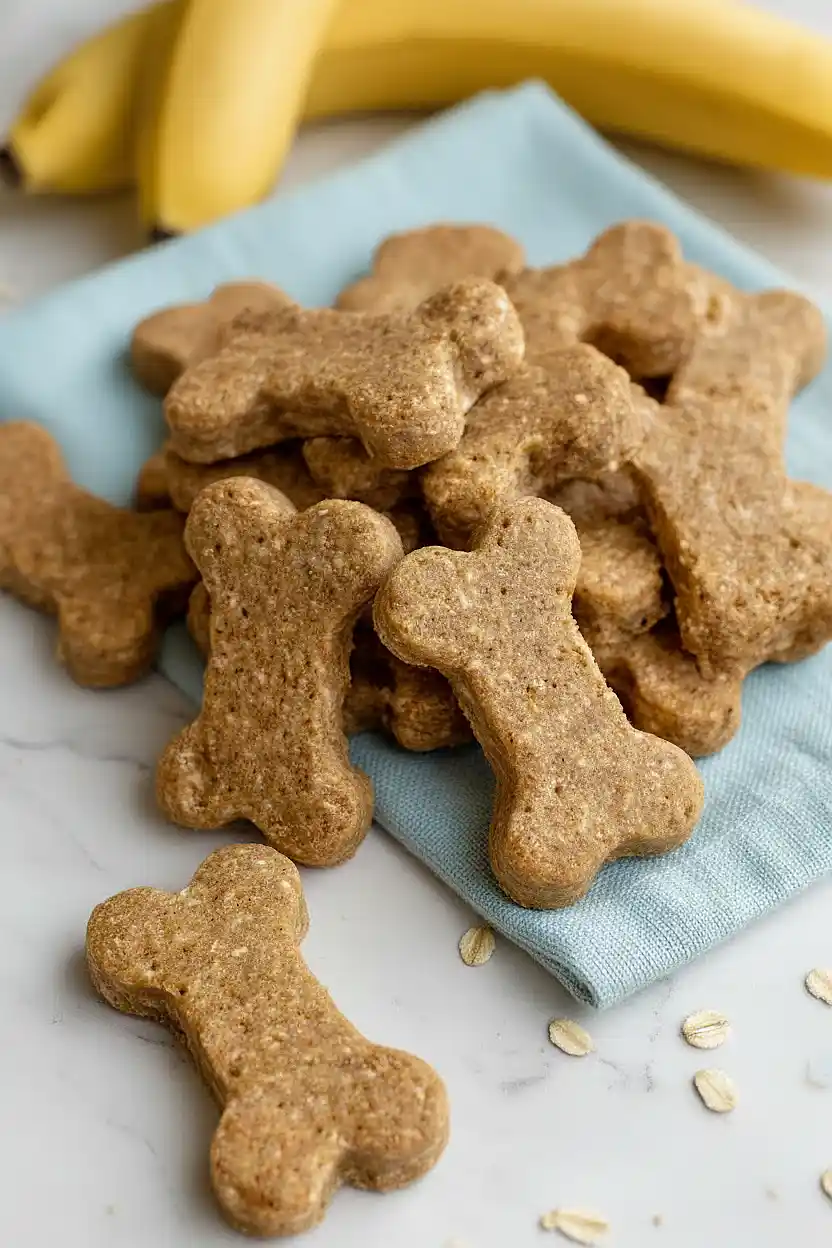
Remove the treats from the oven and let them cool completely on the baking sheet for at least 15-20 minutes before serving to your pup.
They’ll firm up as they cool, making them crunchier and more satisfying for chewing.
Quick Peanut Butter Banana Dog Treats
Ingredients
- 3.5 cups oats (I always use Quaker Old Fashioned style for better texture)
- 1 large banana (ripened with brown spots for natural sweetness)
- 1/2 cup peanut butter (ensure it’s Xylitol-free and dog-safe; I prefer Jif)
- 1 large egg
- 3 tbsp flour
- 2 tbsp water
- 1/4 teaspoon ground cinnamon
Instructions
- Preheat your oven to 350°F and line a baking sheet with parchment paper. This ensures your treats won't stick and gives you even heat distribution for consistent baking.
- Pour the oats into a food processor and blend for 30-60 seconds until they break down into a flour-like consistency—you want a texture somewhere between coarse flour and sand, not ultra-fine powder. Transfer the processed oats to a mixing bowl and stir in the cinnamon and flour. This pre-mixing of dry ingredients helps them distribute evenly throughout the dough.
- In the food processor (no need to rinse), add the ripe banana, peanut butter, and egg. Blend until you have a smooth, well-combined mixture with no visible chunks of banana—this becomes the base that binds everything together. I like to use bananas with brown spots because they're naturally sweeter and more flavorful for the dogs.
- Pour the wet ingredient mixture from Step 3 into the dry ingredient mixture from Step 2 and stir until a shaggy dough begins to form. If the dough seems too dry and crumbly, add the water a tablespoon at a time until it comes together into a cohesive dough that holds its shape but isn't sticky. The goal is a dough similar in texture to thick cookie dough—moist but not wet.
- Turn the dough out onto a clean counter and gently knead it a few times to ensure everything is evenly distributed. If it's sticky, dust the work surface and your hands with a bit of flour. Using a rolling pin, roll the dough to about 1/8 inch thick, then use dog-bone-shaped cookie cutters or any fun shapes to cut out your treats. Place each cut piece on your prepared baking sheet, spacing them about an inch apart so they can bake evenly.
- Bake for 8-9 minutes, then flip each treat over and bake for another 8-9 minutes (about 16-18 minutes total) until the treats are firm and lightly golden on the edges. Flipping halfway through ensures even browning and prevents one side from getting too dark while the other stays pale.
- Remove the treats from the oven and let them cool completely on the baking sheet for at least 15-20 minutes before serving to your pup. They'll firm up as they cool, making them crunchier and more satisfying for chewing.


