Finding a dessert that combines your love of coffee and chocolate while still being easy enough for a weeknight treat can feel impossible. Between work, family obligations, and everything else on your plate, you probably don’t have time to bake an elaborate dessert from scratch, but you still want something special to serve after dinner or bring to a gathering.
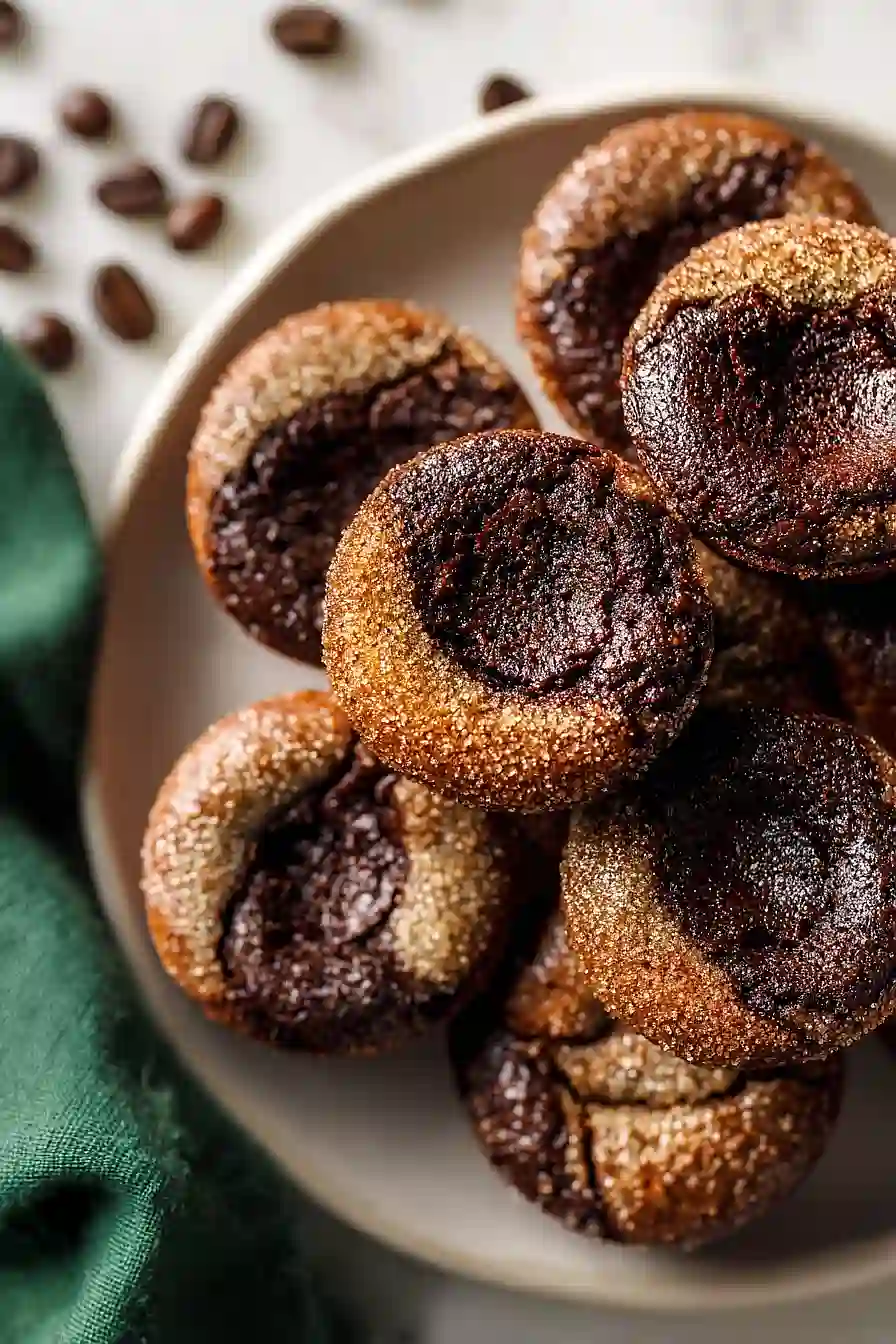
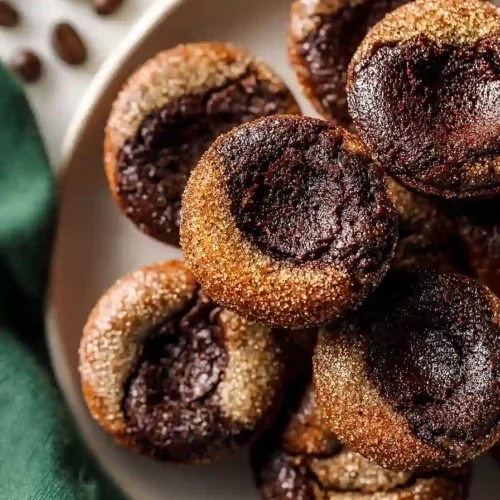
That’s where these Irish coffee brownie bites come in handy: they’re rich and grown-up with real whiskey and espresso, come together in one bowl without any fancy techniques, and bake up into perfect bite-sized portions that are way easier to share than a full pan of brownies.
Why You’ll Love These Irish Coffee Brownie Bites
- Quick and easy – These brownie bites come together in under 35 minutes, making them perfect for last-minute gatherings or when you need a chocolate fix fast.
- Unique flavor combination – The espresso and whiskey give these brownies a grown-up twist that sets them apart from regular brownies, without being too boozy.
- Simple ingredients – You probably have most of these pantry staples on hand already, so you can whip up a batch whenever the craving hits.
- Perfect portion control – The bite-sized format makes them ideal for parties, potlucks, or just enjoying a little treat without going overboard.
What Kind of Whiskey Should I Use?
For Irish coffee brownie bites, you’ll want to use an Irish whiskey to keep things authentic, though honestly any whiskey you have on hand will work in a pinch. Popular options like Jameson or Bushmills are great choices and won’t break the bank, but feel free to use whatever bottle you’ve got in your cabinet. The whiskey flavor will mellow out during baking, so you don’t need to splurge on an expensive bottle for this recipe. Just avoid anything too smoky or peaty, as those strong flavors might compete with the chocolate and coffee notes you’re going for.

Options for Substitutions
These brownie bites are pretty forgiving when it comes to swaps:
- Espresso powder: If you don’t have espresso powder, instant coffee granules work just as well. Use the same amount and crush them into a fine powder if they’re coarse.
- Whiskey: Want to keep these alcohol-free? Replace the whiskey with 2 tablespoons of strong brewed coffee or add 1 tablespoon of coffee plus 1 tablespoon of water. You’ll still get that Irish coffee vibe without the booze.
- Butter: You can use coconut oil as a substitute, but stick with butter if you can – it really helps create that fudgy brownie texture.
- Cocoa powder: Dutch-process or natural cocoa both work fine here. Just don’t try to substitute with hot chocolate mix, as it contains sugar and milk powder that will throw off the recipe.
- Egg: For an egg-free version, try using a flax egg (1 tablespoon ground flaxseed mixed with 3 tablespoons water, let sit for 5 minutes). The texture will be slightly different but still tasty.
Watch Out for These Mistakes While Baking
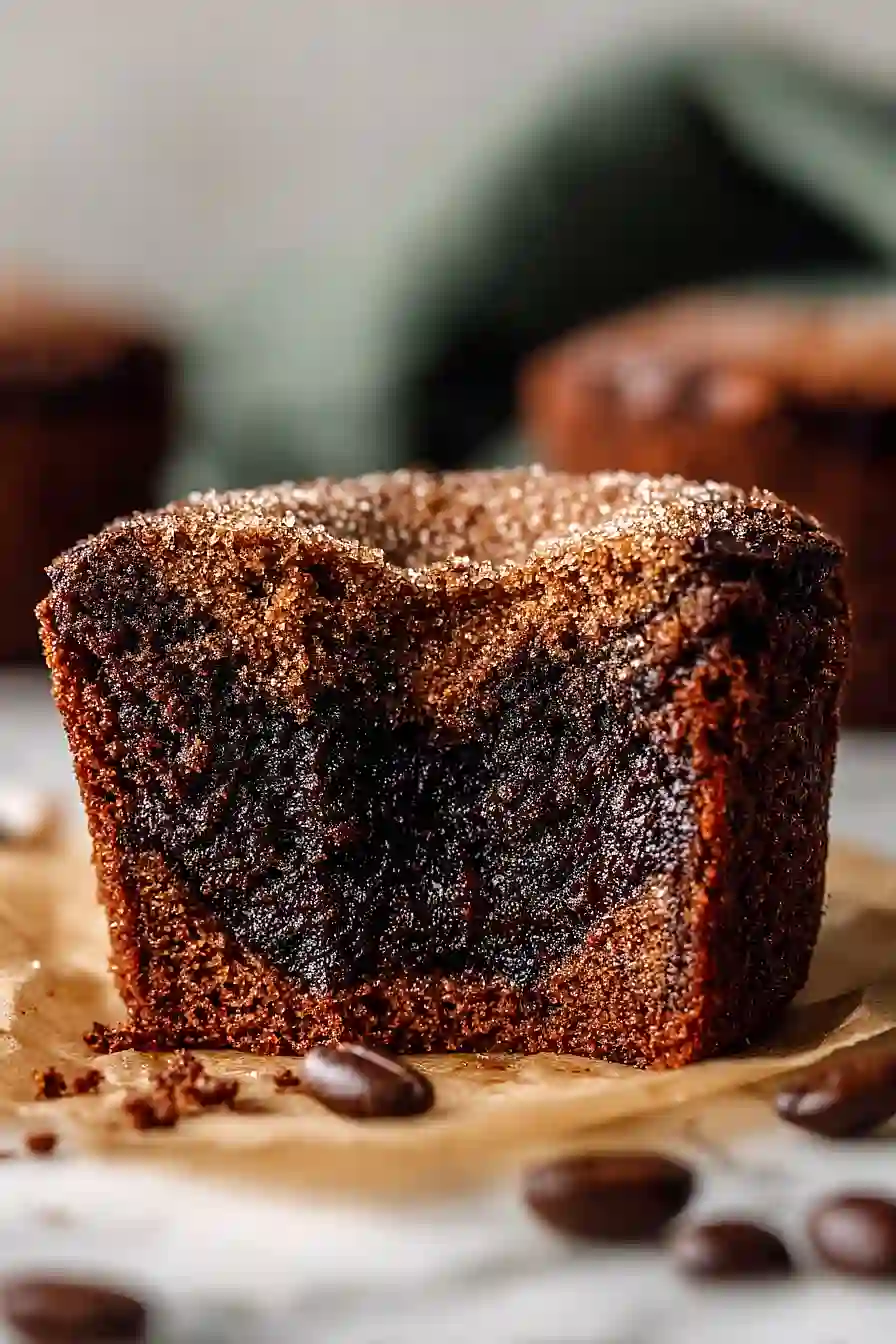
The biggest mistake with brownie bites is overbaking them, which turns fudgy treats into dry little pucks – pull them from the oven when they still look slightly underdone in the center, as they’ll continue cooking while cooling and should have a toothpick come out with a few moist crumbs attached.
Don’t skip greasing those mini muffin pans generously, even if they’re nonstick, because these brownies can stick stubbornly and fall apart when you try to remove them.
When rolling the dough into balls, make sure they’re all the same size so they bake evenly – using a small cookie scoop helps keep them consistent and prevents some from burning while others stay raw.
Finally, let the brownies cool in the pan for at least 5 minutes before trying to remove them, as taking them out too early will cause them to crumble and lose their shape.
What to Serve With Irish Coffee Brownie Bites?
These little brownie bites are perfect for serving at parties or after dinner with a cup of coffee or, even better, an actual Irish coffee to play up those whiskey and espresso flavors. They’re rich enough to stand on their own, but you can definitely dress them up with a dollop of whipped cream or a scoop of vanilla ice cream if you want to make them feel more like a full dessert. I also love setting them out on a dessert platter alongside fresh berries like raspberries or strawberries, which add a nice tart contrast to the chocolatey richness. For a casual get-together, serve them with other finger desserts like cookies or mini cheesecakes so guests can sample a variety of treats.
Storage Instructions
Store: Keep these brownie bites in an airtight container at room temperature for up to 3 days, or in the fridge for about a week. They actually taste even better the next day once the whiskey flavor has had time to mellow out a bit.
Freeze: These freeze really well for up to 3 months. Just wrap them individually in plastic wrap or layer them with parchment paper in a freezer-safe container. They’re perfect for when you need a quick dessert or late-night treat.
Thaw: Let frozen brownie bites sit at room temperature for about 30 minutes, or warm them in the microwave for 10-15 seconds if you want that fresh-baked feel. They’re also pretty good straight from the freezer if you like a fudgier texture!
| Preparation Time | 15-20 minutes |
| Cooking Time | 10-15 minutes |
| Total Time | 25-35 minutes |
| Level of Difficulty | Easy |
| Servings | 20 bites |
Estimated Nutrition
Estimated nutrition for the whole recipe (without optional ingredients):
- Calories: 1850-2000
- Protein: 20-25 g
- Fat: 60-70 g
- Carbohydrates: 305-330 g
Ingredients
- cooking spray
- 1 cup all-purpose flour (King Arthur)
- 1 cup sugar
- 6 tbsp unsweetened cocoa (Ghirardelli)
- 2 1/2 tsp instant espresso powder
- 1/2 tsp baking soda
- 1/4 tsp salt
- 6 tbsp butter (melted and cooled)
- 2 tbsp whiskey
- 1 large egg
- 1 tsp vanilla extract
Step 1: Prepare Equipment and Preheat Oven
- cooking spray
Preheat your oven to 350°F.
While it heats, spray two mini muffin pans thoroughly with cooking spray, making sure to coat all the indentations evenly so the brownie bites release cleanly after baking.
Step 2: Mix Dry Ingredients
- 1 cup all-purpose flour
- 1 cup sugar
- 6 tbsp unsweetened cocoa
- 2 1/2 tsp instant espresso powder
- 1/2 tsp baking soda
- 1/4 tsp salt
In a medium bowl, whisk together the flour, sugar, cocoa powder, instant espresso powder, baking soda, and salt.
Make sure to break up any cocoa clumps and distribute the espresso powder evenly throughout—this ensures consistent flavor and rise in every bite.
The espresso powder won’t be noticeable as coffee flavor, but rather deepens the chocolate richness, which is exactly what we want in these Irish coffee-inspired treats.
Step 3: Create Brownie Batter
- 6 tbsp butter
- 2 tbsp whiskey
- 1 large egg
- 1 tsp vanilla extract
- dry ingredient mixture from Step 2
In a separate small bowl, whisk together the melted and cooled butter, whiskey, egg, and vanilla extract until well combined.
Pour this wet mixture into the dry ingredients from Step 2 and fold together with a spatula until just combined—the batter should be thick and fudgy, not overmixed.
I prefer to fold rather than stir vigorously because it keeps the texture tender and prevents overdeveloping the gluten, which would make the bites cake-like instead of chewy.
Step 4: Fill Muffin Pans
- brownie batter from Step 3
Divide the batter into 20 portions, rolling each into a small ball about the size of a walnut.
Place one ball into each prepared muffin cup in the two pans.
Don’t worry if they’re not perfectly round—they’ll spread slightly during baking and fill out the muffin cup shape naturally.
Step 5: Bake Brownie Bites
Place both muffin pans in the preheated 350°F oven and bake for 12–15 minutes, until a toothpick inserted into the center of one brownie bite comes out with a few moist crumbs still clinging to it.
The tops should look set but still have a slight dome or slight crack—this indicates they’re fudgy inside, not overdone and dry.
Step 6: Cool and Remove from Pans
Remove the pans from the oven and let them cool on the counter for about 5 minutes.
This brief rest helps them set just enough to handle.
Run a small knife around the edge of each brownie bite to loosen it from the pan, then gently pop them out onto a wire cooling rack.
Let them cool completely before serving—they’ll continue to firm up as they cool, making them easier to handle.
Rich Irish Coffee Brownie Bites
Ingredients
- cooking spray
- 1 cup all-purpose flour (King Arthur)
- 1 cup sugar
- 6 tbsp unsweetened cocoa (Ghirardelli)
- 2 1/2 tsp instant espresso powder
- 1/2 tsp baking soda
- 1/4 tsp salt
- 6 tbsp butter (melted and cooled)
- 2 tbsp whiskey
- 1 large egg
- 1 tsp vanilla extract
Instructions
- Preheat your oven to 350°F. While it heats, spray two mini muffin pans thoroughly with cooking spray, making sure to coat all the indentations evenly so the brownie bites release cleanly after baking.
- In a medium bowl, whisk together the flour, sugar, cocoa powder, instant espresso powder, baking soda, and salt. Make sure to break up any cocoa clumps and distribute the espresso powder evenly throughout—this ensures consistent flavor and rise in every bite. The espresso powder won't be noticeable as coffee flavor, but rather deepens the chocolate richness, which is exactly what we want in these Irish coffee-inspired treats.
- In a separate small bowl, whisk together the melted and cooled butter, whiskey, egg, and vanilla extract until well combined. Pour this wet mixture into the dry ingredients from Step 2 and fold together with a spatula until just combined—the batter should be thick and fudgy, not overmixed. I prefer to fold rather than stir vigorously because it keeps the texture tender and prevents overdeveloping the gluten, which would make the bites cake-like instead of chewy.
- Divide the batter into 20 portions, rolling each into a small ball about the size of a walnut. Place one ball into each prepared muffin cup in the two pans. Don't worry if they're not perfectly round—they'll spread slightly during baking and fill out the muffin cup shape naturally.
- Place both muffin pans in the preheated 350°F oven and bake for 12–15 minutes, until a toothpick inserted into the center of one brownie bite comes out with a few moist crumbs still clinging to it. The tops should look set but still have a slight dome or slight crack—this indicates they're fudgy inside, not overdone and dry.
- Remove the pans from the oven and let them cool on the counter for about 5 minutes. This brief rest helps them set just enough to handle. Run a small knife around the edge of each brownie bite to loosen it from the pan, then gently pop them out onto a wire cooling rack. Let them cool completely before serving—they'll continue to firm up as they cool, making them easier to handle.


