I used to think chocolate truffles were something you could only get at fancy chocolate shops, the kind that come in elegant boxes with tissue paper. Then I learned you can make them at home with just three ingredients. Seriously, that’s it.
The trick is understanding that truffles are really just ganache—a mix of chocolate and cream—that you shape and coat in more chocolate. Most recipes have you roll them by hand, which gets messy fast. But molded truffles? You pour everything into molds and let them set. No sticky fingers, no misshapen blobs, just professional-looking chocolates that people will think you spent hours on.
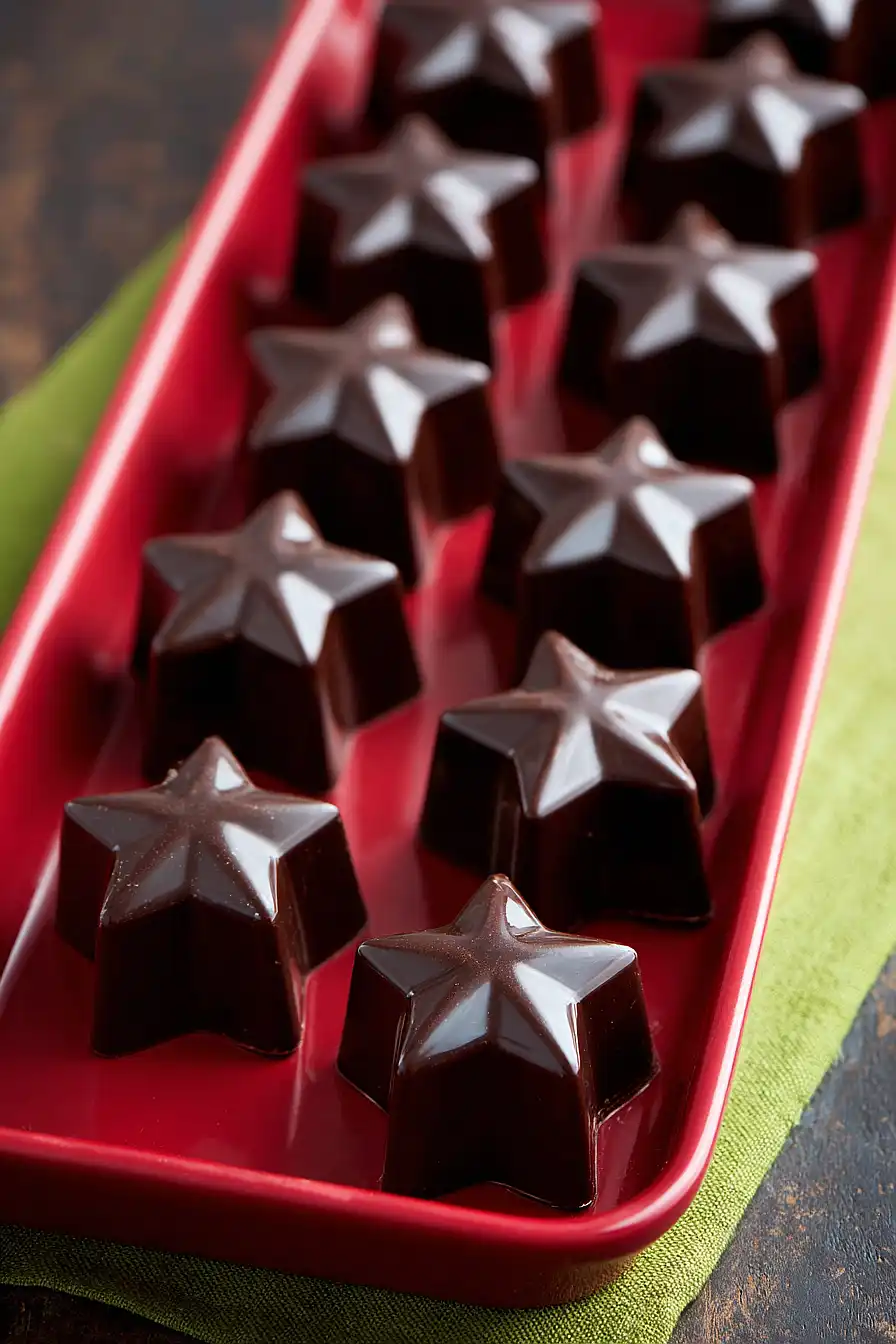
Why You’ll Love These Chocolate Truffles
- Simple ingredients – You only need two basic ingredients – cream and chocolate – to create these impressive treats that taste like they came from a fancy chocolate shop.
- Quick and easy – These truffles come together in under an hour, making them perfect for last-minute gifts or when you need a homemade dessert fast.
- Perfect for gifting – Molded chocolate truffles look professional and elegant, so they make thoughtful presents for holidays, birthdays, or any special occasion without requiring advanced baking skills.
- Customizable – Once you master the basic recipe, you can easily add your favorite flavors like espresso, orange zest, or liqueurs to make them your own.
What Kind of Chocolate Should I Use?
For chocolate truffles, you’ll want to use good quality bittersweet or dark chocolate with a cocoa content between 60-70%. The better the chocolate you start with, the better your truffles will taste, so this is the time to splurge a little if you can. You can find chocolate bars in the baking aisle or grab some chocolate chips, but make sure to avoid anything labeled “chocolate flavored” or “candy coating” since those won’t melt properly. If you prefer sweeter truffles, you can swap half of the dark chocolate for semisweet, though keep in mind this will give you a softer ganache that might be a bit trickier to work with.
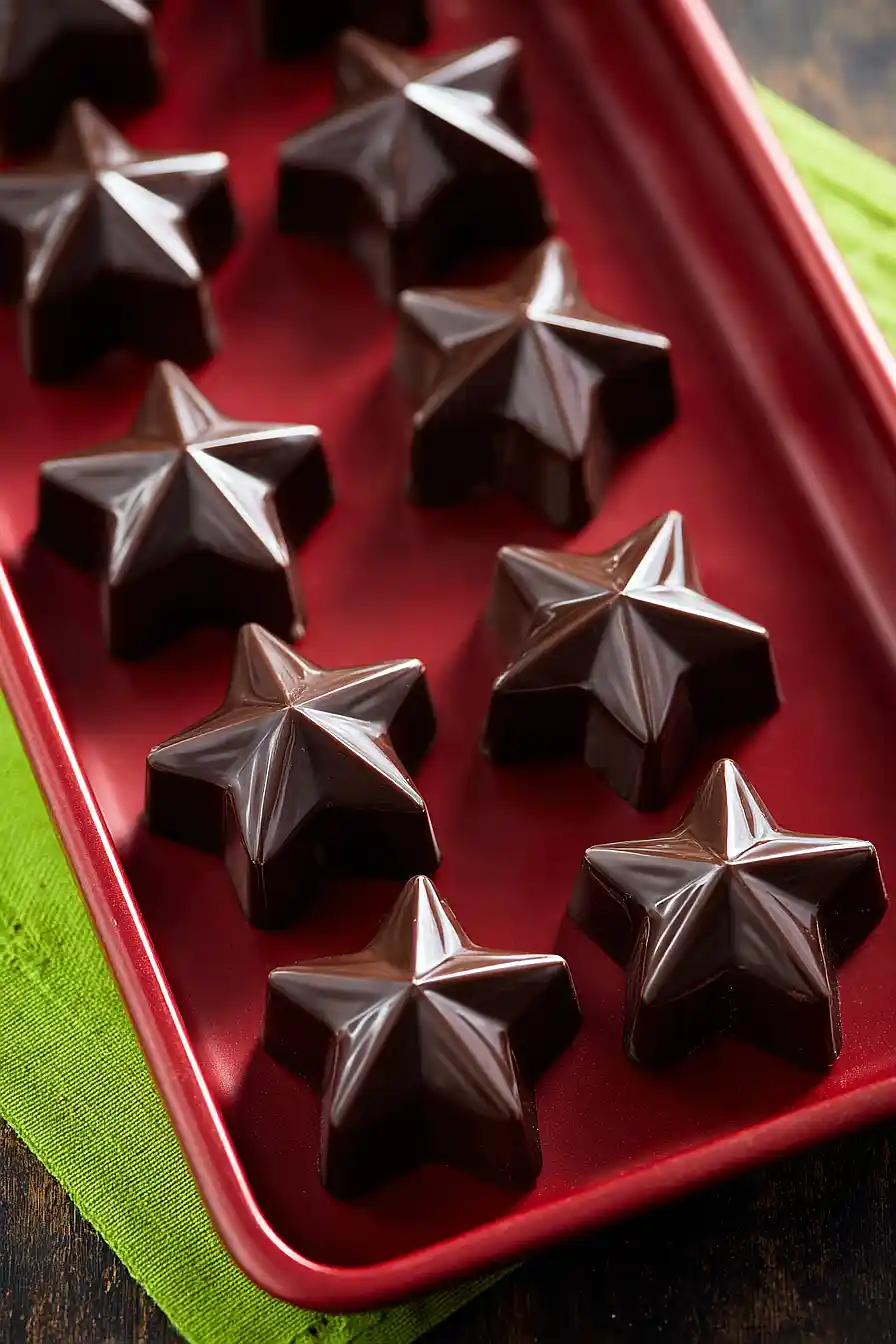
Options for Substitutions
While chocolate truffles are pretty straightforward, here are a few swaps you can make:
- Bittersweet/dark chocolate: You can use semisweet chocolate instead of bittersweet for a slightly sweeter truffle. Milk chocolate works too, but keep in mind it will be much sweeter and softer, so you may need to chill the ganache longer before molding.
- Whipping cream: Heavy cream is your best bet here and shouldn’t be substituted. The fat content is what makes the ganache smooth and moldable. Half-and-half or milk won’t set properly and will give you a runny texture that won’t hold its shape.
- Chocolate quality: Since chocolate is the star ingredient here, try to use good quality chocolate with at least 60% cocoa content. Chocolate chips aren’t ideal because they contain stabilizers that prevent smooth melting, but they’ll work in a pinch if that’s all you have.
Watch Out for These Mistakes While Making
The biggest mistake when tempering chocolate for molding is overheating it in the microwave, which can cause it to seize up and become grainy – heat it in 20-30 second intervals, stirring between each burst, and stop when small chunks remain since they’ll melt from the residual heat.
Another common error is not letting your ganache cool enough before filling the molds, as warm ganache can melt the chocolate shells you’ve created and ruin the shape.
Water is chocolate’s enemy, so make sure all your bowls, spoons, and molds are completely dry before starting, since even a single drop can cause the chocolate to clump and become unusable.
To get a glossy finish on your truffles, gently tap the molds on the counter after pouring the chocolate to release any air bubbles, and if your chocolate starts to thicken while you’re working, simply pop it back in the microwave for 10-15 seconds to bring it back to the right consistency.
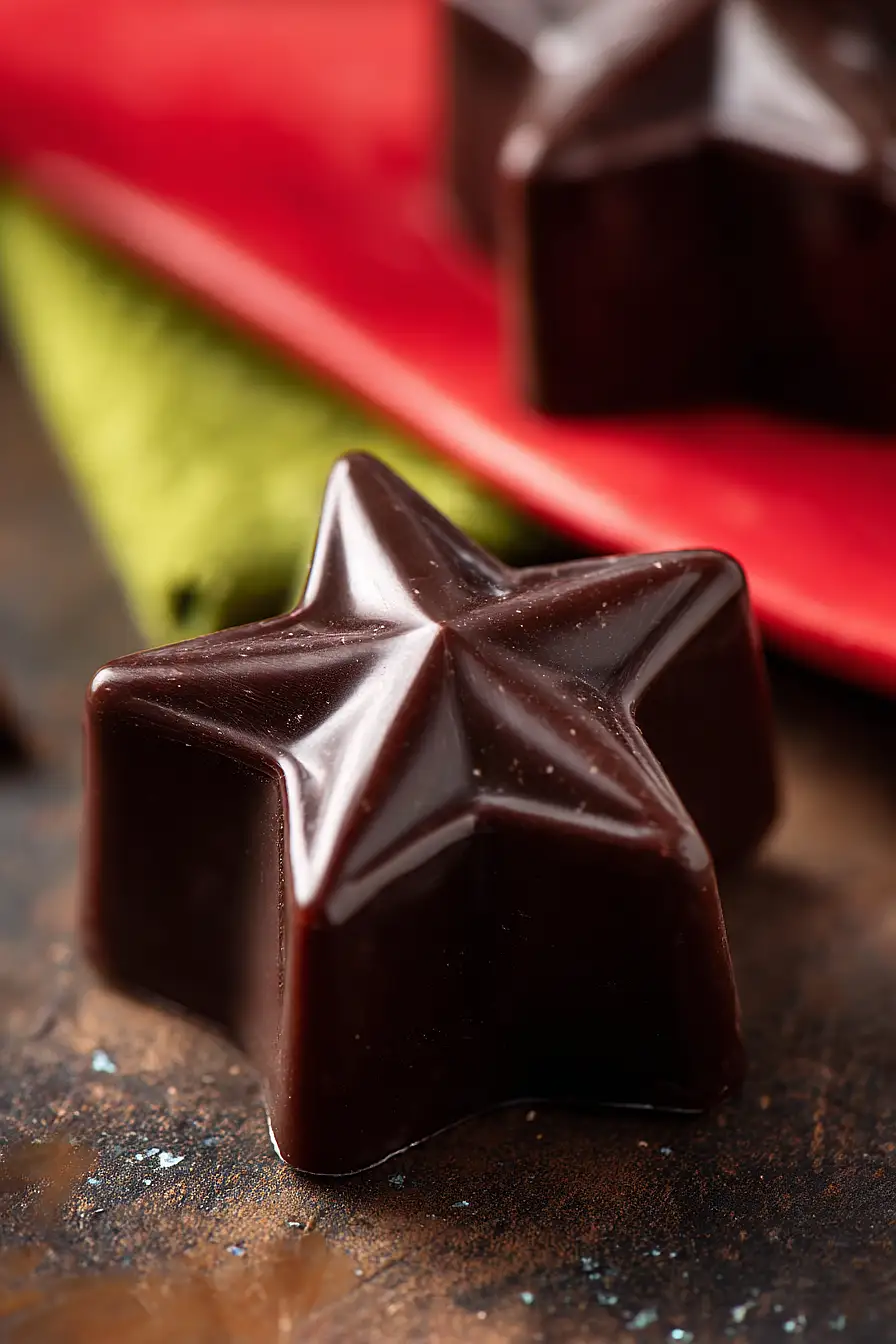
What to Serve With Chocolate Truffles?
Chocolate truffles are perfect on their own, but they really shine when you serve them alongside a cup of strong coffee or espresso – the bitter notes balance out the rich chocolate beautifully. I love setting out a platter of truffles with some fresh berries like raspberries or strawberries, which add a nice tartness that cuts through the sweetness. A glass of red wine, especially something like a Cabernet or Port, makes truffles feel extra fancy if you’re serving them at a dinner party. You can also pair them with some salted nuts like almonds or hazelnuts for a sweet and salty combination that guests always enjoy.
Storage Instructions
Store: Keep your chocolate truffles in an airtight container in the fridge for up to 2 weeks. I like to place parchment paper between layers so they don’t stick together. They’re perfect for having on hand when you need a quick dessert or want to treat yourself after dinner.
Freeze: These truffles freeze really well for up to 3 months. Just arrange them in a single layer on a baking sheet and freeze until solid, then transfer to a freezer-safe container. This way you can make a big batch and pull out a few whenever you’re craving something sweet.
Serve: Let the truffles sit at room temperature for about 10-15 minutes before serving. This brings out the best flavor and gives them that perfect melt-in-your-mouth texture. If you’re serving them straight from the freezer, give them about 20 minutes to thaw.
| Preparation Time | 20-30 minutes |
| Cooking Time | 25-30 minutes |
| Total Time | 45-60 minutes |
| Level of Difficulty | Medium |
| Servings | 40 truffles |
Estimated Nutrition
Estimated nutrition for the whole recipe (without optional ingredients):
- Calories: 5200-5500
- Protein: 45-55 g
- Fat: 390-410 g
- Carbohydrates: 360-380 g
Ingredients
For the ganache filling:
- 16 oz dark chocolate (chopped into small pieces for even melting)
- 2 cups heavy cream (cold, for best emulsification)
For the coating:
- 16 oz dark chocolate (tempered for glossy finish and snap)
Step 1: Create the Ganache Base
- 16 oz dark chocolate
- 2 cups heavy cream
Place the 16 oz chopped dark chocolate into a heatproof bowl.
Heat the cold heavy cream in a saucepan over medium heat until it just begins to steam and small bubbles form around the edges—do not let it boil.
Pour the hot cream over the chopped chocolate and let it sit undisturbed for 1-2 minutes to allow the residual heat to soften the chocolate.
Then stir gently with a spatula or whisk until the mixture becomes smooth and glossy.
This hot-cold combination creates an emulsion that gives you the silky texture essential for quality truffles.
Step 2: Chill the Ganache Until Moldable
- ganache from Step 1
Transfer the ganache from Step 1 to a shallow dish or container and refrigerate for 2-4 hours until it firms up enough to hold its shape but is still soft enough to scoop and mold.
The exact time depends on your refrigerator temperature, so check after 2 hours—it should be the consistency of soft cookie dough, not rock-hard.
I find that chilling it in a wider, shallower container rather than a deep bowl helps it set more evenly and makes it easier to work with when molding.
Step 3: Prepare the Molds and First Chocolate Layer
- 16 oz dark chocolate
While the ganache chills, melt the 16 oz tempered dark chocolate in a microwave using 30-second intervals, stirring between each interval until completely smooth and fluid.
Working with small batches, place about 1/2 teaspoon of the melted chocolate into the bottom of each paper cup or silicone mold, using a small spoon or pipette to coat the bottom evenly.
This creates the base shell of your truffle.
Refrigerate these prepared cups for 10 minutes until the chocolate layer is set and firm.
Step 4: Fill and Cap the Truffles
- ganache from Step 2
- tempered dark chocolate from Step 3
Remove the chilled ganache from Step 2 and scoop about 1 teaspoon into each prepared mold on top of the chocolate base.
Smooth it gently with the back of a spoon, leaving a small space at the top for the final chocolate cap.
Top each filled mold with another 1/2 teaspoon of the melted tempered chocolate from Step 3 to completely seal and encase the ganache.
I like to work quickly here so the chocolate doesn’t set in the bowl—if it starts to thicken, just warm it gently for a few seconds in the microwave.
Step 5: Final Chill and Optional Garnish
Refrigerate the finished truffles in their molds for 15 minutes until the chocolate coating is completely set and the truffles are firm to the touch.
If desired, you can add garnishes like finely chopped hazelnuts, sea salt, or cocoa powder by sprinkling them on top while the chocolate is still slightly tacky (about 2-3 minutes after filling).
Once fully chilled and set, gently pop the truffles out of their paper cups or molds and store in an airtight container.
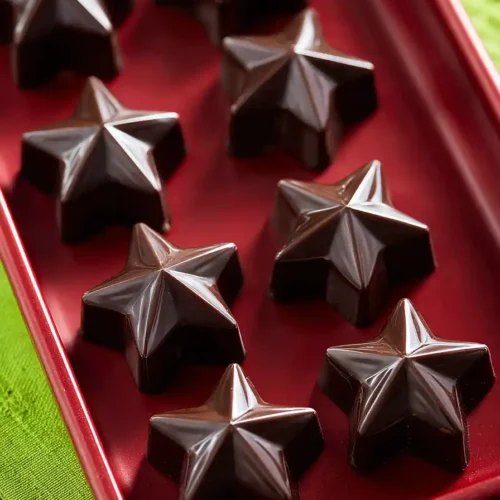
Rich Molded Chocolate Truffles
Ingredients
For the ganache filling:
- 16 oz dark chocolate (chopped into small pieces for even melting)
- 2 cups heavy cream (cold, for best emulsification)
For the coating:
- 16 oz dark chocolate (tempered for glossy finish and snap)
Instructions
- Place the 16 oz chopped dark chocolate into a heatproof bowl. Heat the cold heavy cream in a saucepan over medium heat until it just begins to steam and small bubbles form around the edges—do not let it boil. Pour the hot cream over the chopped chocolate and let it sit undisturbed for 1-2 minutes to allow the residual heat to soften the chocolate. Then stir gently with a spatula or whisk until the mixture becomes smooth and glossy. This hot-cold combination creates an emulsion that gives you the silky texture essential for quality truffles.
- Transfer the ganache from Step 1 to a shallow dish or container and refrigerate for 2-4 hours until it firms up enough to hold its shape but is still soft enough to scoop and mold. The exact time depends on your refrigerator temperature, so check after 2 hours—it should be the consistency of soft cookie dough, not rock-hard. I find that chilling it in a wider, shallower container rather than a deep bowl helps it set more evenly and makes it easier to work with when molding.
- While the ganache chills, melt the 16 oz tempered dark chocolate in a microwave using 30-second intervals, stirring between each interval until completely smooth and fluid. Working with small batches, place about 1/2 teaspoon of the melted chocolate into the bottom of each paper cup or silicone mold, using a small spoon or pipette to coat the bottom evenly. This creates the base shell of your truffle. Refrigerate these prepared cups for 10 minutes until the chocolate layer is set and firm.
- Remove the chilled ganache from Step 2 and scoop about 1 teaspoon into each prepared mold on top of the chocolate base. Smooth it gently with the back of a spoon, leaving a small space at the top for the final chocolate cap. Top each filled mold with another 1/2 teaspoon of the melted tempered chocolate from Step 3 to completely seal and encase the ganache. I like to work quickly here so the chocolate doesn't set in the bowl—if it starts to thicken, just warm it gently for a few seconds in the microwave.
- Refrigerate the finished truffles in their molds for 15 minutes until the chocolate coating is completely set and the truffles are firm to the touch. If desired, you can add garnishes like finely chopped hazelnuts, sea salt, or cocoa powder by sprinkling them on top while the chocolate is still slightly tacky (about 2-3 minutes after filling). Once fully chilled and set, gently pop the truffles out of their paper cups or molds and store in an airtight container.







