Finding a good use for peak-season cherries can be tough, especially when you’ve got a few pounds sitting on your counter and you’re running out of time before they go bad. Sure, you can snack on them straight from the bowl or toss them into a smoothie, but there’s only so many fresh cherries one family can eat in a week.
That’s where this simple cherry jam comes in handy. It uses just five basic ingredients, takes less than an hour from start to finish, and gives you a sweet, spreadable way to preserve those gorgeous Northwest Bing cherries when they’re at their best.

Why You’ll Love This Cherry Jam
- Only 3 ingredients – You just need cherries, sugar, and lemon juice to make this homemade jam—no pectin or fancy ingredients required.
- Ready in under 40 minutes – This cherry jam comes together quickly on the stovetop, so you can enjoy fresh homemade jam without spending hours in the kitchen.
- Works with fresh or frozen cherries – You can make this jam year-round since frozen cherries work just as well as fresh ones.
- Perfect for gifting – Homemade jam in a cute jar makes a thoughtful gift for friends and family, and it tastes so much better than store-bought.
What Kind of Cherries Should I Use?
Sweet cherries are the way to go for this jam, and you’ve got plenty of options at the grocery store. Bing cherries are probably the most common variety you’ll find, but Rainier or Lambert cherries work just as well if you can get your hands on them. Fresh cherries are great when they’re in season during the summer months, but don’t hesitate to use frozen cherries year-round – they’re already pitted, which saves you a ton of time, and they work perfectly in jam since you’re cooking them down anyway. Just make sure if you’re using frozen cherries that you don’t thaw them first, as this can make them mushy and harder to work with.

Options for Substitutions
This simple jam recipe works well with a few substitutions if you need them:
- Sweet cherries: You can use sour cherries instead, but you’ll want to increase the sugar to 1¼ cups to balance out the tartness. Fresh or frozen both work great – just make sure frozen cherries are thawed and drained before using.
- Granulated sugar: While regular white sugar is best for achieving the right consistency and sweetness, you can try coconut sugar or honey (use ¾ cup honey). Keep in mind that honey will give you a softer set and a slightly different flavor.
- Lemon juice: Fresh lemon juice is really important here – it helps the jam set properly and balances the sweetness. In a pinch, bottled lemon juice works, but fresh tastes better. Don’t skip the lemon juice entirely, as it’s needed for proper gelling.
Watch Out for These Mistakes While Cooking
The biggest mistake when making cherry jam is not cooking it to the proper temperature of 220°F, which means your jam won’t set correctly and you’ll end up with cherry syrup instead of a spreadable consistency – use a candy thermometer to check the temperature rather than guessing.
Another common error is skipping the lemon juice or reducing the amount, as the acidity is essential for both flavor balance and helping the jam gel properly.
To avoid a burnt bottom, stir the mixture frequently once it starts boiling, especially during those final 8-10 minutes when the sugars are concentrated and more likely to stick.
Finally, make sure your jars are properly sterilized before filling them – run them through the dishwasher or boil them for 10 minutes to prevent any bacteria from spoiling your homemade jam.
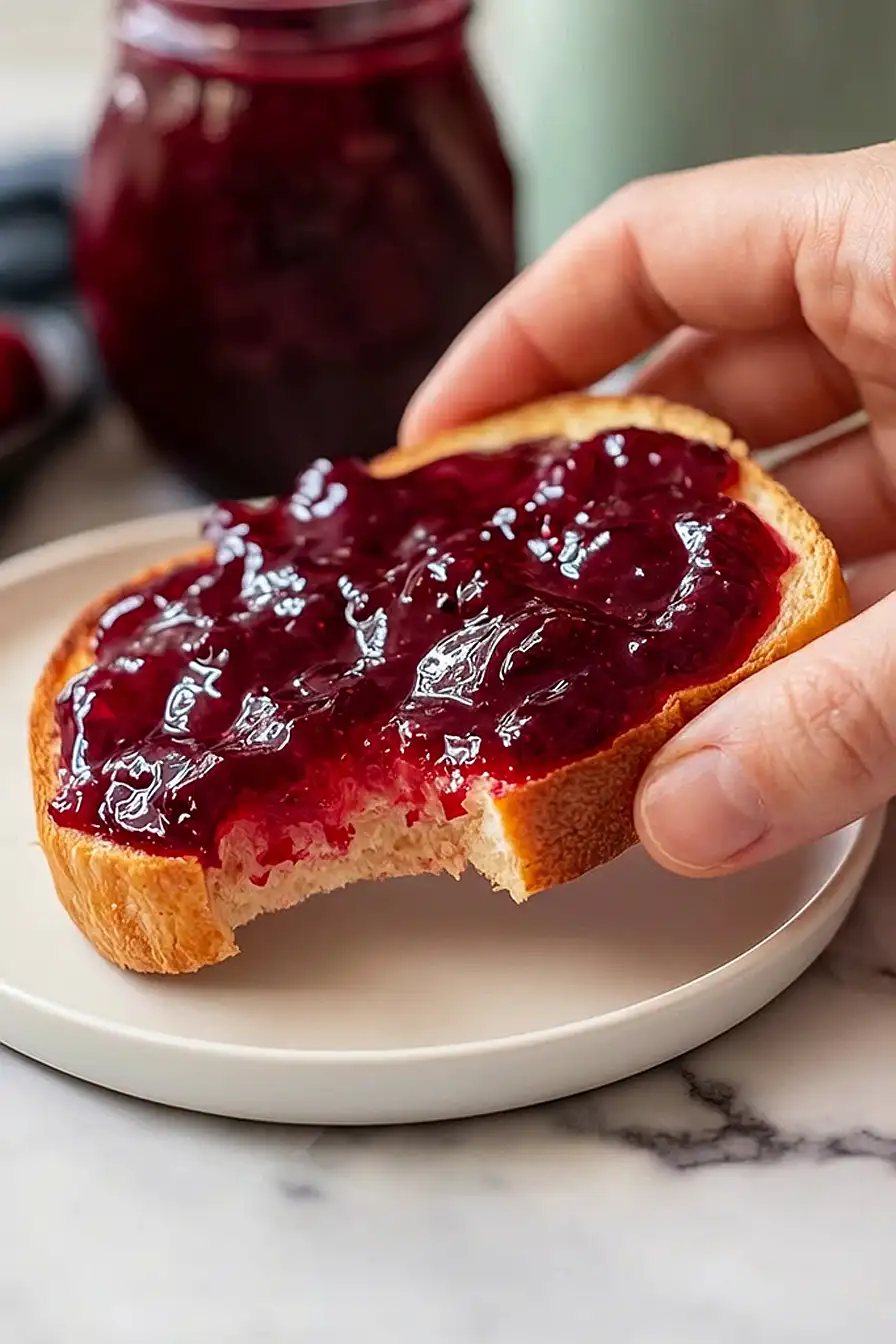
What to Serve With Cherry Jam?
Cherry jam is perfect slathered on warm, buttery toast or English muffins for breakfast, and it also makes a great addition to your cheese board alongside brie or goat cheese. I love swirling it into plain yogurt or oatmeal for a sweet morning treat, or spreading it between layers of a simple vanilla cake. You can also use it as a topping for pancakes, waffles, or even ice cream when you want something a little different from the usual maple syrup or chocolate sauce.
Storage Instructions
Store: Once your cherry jam has cooled completely, transfer it to a clean jar with a tight-fitting lid and keep it in the fridge. It’ll stay good for about 2-3 weeks, though mine never lasts that long because I end up putting it on everything!
Freeze: If you made a big batch, cherry jam freezes really well for up to 6 months. Just leave a little headspace in your jars or containers since it expands when frozen. Thaw it overnight in the fridge when you’re ready to use it.
Enjoy: The jam will thicken up even more as it sits in the fridge, so don’t worry if it seems a bit runny at first. Give it a good stir before using, and it’s perfect on toast, stirred into yogurt, or spooned over ice cream.
| Preparation Time | 10-15 minutes |
| Cooking Time | 15-20 minutes |
| Total Time | 25-35 minutes |
| Level of Difficulty | Medium |
| Servings | 2 cups of jam |
Estimated Nutrition
Estimated nutrition for the whole recipe (without optional ingredients):
- Calories: 650-700
- Protein: 2-3 g
- Fat: 0-1 g
- Carbohydrates: 170-180 g
Ingredients
- 2.5 cups Northwest Bing cherries, pitted
- 3/4 cup + 2 tablespoons granulated sugar
- 3 tablespoons freshly squeezed lemon juice
- 1/4 teaspoon vanilla extract
- 1 pinch sea salt
Step 1: Prepare Cherries and Combine Base Ingredients
- 2.5 cups Northwest Bing cherries, pitted
- 3/4 cup + 2 tablespoons granulated sugar
- 3 tablespoons freshly squeezed lemon juice
Pit your cherries if not already done, ensuring you remove all pits as they can affect texture and flavor.
In a heavy-bottomed pot or wide saucepan (which helps with evaporation and heat distribution), combine the pitted cherries, granulated sugar, and freshly squeezed lemon juice.
The lemon juice serves double duty here—it brightens the cherry flavor and helps activate the pectin for proper setting.
Stir everything together gently to begin breaking down the cherries slightly and dissolving the sugar.
Step 2: Cook Cherry Mixture to Gel Stage
- cherry-sugar mixture from Step 1
Place the pot over medium-high heat and bring the mixture to a rolling boil, stirring occasionally to prevent sticking and scorching on the bottom.
The mixture will begin to darken to a deep red color as the fruit breaks down and the sugars caramelize slightly—this usually takes 8-12 minutes depending on your heat level and pot width.
I like to use a candy thermometer here to track when you reach the gel point of 220°F, which is more reliable than eyeballing it.
Once the mixture reaches temperature and darkens to a rich burgundy, you’ll notice it becomes glossy and viscous.
Remove from heat and let it cool for about 2 minutes before proceeding.
Step 3: Blend and Season the Jam
- cooked cherry mixture from Step 2
- 1/4 teaspoon vanilla extract
- 1 pinch sea salt
Transfer the cooked cherry mixture to a blender or food processor and blend until smooth with no large pieces remaining, working in batches if necessary to avoid overflow.
For a chunky jam texture, pulse briefly instead of fully blending—this is really a matter of personal preference.
Pour the blended jam back into the pot and stir in the vanilla extract and sea salt.
I find that the pinch of salt deepens the cherry flavor and balances the sweetness beautifully; don’t skip it even though it seems like a small amount.
Step 4: Jar and Seal the Jam
- seasoned jam from Step 3
While the jam is still warm (but not scalding hot), carefully pour it into sterilized jars, leaving about 1/4 inch headspace at the top.
Wipe the jar rims clean with a damp cloth to remove any jam residue, then seal with sterilized lids and bands according to standard canning procedure.
Allow the jars to cool to room temperature—you’ll hear the satisfying “pop” of the lids sealing as they cool, indicating a proper seal.
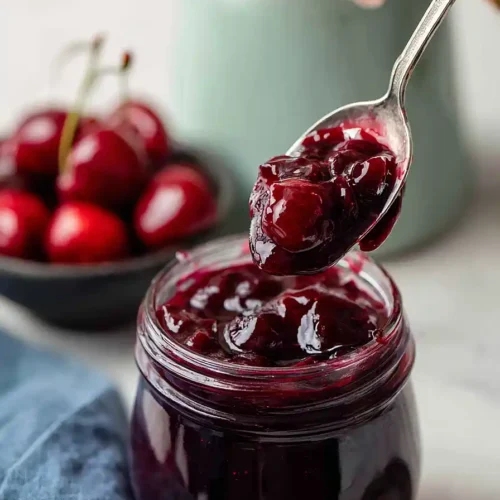
Simple Cherry Jam
Ingredients
- 2.5 cups Northwest Bing cherries, pitted
- 3/4 cup + 2 tablespoons granulated sugar
- 3 tablespoons freshly squeezed lemon juice
- 1/4 teaspoon vanilla extract
- 1 pinch sea salt
Instructions
- Pit your cherries if not already done, ensuring you remove all pits as they can affect texture and flavor. In a heavy-bottomed pot or wide saucepan (which helps with evaporation and heat distribution), combine the pitted cherries, granulated sugar, and freshly squeezed lemon juice. The lemon juice serves double duty here—it brightens the cherry flavor and helps activate the pectin for proper setting. Stir everything together gently to begin breaking down the cherries slightly and dissolving the sugar.
- Place the pot over medium-high heat and bring the mixture to a rolling boil, stirring occasionally to prevent sticking and scorching on the bottom. The mixture will begin to darken to a deep red color as the fruit breaks down and the sugars caramelize slightly—this usually takes 8-12 minutes depending on your heat level and pot width. I like to use a candy thermometer here to track when you reach the gel point of 220°F, which is more reliable than eyeballing it. Once the mixture reaches temperature and darkens to a rich burgundy, you'll notice it becomes glossy and viscous. Remove from heat and let it cool for about 2 minutes before proceeding.
- Transfer the cooked cherry mixture to a blender or food processor and blend until smooth with no large pieces remaining, working in batches if necessary to avoid overflow. For a chunky jam texture, pulse briefly instead of fully blending—this is really a matter of personal preference. Pour the blended jam back into the pot and stir in the vanilla extract and sea salt. I find that the pinch of salt deepens the cherry flavor and balances the sweetness beautifully; don't skip it even though it seems like a small amount.
- While the jam is still warm (but not scalding hot), carefully pour it into sterilized jars, leaving about 1/4 inch headspace at the top. Wipe the jar rims clean with a damp cloth to remove any jam residue, then seal with sterilized lids and bands according to standard canning procedure. Allow the jars to cool to room temperature—you'll hear the satisfying "pop" of the lids sealing as they cool, indicating a proper seal.







