I didn’t discover sweet potato chili until my neighbor brought some over during a particularly busy week. I was skeptical—sweet potatoes in chili? But one spoonful changed my mind completely.
The best part is throwing everything in the crockpot before work and coming home to dinner that’s ready to go. Sweet potatoes break down just enough to thicken the chili naturally, and they add this subtle sweetness that balances out the spices perfectly. It’s become my go-to meal when I need something hearty but don’t want to spend all evening in the kitchen.
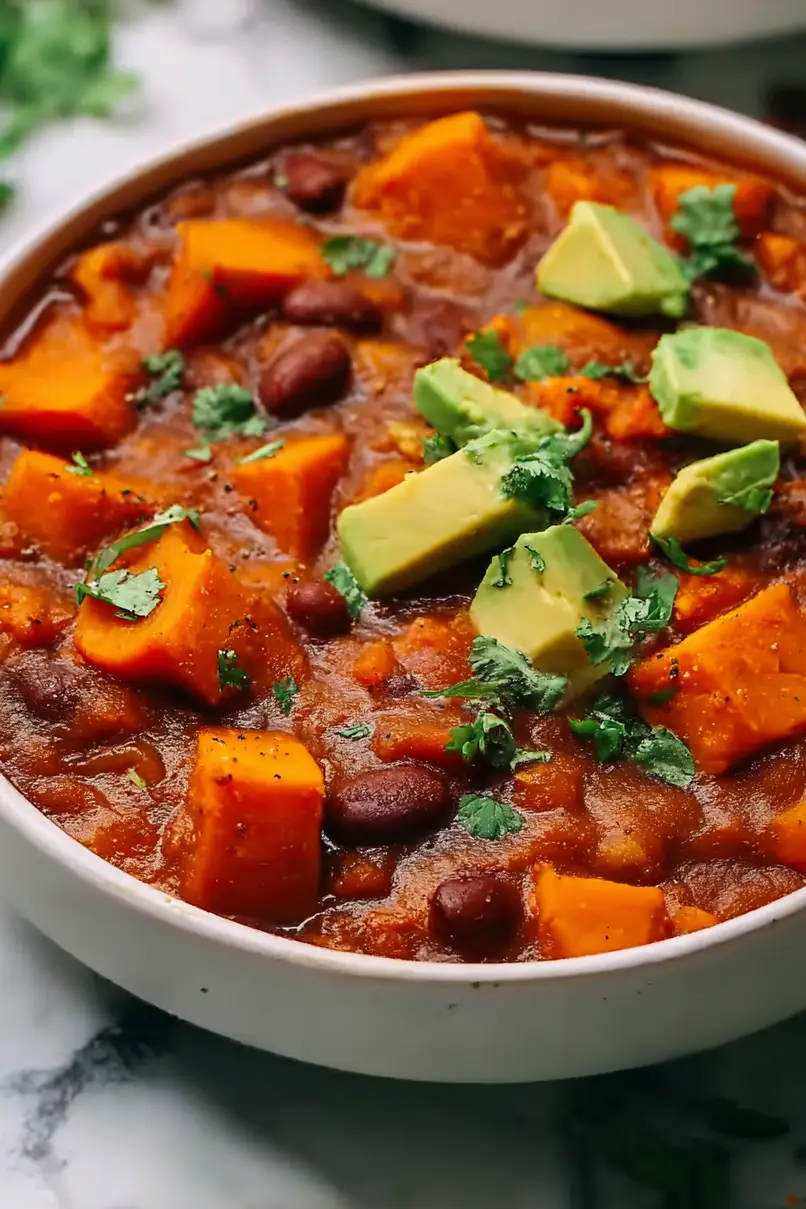
Why You’ll Love This Sweet Potato Chili
- Set-it-and-forget-it convenience – Just toss everything into your crockpot and let it simmer away while you tackle your day – no stirring or babysitting required.
- Packed with plant-based protein – Three different types of beans plus nutrient-rich sweet potatoes make this a filling, satisfying meal that will keep you full for hours.
- Naturally healthy and hearty – This chili is loaded with vegetables, fiber, and wholesome ingredients that make you feel good about what you’re eating.
- Perfect for meal prep – This recipe makes a big batch that tastes even better the next day, so you’ll have easy lunches and dinners ready to go all week.
- Pantry-friendly ingredients – Most of these ingredients are probably already in your pantry or easy to find at any grocery store, making this an accessible weeknight dinner.
What Kind of Sweet Potatoes Should I Use?
For this chili, you’ll want to grab the orange-fleshed sweet potatoes you typically see at the grocery store – they’re perfect for this recipe. These are sometimes labeled as “yams” in stores, but they’re actually sweet potatoes and will give you that nice, creamy texture and natural sweetness that makes this chili so good. Make sure to pick ones that feel firm and don’t have any soft spots or wrinkled skin. When you’re prepping them, peel off all the skin and cut them into bite-sized cubes so they cook evenly in the crockpot – aim for pieces that are roughly the same size so everything finishes cooking at the same time.
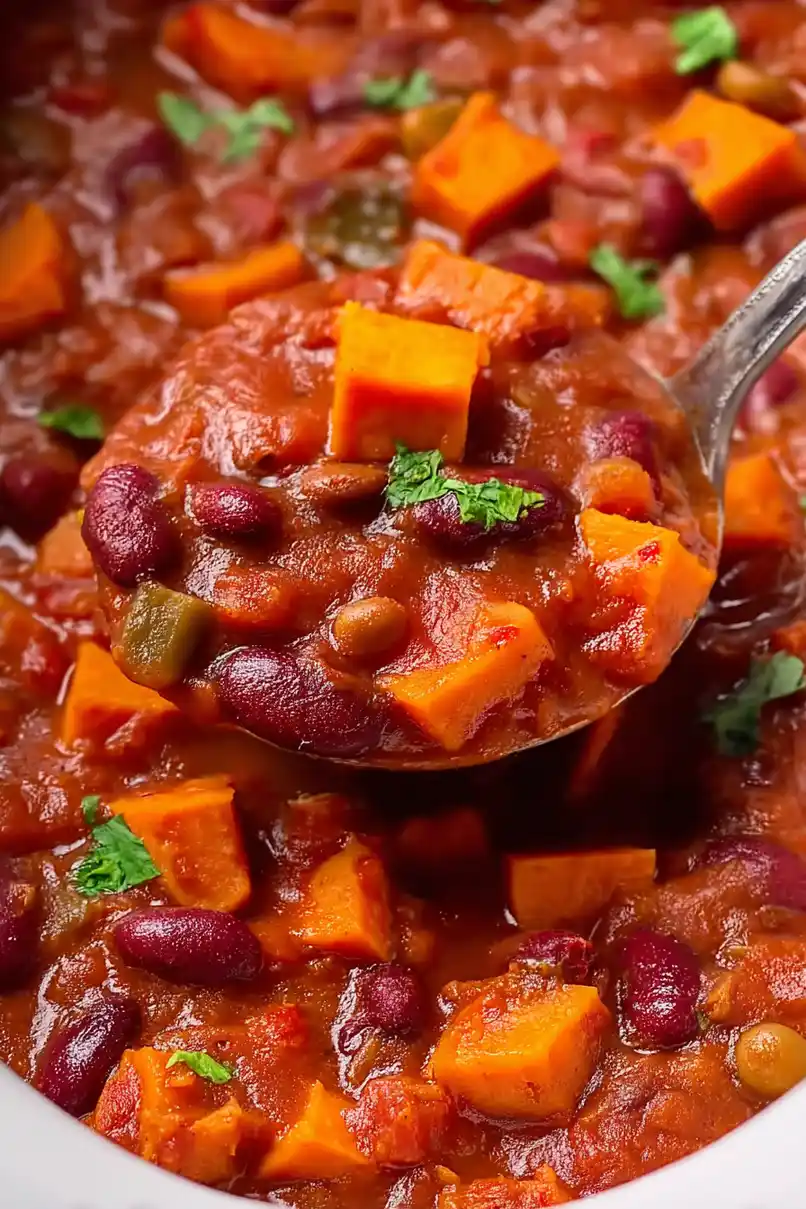
Options for Substitutions
This chili is super forgiving and works great with different ingredients you might have on hand:
- Sweet potatoes: If you’re not a sweet potato fan, try regular russet or red potatoes instead. You could also use butternut squash for a similar sweetness, just cut it into similar-sized cubes.
- Bean varieties: Mix and match any beans you have! White beans, navy beans, or chickpeas all work well. Just stick to about 3 cans total to keep the right balance.
- Bell peppers: No bell peppers? Try poblano peppers for mild heat, or use diced zucchini or corn for extra veggies. Even frozen mixed peppers work in a pinch.
- Smoked paprika: Regular paprika works fine if you don’t have the smoked version. For extra smoky flavor, add a pinch of chipotle powder instead.
- Tomato paste: If you’re out of tomato paste, you can simmer the chili uncovered for the last hour to thicken naturally, or mash some of the sweet potatoes against the side of the pot.
- Diced tomatoes: Crushed tomatoes or whole tomatoes (chopped up) work just as well. You can even use fresh tomatoes if you have about 4-5 large ones on hand.
Watch Out for These Mistakes While Cooking
The biggest mistake when making crockpot sweet potato chili is cutting your sweet potatoes too large, which can leave you with hard, undercooked chunks – aim for ½-inch cubes so they cook evenly and become tender without turning to mush.
Don’t skip sautéing your onions and garlic before adding them to the crockpot, as this extra step builds a much deeper flavor base than just throwing everything in raw.
Another common error is adding all your seasonings at the beginning and never tasting – sweet potatoes can dilute flavors, so reserve half your spices to add during the last hour of cooking and adjust salt levels at the end.
Finally, resist the urge to lift the lid frequently during cooking, as each peek releases heat and can add 15-20 minutes to your cooking time, potentially leaving your sweet potatoes unevenly cooked.
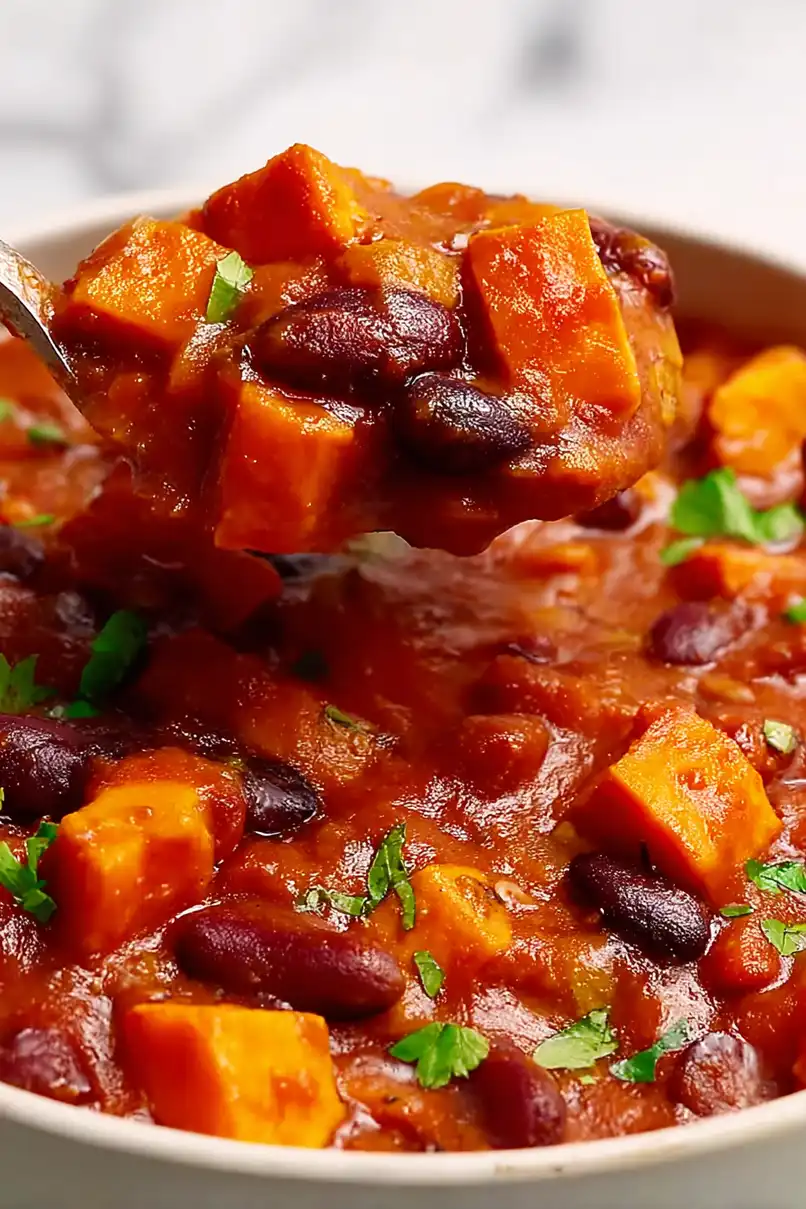
What to Serve With Sweet Potato Chili?
This hearty chili is perfect on its own, but I love serving it with some warm cornbread or crusty rolls for dipping into all that rich, smoky goodness. You can also spoon it over baked potatoes, rice, or even pasta for a more filling meal that’ll keep everyone satisfied. Don’t forget the toppings – a dollop of sour cream, shredded cheese, chopped green onions, or sliced avocado really make this chili shine. For something a little different, try serving it with tortilla chips for scooping, or wrap it up in a warm flour tortilla with some cheese for an easy chili burrito.
Storage Instructions
Refrigerate: This chili actually gets better after a day or two in the fridge! Store it in airtight containers for up to 5 days. The flavors really meld together nicely, and I often make a big batch on Sunday to enjoy throughout the week with some cornbread or over baked potatoes.
Freeze: Sweet potato chili freezes like a dream for up to 3 months. Let it cool completely, then portion it into freezer bags or containers – I love using individual serving sizes for easy weeknight dinners. Just leave a little room at the top since it’ll expand when frozen.
Warm Up: To enjoy your leftover chili, just heat it on the stovetop over medium-low heat, stirring occasionally until warmed through. You can also microwave individual portions on medium power. If it seems a bit thick after storing, just add a splash of broth or water to get it back to your preferred consistency.
| Preparation Time | 15-20 minutes |
| Cooking Time | 240-480 minutes |
| Total Time | 255-500 minutes |
| Level of Difficulty | Easy |
Estimated Nutrition
Estimated nutrition for the whole recipe (without optional ingredients):
- Calories: 1200-1350
- Protein: 45-55 g
- Fat: 4-8 g
- Carbohydrates: 260-290 g
Ingredients
- 1 can pinto beans (drained and rinsed)
- 2 cans diced tomatoes (I use San Marzano for better flavor)
- 1 onion (diced into 1/2-inch pieces)
- 2 tbsp chili powder
- 3-4 garlic cloves (freshly minced)
- 1/2 tsp black pepper
- 1/3 cup tomato paste (I use Amore tomato paste)
- 1/4-1/2 tsp crushed red pepper flakes (adjust to taste for desired heat)
- 1/2-1 tsp sea salt (adjust at the end for best flavor)
- 2 bell peppers (any color, diced into 1/2-inch pieces)
- 1 can kidney beans (drained and rinsed)
- 1 can black beans (drained and rinsed)
- 1 tsp smoked paprika (for rich, smoky depth)
- 3 large sweet potatoes (peeled and cut into 1-inch cubes)
- 1 tbsp ground cumin (freshly ground preferred for more flavor)
- 1 can tomato sauce
Step 1: Prepare Your Mise en Place
- 3 large sweet potatoes
- 1 onion
- 2 bell peppers
- 3-4 garlic cloves
- 1 can pinto beans
- 1 can black beans
- 1 can kidney beans
- 1 tbsp ground cumin
- 2 tbsp chili powder
- 1 tsp smoked paprika
- 1/4-1/2 tsp crushed red pepper flakes
- 1/2 tsp black pepper
Peel and cut the sweet potatoes into 1-inch cubes, then dice the onion and bell peppers into 1/2-inch pieces.
Mince the garlic cloves fresh—this makes a noticeable difference in flavor compared to pre-minced.
Drain and rinse all three cans of beans thoroughly to remove excess sodium and starch, which can make the chili cloudy.
Measure out all your spices (cumin, chili powder, smoked paprika, red pepper flakes, and black pepper) into a small bowl so they’re ready to go.
Having everything prepped and organized before you begin cooking makes the next steps quick and ensures nothing gets forgotten.
Step 2: Build the Flavor Base in the Slow Cooker
- 1 onion, diced
- 3-4 garlic cloves, minced
- 2 bell peppers, diced
- 1 tbsp ground cumin
- 2 tbsp chili powder
- 1 tsp smoked paprika
- 1/4-1/2 tsp crushed red pepper flakes
- 1/2 tsp black pepper
Add the diced onion and minced garlic to your slow cooker first, then add the diced bell peppers.
This layering approach helps the aromatic vegetables begin releasing their flavors early in the cooking process.
Sprinkle your measured spices directly over the vegetables—I like to do this before adding the liquids so the spices coat everything evenly and bloom as the chili heats up.
Stir everything together to distribute the spices thoroughly throughout the vegetables.
Step 3: Add the Liquid Base and Proteins
- 3 large sweet potatoes, cubed
- 2 cans diced tomatoes
- 1 can tomato sauce
- 1 can pinto beans, drained and rinsed
- 1 can black beans, drained and rinsed
- 1 can kidney beans, drained and rinsed
- 1/2 tsp sea salt
Pour in both cans of diced tomatoes (with their liquid), the can of tomato sauce, and add the prepared sweet potato cubes.
Then add all three cans of drained beans—the combination of pinto, black, and kidney beans creates a more complex texture and flavor profile than using just one type.
Stir everything together to combine, then add 1/2 teaspoon of sea salt.
The salt helps bring out the natural sweetness of the potatoes while balancing the acidity of the tomatoes.
Step 4: Cook Low and Slow Until Tender
- Contents from Step 3
Cover the slow cooker and cook on high for 4-6 hours or on low for 6-8 hours.
The sweet potatoes should be very soft and tender when done—you should be able to break them apart with a wooden spoon.
The longer, gentler cooking on low creates better flavor development as all the spices and vegetables meld together.
If you’re cooking on high, check the chili at the 4-hour mark to avoid overcooking.
Step 5: Finish with Tomato Paste and Season to Taste
- 1/3 cup tomato paste
Once the sweet potatoes are tender, stir in the 1/3 cup of tomato paste, which deepens the overall flavor and adds a concentrated richness that ties everything together.
Let it simmer for another 2-3 minutes so the tomato paste integrates fully.
Taste the chili and adjust the salt as needed—I find that waiting until the end to do final seasoning gives you better control over the final flavor balance.
Add additional sea salt or red pepper flakes if you’d like more heat or depth.
Step 6: Serve and Enjoy
Ladle the chili into bowls and serve hot.
This chili tastes even better the next day after the flavors have had more time to develop, so it’s an excellent make-ahead dish.







