Finding a side dish that’s quick, crowd-pleasing, and feels a little special can be tough, especially on busy weeknights when you’re juggling dinner prep and everything else life throws at you. Store-bought crescent rolls are great on their own, but let’s be honest—they can feel a bit plain when you’re trying to round out a meal.
That’s where these garlic crescent rolls come in. With just a handful of pantry staples and about 15 minutes of your time, you can turn ordinary crescent dough into buttery, garlicky rolls that taste like they came from your favorite Italian restaurant. They’re perfect alongside pasta, soup, or even just for snacking straight off the pan.
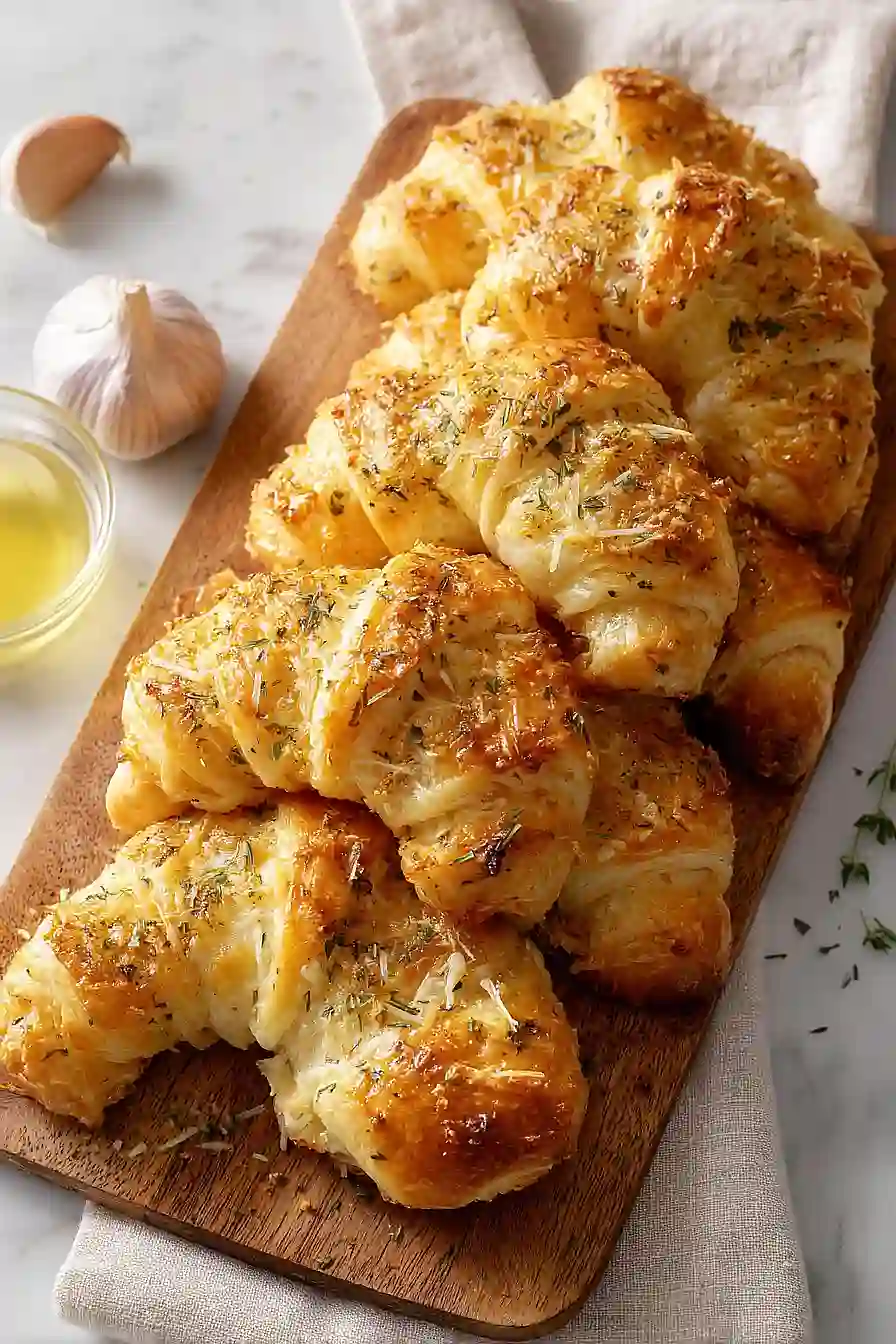
Why You’ll Love These Garlic Crescent Rolls
- Ready in under 30 minutes – These garlic crescent rolls come together in just 15-25 minutes, making them perfect for busy weeknights or last-minute dinner guests.
- Simple ingredients – You only need five basic ingredients, and there’s a good chance you already have most of them in your kitchen.
- Minimal effort required – Starting with store-bought crescent rolls means you skip all the hard work while still getting homemade flavor that tastes like you spent hours in the kitchen.
- Perfect side dish – These buttery, garlicky rolls pair well with just about anything—pasta, soup, salad, or your favorite main course.
What Kind of Crescent Rolls Should I Use?
Any brand of refrigerated crescent rolls will work great for this recipe, so grab whatever’s on sale at your grocery store. You’ll find them in the refrigerated section near the biscuits and canned cinnamon rolls – just look for the tube that you pop open by pressing it against the counter edge. Some stores carry their own generic versions alongside name brands like Pillsbury, and honestly, they all taste pretty similar once you add the garlic butter and seasonings. If you can only find the reduced-fat version, that’ll work too, though the regular ones tend to be a bit flakier and more buttery.
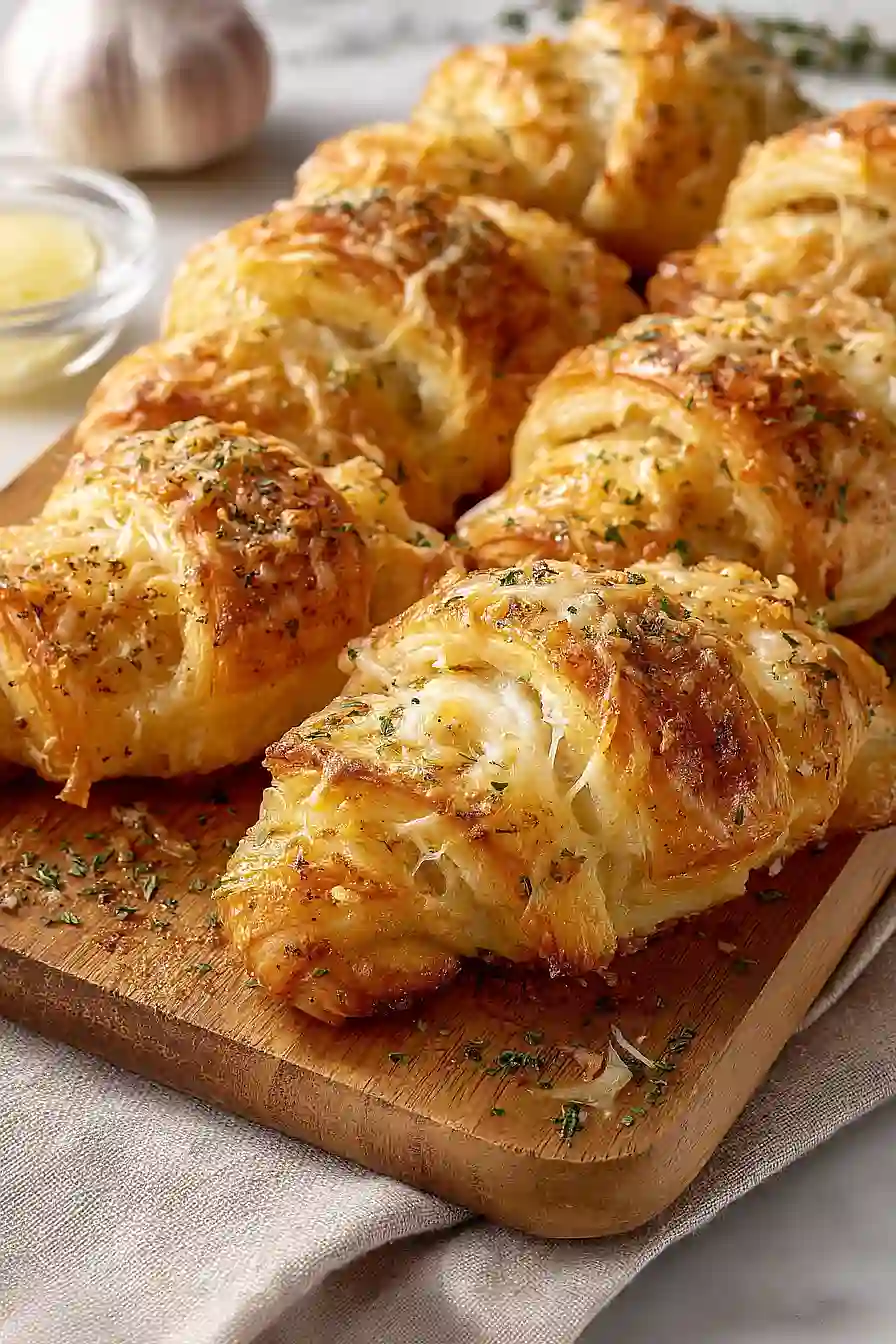
Options for Substitutions
These garlic crescent rolls are simple to customize with a few easy swaps:
- Refrigerated crescent rolls: This is the base of the recipe, so you’ll want to stick with crescent roll dough. However, you can use the reduced-fat version or even puff pastry sheets cut into triangles if that’s what you have available.
- Butter: You can swap melted butter with olive oil or melted margarine if needed. The flavor will be slightly different, but it’ll still work well.
- Garlic powder: Fresh minced garlic (about 2-3 cloves) mixed into the melted butter gives a stronger garlic flavor. You can also use garlic salt, but reduce or skip any additional salt in the recipe.
- Dried oregano: Feel free to swap oregano with Italian seasoning, dried basil, or dried parsley. You could also use fresh herbs – just triple the amount.
- Parmesan cheese: Romano cheese or Asiago work great as substitutes. In a pinch, shredded mozzarella will give you a milder flavor but still adds that cheesy touch.
Watch Out for These Mistakes While Baking
The biggest mistake when making garlic crescent rolls is applying the butter mixture before baking, which can cause the garlic powder to burn and turn bitter – instead, brush half the mixture on before baking and save the rest to brush on immediately after they come out of the oven for maximum garlic flavor.
Another common error is placing the rolls too close together on the baking sheet, which prevents them from getting that golden, crispy exterior all around, so make sure to give them the full 2 inches of space.
Don’t skip letting the butter cool slightly before mixing in the garlic powder and oregano, as butter that’s too hot can cause the herbs to lose their flavor.
Finally, resist the urge to overbake these rolls – they should be just golden brown, not dark, since they’ll continue cooking slightly once removed from the oven and can quickly go from perfect to dry.

What to Serve With Garlic Crescent Rolls?
These garlic crescent rolls are perfect alongside just about any pasta dish, whether it’s spaghetti and meatballs, fettuccine alfredo, or baked ziti. They’re also great for soaking up the broth from soups and stews – think minestrone, chicken noodle, or even a hearty chili. I love serving them with a big Caesar salad for a lighter meal, or putting them out as an appetizer with marinara sauce for dipping. They also work well at barbecues alongside grilled chicken or ribs when you want something a bit fancier than regular dinner rolls.
Storage Instructions
Store: Keep leftover garlic crescent rolls in an airtight container at room temperature for up to 2 days, or in the fridge for up to 4 days. They’re best enjoyed fresh, but they’ll still taste good the next day!
Freeze: You can freeze these after baking for up to 2 months. Just make sure they’re completely cooled first, then wrap them well in foil or place in a freezer bag. I like to freeze them individually so I can grab just one or two when I need them.
Warm Up: To bring back that fresh-baked taste, wrap the rolls in foil and warm them in a 350°F oven for about 5-7 minutes. You can also microwave them for 15-20 seconds, but the oven method keeps them flakier and crispier on the outside.
| Preparation Time | 5-10 minutes |
| Cooking Time | 10-15 minutes |
| Total Time | 15-25 minutes |
| Level of Difficulty | Easy |
| Servings | 8 rolls |
Estimated Nutrition
Estimated nutrition for the whole recipe (without optional ingredients):
- Calories: 1100-1200
- Protein: 18-22 g
- Fat: 60-68 g
- Carbohydrates: 120-130 g
Ingredients
For the rolls:
- 8 oz crescent dough (I use Pillsbury Original for the best flakey texture)
For the seasoning:
- 4 tbsp butter (I like Kerrygold unsalted butter for this)
- 2 tsp garlic powder
- 1 tsp dried oregano (crush between your palms to release the oils)
- 3 tbsp parmesan cheese
- 1/4 tsp salt
- 1 tsp fresh parsley, finely chopped
Step 1: Prepare the Garlic Butter Mixture and Mise en Place
- 4 tbsp butter
- 2 tsp garlic powder
- 1 tsp dried oregano
- 1/4 tsp salt
- 1 tsp fresh parsley, finely chopped
Preheat your oven to 375°F.
While the oven heats, melt the butter in a small saucepan over low heat—you want it soft and pourable, not browned.
In a small bowl, combine the garlic powder, dried oregano (crush it between your palms first to release the aromatic oils), and salt.
Stir this mixture into the melted butter until fully combined and fragrant.
Finely chop the fresh parsley and have your parmesan cheese measured and ready.
This prep work ensures everything is ready when you need it, so you’re not rushed during the final assembly.
Step 2: Shape and Arrange the Crescent Rolls
- 8 oz crescent dough
Remove the crescent dough from its package and carefully separate it into 8 individual triangular pieces along the perforated lines.
Gently roll each piece starting from the wide end toward the point, creating the classic crescent shape—this helps build the flaky layers.
Place each rolled crescent on a baking sheet, spacing them about 2 inches apart to allow room for expansion during baking.
Lightly curve the ends inward to form a crescent moon shape.
I find that handling the dough gently keeps it tender and prevents the layers from compressing, which keeps them nice and flaky.
Step 3: Brush and Top the Rolls
- garlic butter mixture from Step 1
- 3 tbsp parmesan cheese
- fresh parsley from Step 1
Using a pastry brush or the back of a spoon, generously brush the garlic butter mixture from Step 1 over the top of each crescent roll, making sure to coat them evenly.
Immediately sprinkle the parmesan cheese over the buttered rolls while the butter is still wet so it adheres properly.
Finish by sprinkling the fresh parsley over the top for a pop of color and fresh flavor.
Step 4: Bake and Serve
Place the baking sheet in your preheated 375°F oven and bake for 10 to 12 minutes, until the crescents are golden brown on top and the edges are lightly crispy.
Watch them in the final minutes to prevent over-browning.
Remove from the oven and serve warm for the best texture and flavor—the butter and garlic are most aromatic when they’re still hot.
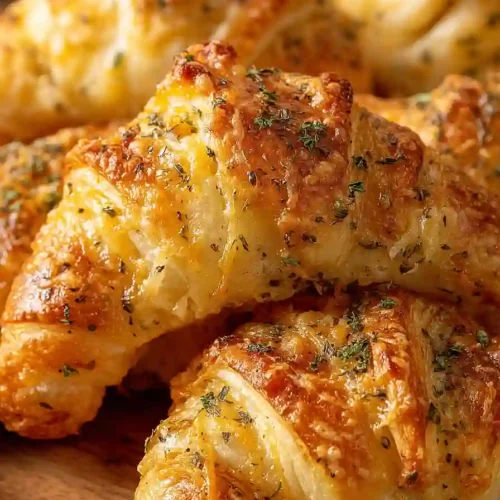
Simple Garlic Crescent Rolls
Ingredients
For the rolls
- 8 oz crescent dough (I use Pillsbury Original for the best flakey texture)
For the seasoning
- 4 tbsp butter (I like Kerrygold unsalted butter for this)
- 2 tsp garlic powder
- 1 tsp dried oregano (crush between your palms to release the oils)
- 3 tbsp parmesan cheese
- 1/4 tsp salt
- 1 tsp fresh parsley, finely chopped
Instructions
- Preheat your oven to 375°F. While the oven heats, melt the butter in a small saucepan over low heat—you want it soft and pourable, not browned. In a small bowl, combine the garlic powder, dried oregano (crush it between your palms first to release the aromatic oils), and salt. Stir this mixture into the melted butter until fully combined and fragrant. Finely chop the fresh parsley and have your parmesan cheese measured and ready. This prep work ensures everything is ready when you need it, so you're not rushed during the final assembly.
- Remove the crescent dough from its package and carefully separate it into 8 individual triangular pieces along the perforated lines. Gently roll each piece starting from the wide end toward the point, creating the classic crescent shape—this helps build the flaky layers. Place each rolled crescent on a baking sheet, spacing them about 2 inches apart to allow room for expansion during baking. Lightly curve the ends inward to form a crescent moon shape. I find that handling the dough gently keeps it tender and prevents the layers from compressing, which keeps them nice and flaky.
- Using a pastry brush or the back of a spoon, generously brush the garlic butter mixture from Step 1 over the top of each crescent roll, making sure to coat them evenly. Immediately sprinkle the parmesan cheese over the buttered rolls while the butter is still wet so it adheres properly. Finish by sprinkling the fresh parsley over the top for a pop of color and fresh flavor.
- Place the baking sheet in your preheated 375°F oven and bake for 10 to 12 minutes, until the crescents are golden brown on top and the edges are lightly crispy. Watch them in the final minutes to prevent over-browning. Remove from the oven and serve warm for the best texture and flavor—the butter and garlic are most aromatic when they're still hot.







