Ever found yourself craving something sweet at 9 PM but don’t want to deal with pulling out all your baking equipment? I’ve been there more times than I can count. Between the late-night sugar cravings and those moments when you just need a small treat, a full-sized cake feels like way too much work (and way too many leftovers).
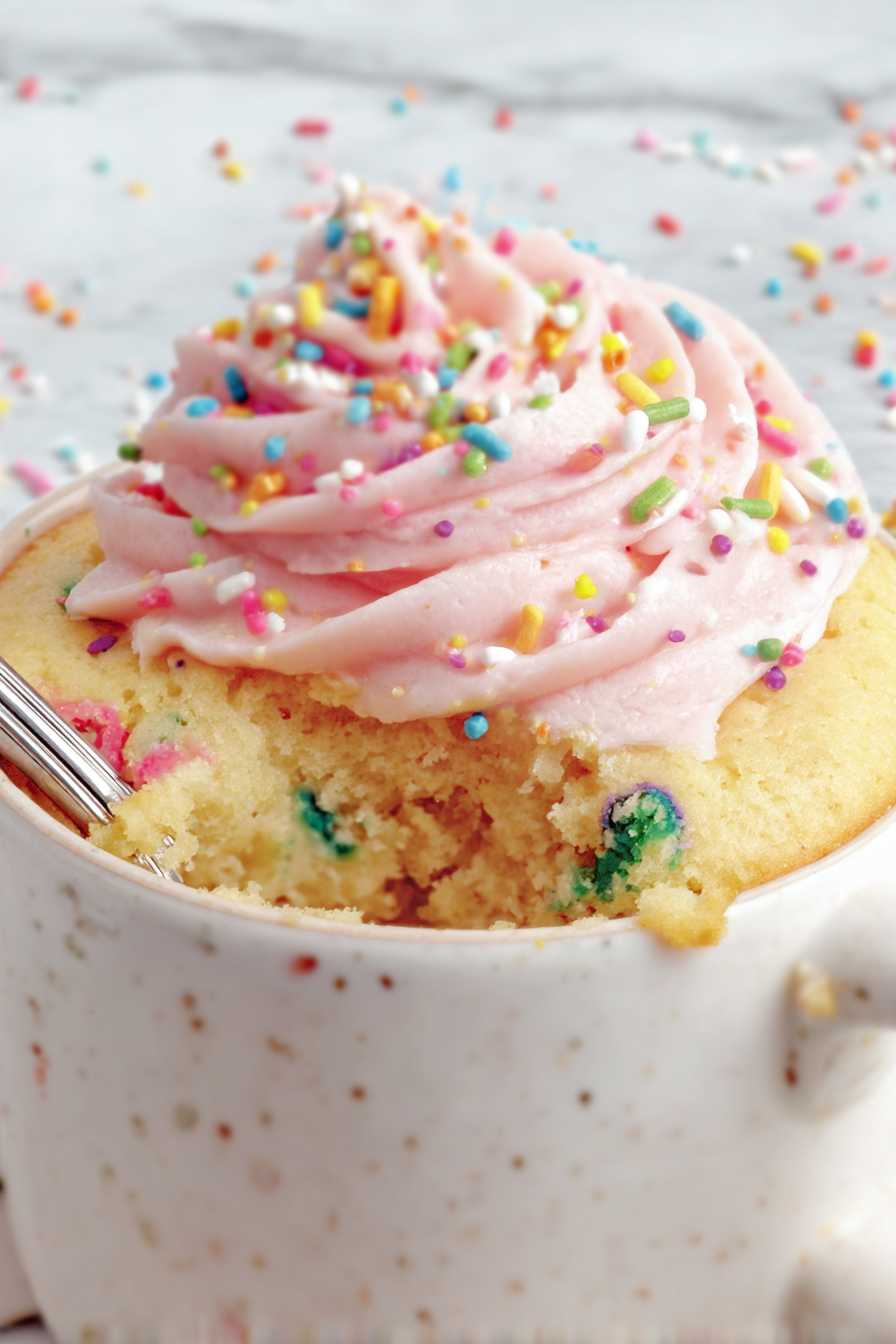
That’s where this vanilla mug cake comes in – it’s quick, uses basic pantry ingredients you probably already have, and gives you just the right portion of cake when you need it.
Best of all, you can mix it up and have it ready to eat in less than 5 minutes.

Why You’ll Love This Mug Cake
- Super quick dessert – Ready in just minutes from start to finish, this mug cake is perfect for those sudden sweet cravings when you don’t want to bake a whole cake.
- Single serving – It makes just enough for one person, so you won’t have leftovers tempting you for days, and there’s no waste.
- Basic pantry ingredients – You likely have everything you need in your kitchen right now – no special ingredients required.
- Minimal cleanup – All you need is one mug and a few measuring spoons, making this the perfect low-mess dessert for busy days or lazy evenings.
Creative Ingredient Replacements
Need to make some swaps for this mug cake? Here are some helpful substitutions you can try:
- Unsalted butter: You can use salted butter (just skip the pinch of salt), neutral oil, or coconut oil. If using coconut oil, your cake might have a slight coconut flavor.
- Milk: Any milk works here – whole, 2%, almond, soy, or oat milk. For extra richness, you could even use half-and-half.
- All-purpose flour: Self-rising flour can work (just skip the baking powder), or cake flour for an even softer texture. For gluten-free versions, try a 1:1 gluten-free flour blend.
- White sugar: Brown sugar works too and adds a nice caramel note. You can also use coconut sugar, though it might make the cake slightly darker.
- Powdered sugar (for frosting): If you’re out of powdered sugar, blend regular sugar in a food processor until fine. You can also skip the frosting and top with Nutella, jam, or whipped cream.
- Egg yolk: This is pretty crucial for texture – but if you need an egg-free version, try 2 tablespoons of mashed banana or unsweetened applesauce instead. The texture will be different, but still tasty!
How to Keep It Fresh
Enjoy Fresh: Mug cakes are really at their best when eaten right after making them! The texture is most soft and cake-like when it’s still slightly warm. I recommend making these on-demand whenever you’re craving something sweet, rather than making them ahead.
Save for Later: If you have leftovers (which rarely happens with mug cakes!), you can keep them covered at room temperature for up to 24 hours. Just know that the texture might become a bit more dense as time passes. The frosting can be stored separately in an airtight container in the fridge for up to 3 days.
Make Ahead: Want to prep ahead? Mix your dry ingredients in advance and store them in a small container or zip-top bag. When you’re ready for cake, just add the wet ingredients and pop it in the microwave. This makes satisfying your cake craving even quicker!
| Preparation Time | 5-10 minutes |
| Cooking Time | 1-3 minutes |
| Total Time | 6-13 minutes |
| Level of Difficulty | Easy |
Estimated Nutrition
Estimated nutrition for the whole recipe (without optional ingredients):
- Calories: 400-450
- Protein: 4-6 g
- Fat: 22-26 g
- Carbohydrates: 50-55 g
Ingredients
For the mug cake:
- 2 tbsp granulated sugar
- 5 tbsp all-purpose flour (I prefer King Arthur)
- 1/2 tsp vanilla extract (I use Madagascar vanilla)
- 1 large egg yolk
- Pinch of salt
- 1 tbsp colorful sprinkles (optional, adds festive touch)
- 1/2 tsp baking powder
- 2 tbsp unsalted butter (melted)
- 2 tbsp milk (room temperature)
For the frosting:
- 1 tsp milk
- Drop food coloring (optional, for desired color)
- 2 tbsp unsalted butter (softened to room temperature)
- 2 to 3 tbsp powdered sugar (sifted to remove lumps)
Step 1: Prepare Your Mise en Place and Mug
- 1 microwave-safe mug
Gather all ingredients and measure them into small bowls or directly into your mugs—this is key for a quick microwave cake since you want everything ready to go.
Use a microwave-safe mug (ceramic or glass work best) and have it ready on a stable surface where it will stay during cooking.
I like to use a mug that’s at least 8-10 ounces to prevent overflow, since the batter will rise significantly during microwaving.
Step 2: Combine Wet Ingredients in the Mug
- 2 tbsp unsalted butter
- 2 tbsp milk
- 1/2 tsp vanilla extract
- 1 large egg yolk
- 2 tbsp granulated sugar
Pour the melted butter directly into your mug, then add the room-temperature milk, vanilla extract, egg yolk, and granulated sugar.
Whisk these together thoroughly until the mixture is smooth and well-combined—about 30 seconds of vigorous whisking.
This ensures the sugar dissolves and the egg yolk is fully incorporated, which creates a tender cake with good moisture.
The wet ingredients are now your batter base.
Step 3: Add Dry Ingredients and Sprinkles
- 5 tbsp all-purpose flour
- 1/2 tsp baking powder
- Pinch of salt
- 1 tbsp colorful sprinkles
Sift the flour, baking powder, and salt together (or mix them in a small bowl first to break up any lumps), then add them to the wet mixture in the mug.
Fold gently with a spatula or small spoon until just combined—don’t overmix, as this keeps the cake tender rather than tough.
If using sprinkles for a festive touch, fold them in now so they’re distributed throughout the batter.
I find that colorful sprinkles add a fun visual element without affecting the taste.
Step 4: Microwave the Cake to Perfect Doneness
Microwave the mug on full power for 60 seconds, then check the cake by inserting a toothpick or fork into the center—it should come out mostly clean with just a few moist crumbs.
If the center still looks wet, continue microwaving in 20-30 second intervals until the cake is set but still has a slight wobble in the very center (this residual heat will finish cooking it as it cools).
Be careful not to overcook, or the cake will become dense and rubbery.
I always stop just before the cake looks completely done so it stays moist.
Step 5: Cool and Prepare the Frosting
- 2 tbsp unsalted butter
- 2 to 3 tbsp powdered sugar
- 1 tsp milk
- Drop food coloring
Let the cake cool in the mug for 2-3 minutes while you make a quick frosting.
In a small bowl, beat the softened butter until creamy, then gradually add the sifted powdered sugar and milk, stirring until you reach a spreadable consistency.
If desired, add a drop or two of food coloring to match your sprinkles or create a fun design.
Once the cake has cooled slightly, spread or dollop the frosting on top of the warm cake—the warmth will help it meld slightly into the cake.


This was AMAZING! I absolutely loved this recipe and will be using it again. It was so delicious! Thank you for this amazing mug cake!
This is a really good recipe. I love being able to have a piece of cake, without making a whole cake. I’ll use this over and over again.