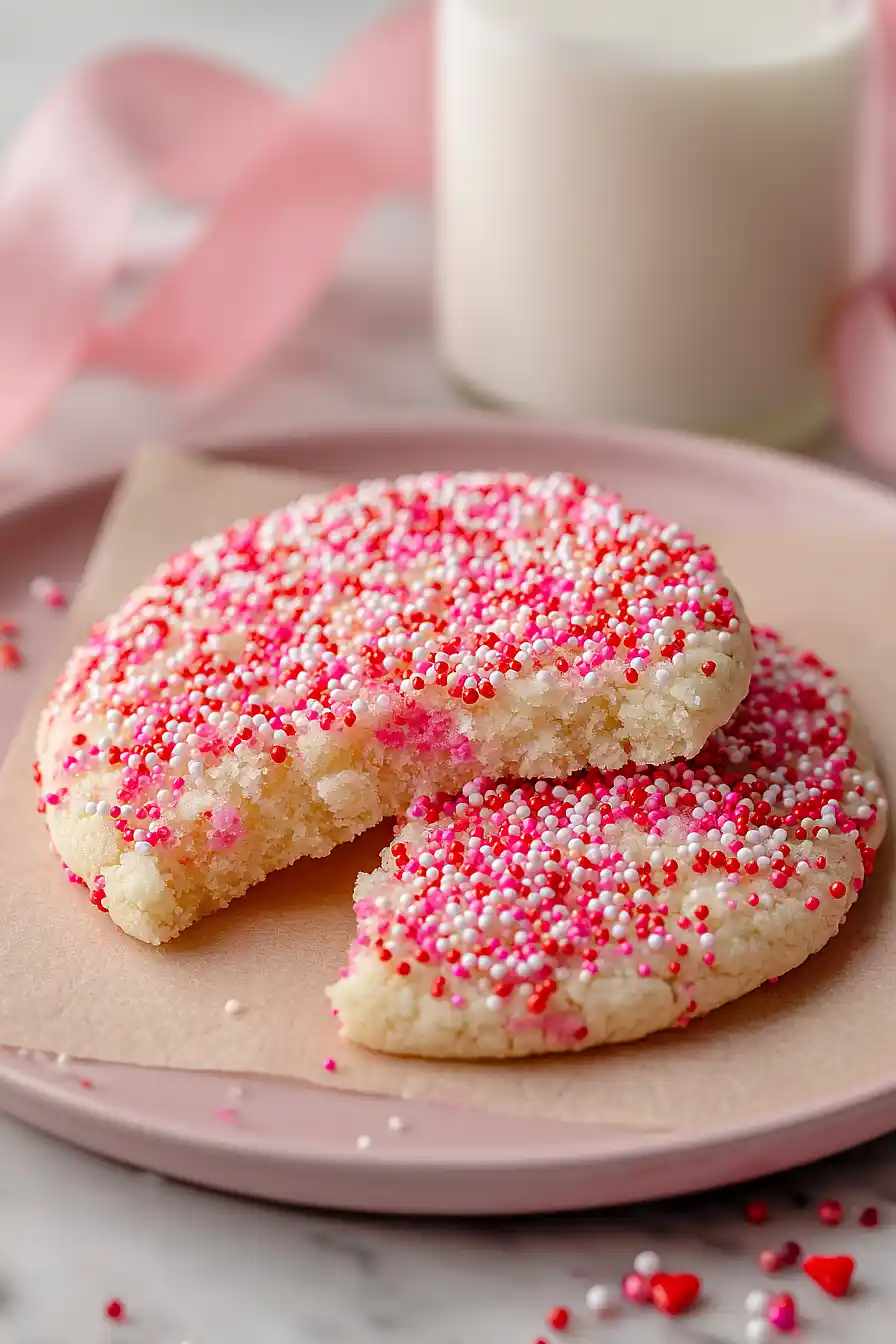
Valentine’s Day always sneaks up on me. One minute I’m putting away Christmas decorations, and the next thing I know, my kids are asking what treats we’re making for their class parties. I used to scramble to the store for those pre-made cookie trays, but they never tasted as good as homemade.
That’s when I started making these sprinkle cookies. They’re easy enough to whip up on a weeknight, and the kids can help decorate them without making too much of a mess. Plus, they taste like something you’d buy from a bakery, thanks to a few simple extracts that make all the difference.
Want soft and buttery? These cookies deliver. Need something festive that actually tastes good? Same. Honestly, I make them for every holiday now and just swap out the sprinkle colors.
Why You’ll Love These Valentine’s Day Sprinkle Cookies
- Quick and easy – These cookies come together in just 25-30 minutes, making them perfect for last-minute Valentine’s Day treats or when you need something sweet in a hurry.
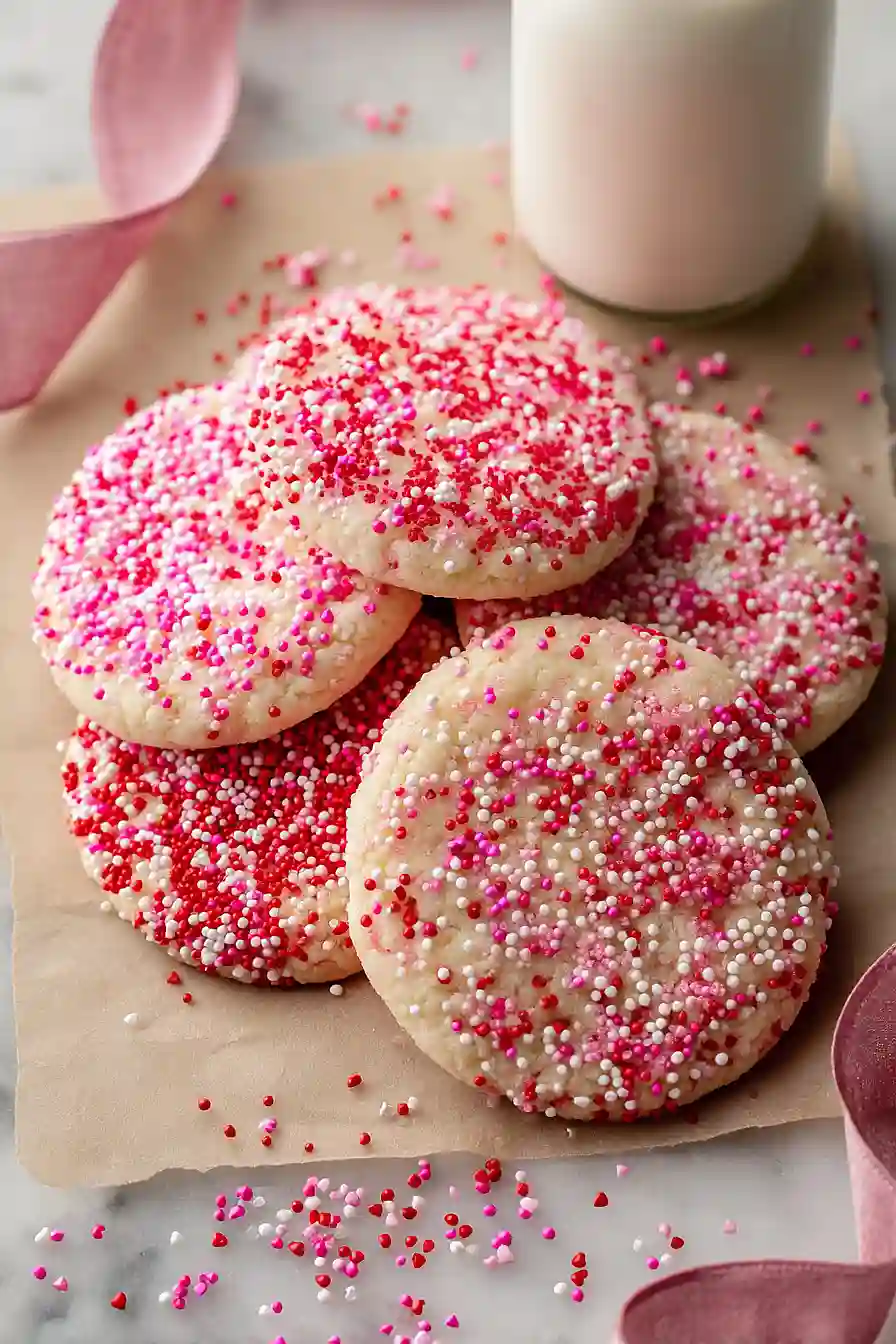
- Fun and festive – The colorful sprinkles make these cookies cheerful and perfect for celebrating with kids, friends, or your special someone.
- Simple ingredients – You probably already have most of these pantry staples at home, so you can whip up a batch without a special trip to the store.
- Soft and buttery texture – The combination of butter and margarine creates cookies that are tender and melt-in-your-mouth delicious.
What Kind of Sprinkles Should I Use?
For Valentine’s Day cookies, you’ll want to pick sprinkles that match the holiday theme – think pink, red, and white colors with heart shapes if you can find them. Jimmies (the longer, rod-shaped sprinkles) work really well in cookie dough because they hold their shape and color during baking, unlike nonpareils (those tiny round balls) which can sometimes bleed or melt. You can find Valentine’s themed sprinkle mixes at most grocery stores in January and February, or you can make your own mix by combining different colors and shapes from the baking aisle. Just avoid using sanding sugar or coarse sugar as your main sprinkle choice here, since the recipe calls for a full cup and you want something that distributes evenly throughout the dough.
Options for Substitutions
These cookies are pretty forgiving, so here are some swaps you can make:
- Butter and margarine: You can use all butter instead of the butter-margarine combo if that’s what you have. Just use 1 cup total of softened butter. The cookies will be slightly richer but just as good.
- Corn syrup: If you’re out of corn syrup, honey or maple syrup work fine. You can also just use an extra tablespoon of sugar mixed with 1 tablespoon of water.
- Butter extract: Don’t worry if you don’t have butter extract – it’s totally optional. Just add an extra 1/2 teaspoon of vanilla instead, or leave it out completely.
- Sprinkles: Feel free to use any color sprinkles you like, not just Valentine’s themed ones. Jimmies, nonpareils, or even mini chocolate chips work great. Just keep the amount around 1 cup so the cookie dough holds together properly.
- All-purpose flour: Stick with regular all-purpose flour for this recipe – it’s really important for getting the right texture in sugar cookies.
Watch Out for These Mistakes While Baking
The biggest mistake with sprinkle cookies is overbaking them, which turns soft, chewy cookies into hard discs – pull them from the oven when the edges are just set but the centers still look slightly underdone, as they’ll continue cooking on the hot pan.
Another common error is skipping the chilling step for your dough, which causes the cookies to spread too much and lose their shape, so if your dough feels too soft, pop it in the fridge for 15-20 minutes before scooping.
To get sprinkles that actually stick instead of falling off, press them gently but firmly into the dough balls before baking, and avoid adding them directly to the dough as they can bleed color and make your cookies look muddy.
Finally, resist the urge to move the cookies right after baking – letting them rest on the pan for those full 5 minutes helps them firm up without breaking apart.
What to Serve With Valentine’s Day Sprinkle Cookies?
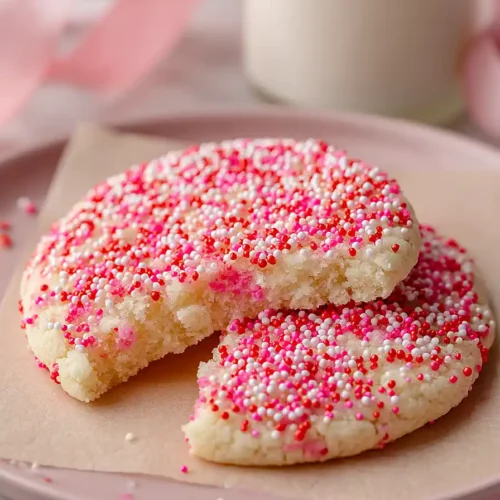
These festive cookies are perfect on their own, but they’re even better when paired with a cold glass of milk or a cup of hot chocolate for dunking. If you’re putting together a Valentine’s Day dessert spread, serve them alongside fresh strawberries and whipped cream, or set out a little chocolate fondue for dipping. For a fun party idea, create a cookie decorating station with extra sprinkles, frosting, and pink or red candies so everyone can customize their own. You could also package a few cookies in cellophane bags tied with ribbon to give as sweet Valentine’s gifts to friends and family.
Storage Instructions
Store: Keep your sprinkle cookies in an airtight container at room temperature for up to a week. Layer them with parchment paper if you’re stacking them to keep the sprinkles from sticking together. They stay soft and chewy this way, which is exactly what you want!
Freeze: These cookies freeze really well, either baked or as dough. For baked cookies, let them cool completely then freeze in a container for up to 3 months. You can also roll the dough into balls and freeze them on a baking sheet, then transfer to a freezer bag so you can bake fresh cookies whenever you want.
Enjoy: Frozen baked cookies thaw in about 30 minutes on the counter, or you can eat them straight from the freezer if you like them cold. If you froze the dough, just add a couple extra minutes to the baking time and pop them straight into the oven from frozen.
| Preparation Time | 15-20 minutes |
| Cooking Time | 7-15 minutes |
| Total Time | 25-30 minutes |
| Level of Difficulty | Easy |
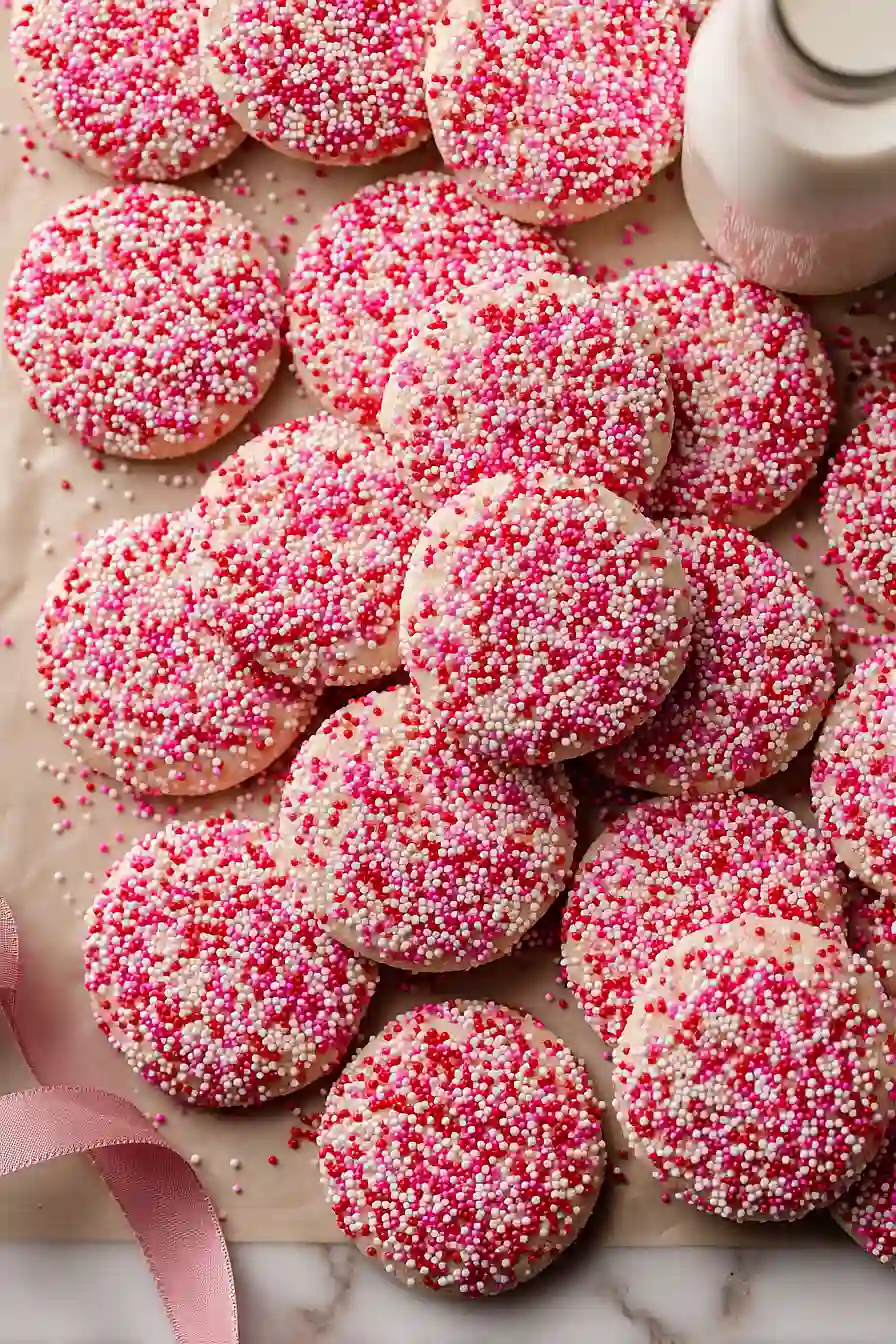
| Servings | 24 cookies |
Estimated Nutrition
Estimated nutrition for the whole recipe (without optional ingredients):
- Calories: 3700-4000
- Protein: 24-28 g
- Fat: 180-200 g
- Carbohydrates: 500-540 g
Ingredients
For the dough:
- 5/8 cup butter (I like Kerrygold unsalted butter for this)
- 1/2 cup margarine
- 1 1/4 cups sugar
- 1 egg (room temperature, about 70°F)
- 2 tbsp corn syrup
- 1 tsp vanilla
- 1/2 tsp butter extract (adds a professional bakery-style flavor)
- 1/4 tsp almond extract
- 2 1/2 cups flour (I always use King Arthur all-purpose flour)
- 1/2 tsp baking soda
- 3/4 tsp salt
For the coating:
- 1 cup sprinkles (use a mix of hearts and nonpareils for texture)
Step 1: Prepare Your Mise en Place and Oven
- All ingredients measured and ready
Preheat your oven to 350°F and line a baking sheet with parchment paper.
While the oven heats, measure out all your ingredients and place them on your work surface—this ensures smooth, uninterrupted baking once you start mixing.
I always make sure my egg is at room temperature because it incorporates more evenly into the butter mixture, creating a lighter, more tender crumb.
Step 2: Cream the Butter, Margarine, and Sugar
- 5/8 cup butter
- 1/2 cup margarine
- 1 1/4 cups sugar
In a large mixing bowl, combine the butter, margarine, and sugar.
Beat them together on medium speed for 2-3 minutes until the mixture becomes pale, fluffy, and noticeably lighter in color.
This creaming process incorporates air into the fat, which helps the cookies rise slightly and creates a tender texture.
Stop occasionally to scrape down the bowl sides to ensure everything is evenly combined.
Step 3: Add Wet Ingredients and Flavor Enhancers
- Creamed butter mixture from Step 2
- 1 egg
- 2 tbsp corn syrup
- 1 tsp vanilla
- 1/2 tsp butter extract
- 1/4 tsp almond extract
Add the room-temperature egg, corn syrup, vanilla, butter extract, and almond extract to the creamed mixture from Step 2.
Beat on medium speed for 1-2 minutes until everything is well combined and the dough looks smooth and slightly glossy.
The corn syrup adds subtle sweetness and helps keep these cookies tender, while the butter and almond extracts give them that professional bakery flavor that makes people ask for your recipe.
Step 4: Mix in Dry Ingredients Until Dough Forms
- Wet ingredient mixture from Step 3
- 2 1/2 cups flour
- 1/2 tsp baking soda
- 3/4 tsp salt
In a separate small bowl, whisk together the flour, baking soda, and salt.
Add this dry mixture to the wet ingredients from Step 3 and stir on low speed (or by hand with a wooden spoon) until just combined—stop mixing as soon as you see no white flour streaks.
Overmixing at this stage develops gluten and makes cookies tough, so resist the urge to keep stirring once the dough comes together.
Step 5: Scoop Dough and Add Sprinkles
- Dough from Step 4
- 1 cup sprinkles
Using a cookie scoop or tablespoon, portion the dough from Step 4 into balls and place them on the prepared baking sheet, spacing them about 2 inches apart.
Working quickly, gently press a generous pinch of your sprinkle mix (hearts and nonpareils combined) onto the top of each dough ball, applying enough pressure so they stick but not so much that you compress the dough.
For Valentine’s Day, I like using a mix of heart-shaped sprinkles with traditional nonpareils so each cookie has visual texture and variety.
Step 6: Bake Until Golden and Cool
- Prepared cookies from Step 5
Bake the cookies for 7-9 minutes if you made smaller balls, or 9-11 minutes if you made larger ones.
The edges should be just barely set and pale golden—they’ll look slightly underbaked, but that’s intentional and keeps them tender and soft.
Remove from the oven and let the cookies cool on the baking sheet for 5 minutes (they’ll continue cooking slightly from residual heat), then transfer to a wire rack to cool completely.
Sweet Valentine's Day Sprinkle Cookies
Ingredients
For the dough
- 5/8 cup butter (I like Kerrygold unsalted butter for this)
- 1/2 cup margarine
- 1 1/4 cups sugar
- 1 egg (room temperature, about 70°F)
- 2 tbsp corn syrup
- 1 tsp vanilla
- 1/2 tsp butter extract (adds a professional bakery-style flavor)
- 1/4 tsp almond extract
- 2 1/2 cups flour (I always use King Arthur all-purpose flour)
- 1/2 tsp baking soda
- 3/4 tsp salt
For the coating
- 1 cup sprinkles (use a mix of hearts and nonpareils for texture)
Instructions
- Preheat your oven to 350°F and line a baking sheet with parchment paper. While the oven heats, measure out all your ingredients and place them on your work surface—this ensures smooth, uninterrupted baking once you start mixing. I always make sure my egg is at room temperature because it incorporates more evenly into the butter mixture, creating a lighter, more tender crumb.
- In a large mixing bowl, combine the butter, margarine, and sugar. Beat them together on medium speed for 2-3 minutes until the mixture becomes pale, fluffy, and noticeably lighter in color. This creaming process incorporates air into the fat, which helps the cookies rise slightly and creates a tender texture. Stop occasionally to scrape down the bowl sides to ensure everything is evenly combined.
- Add the room-temperature egg, corn syrup, vanilla, butter extract, and almond extract to the creamed mixture from Step 2. Beat on medium speed for 1-2 minutes until everything is well combined and the dough looks smooth and slightly glossy. The corn syrup adds subtle sweetness and helps keep these cookies tender, while the butter and almond extracts give them that professional bakery flavor that makes people ask for your recipe.
- In a separate small bowl, whisk together the flour, baking soda, and salt. Add this dry mixture to the wet ingredients from Step 3 and stir on low speed (or by hand with a wooden spoon) until just combined—stop mixing as soon as you see no white flour streaks. Overmixing at this stage develops gluten and makes cookies tough, so resist the urge to keep stirring once the dough comes together.
- Using a cookie scoop or tablespoon, portion the dough from Step 4 into balls and place them on the prepared baking sheet, spacing them about 2 inches apart. Working quickly, gently press a generous pinch of your sprinkle mix (hearts and nonpareils combined) onto the top of each dough ball, applying enough pressure so they stick but not so much that you compress the dough. For Valentine's Day, I like using a mix of heart-shaped sprinkles with traditional nonpareils so each cookie has visual texture and variety.
- Bake the cookies for 7-9 minutes if you made smaller balls, or 9-11 minutes if you made larger ones. The edges should be just barely set and pale golden—they'll look slightly underbaked, but that's intentional and keeps them tender and soft. Remove from the oven and let the cookies cool on the baking sheet for 5 minutes (they'll continue cooking slightly from residual heat), then transfer to a wire rack to cool completely.


