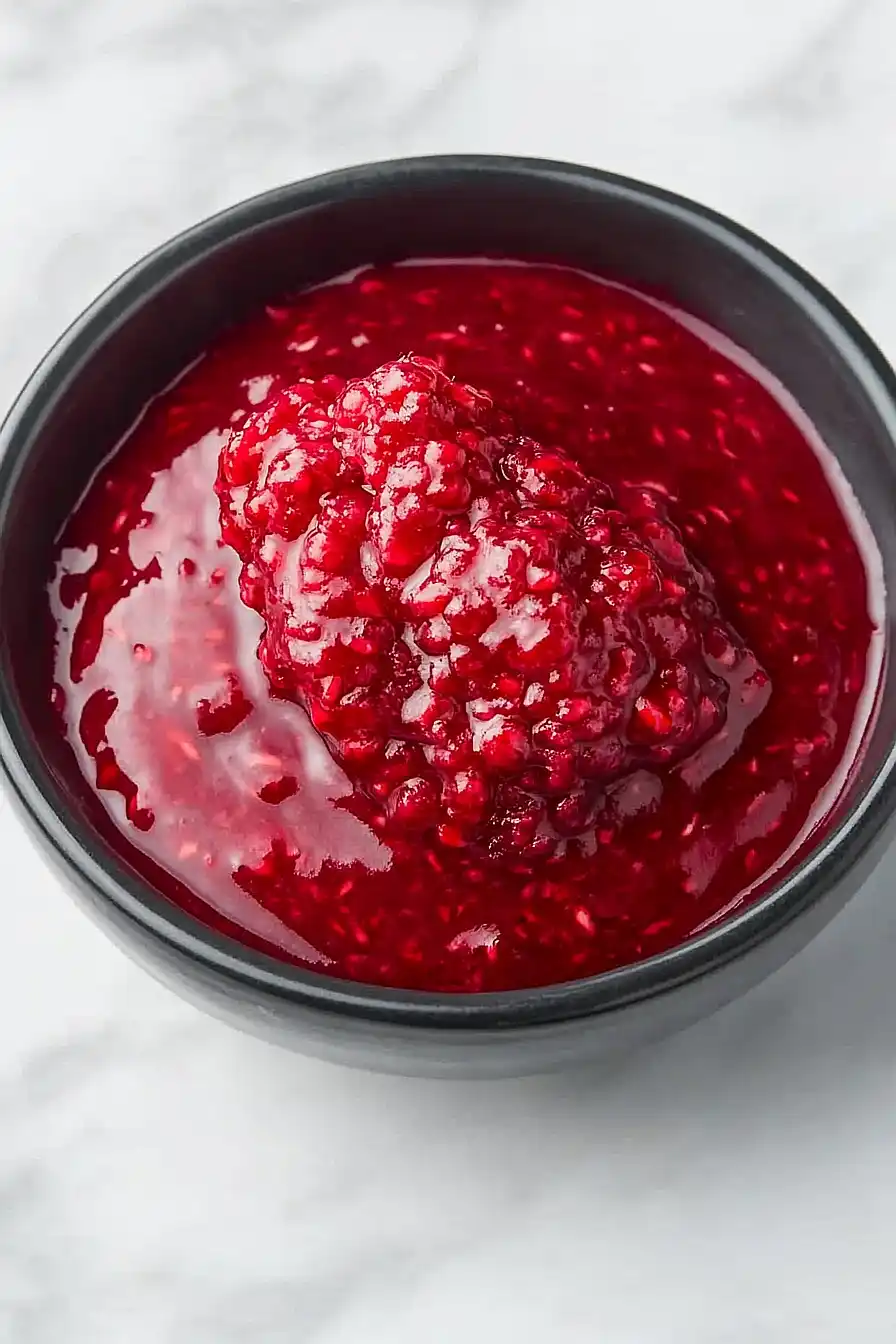
Here’s my go-to raspberry filling recipe that’s perfect for cakes, pastries, and just about any dessert you can think of. It’s simple to make and uses fresh berries, a bit of sugar, and a touch of lemon to bring out that natural sweetness.
I make this filling at least once a month in my house, and it never lasts long – my family spreads it on everything from morning toast to vanilla ice cream. And between you and me, sometimes I catch myself eating it straight from the jar with a spoon!
Why You’ll Love This Raspberry Filling
- Quick preparation – This filling comes together in just 20-30 minutes, making it perfect for last-minute baking projects or when you need a quick topping.
- Simple ingredients – You only need 4 basic ingredients that you might already have in your kitchen – frozen raspberries, cornstarch, lemon juice, and sugar.
- Multi-purpose filling – Use it as a filling for cakes, pastries, and tarts, or spread it on toast, scones, or mix it into yogurt for breakfast.
- Make-ahead friendly – You can prepare this filling in advance and store it in the fridge, ready to use whenever you need it for your baking projects.
What Kind of Raspberries Should I Use?
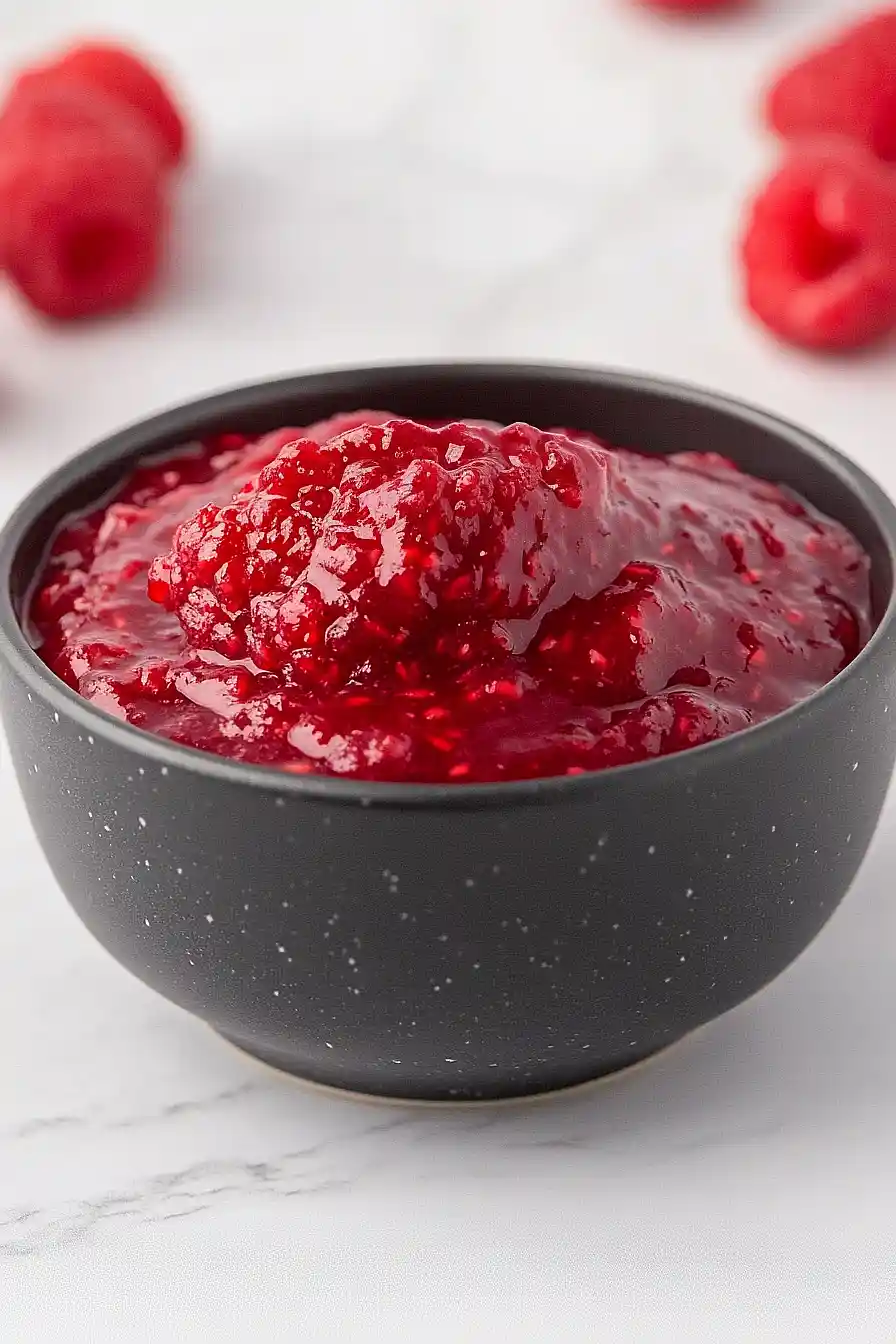
While this recipe calls for frozen raspberries, you can actually use either fresh or frozen berries with great results. Frozen raspberries are often more convenient and economical, plus they’re typically picked at peak ripeness and frozen right away. If you’re using fresh raspberries, look for berries that are deep red, plump, and firm – avoid any that are mushy or showing signs of mold. During peak season (usually summer), fresh raspberries might give you a slightly brighter flavor, but frozen berries work perfectly well year-round and are especially good for cooking down into a filling. Just be sure to keep the berries frozen until you’re ready to use them, as thawed berries can become mushy and release excess liquid.
Options for Substitutions
This simple raspberry filling can be adapted with a few easy swaps if needed:
- Frozen raspberries: Fresh raspberries work perfectly here, or try other berries like blackberries or strawberries (if using strawberries, cut them into smaller pieces first). Just keep in mind that fresh berries might need less cooking time.
- Cornstarch: If you’re out of cornstarch, try arrowroot powder (use the same amount) or tapioca starch (use 1.5 times the amount). Both will thicken your filling nicely, though tapioca might give a slightly more glossy finish.
- Lemon juice: Fresh lemon juice is really important here and shouldn’t be substituted with bottled juice – it helps balance the sweetness and makes the berry flavor pop. In a real pinch, you could use fresh lime juice, but the taste will be slightly different.
- White sugar: Regular white sugar works best, but you can swap it with caster sugar or even brown sugar (though this will change the color slightly). If your berries are very sweet, you might want to reduce the sugar by 1 tablespoon.
Watch Out for These Mistakes While Cooking
The biggest mistake when making raspberry filling is cooking it at too high a temperature, which can cause the cornstarch to clump and create an unpleasant, lumpy texture – instead, cook it over medium-low heat while stirring constantly. Another common error is not properly dissolving the cornstarch before adding it to the raspberries – mix it with the lemon juice first to create a smooth slurry, ensuring your filling stays silky and lump-free. To avoid a runny filling, make sure to cook the mixture until it coats the back of a spoon and leaves a clear path when you run your finger through it, but don’t overcook it or the filling will become too thick and paste-like. For the best flavor balance, taste your filling before removing it from heat – you can always add a bit more sugar or lemon juice to adjust the sweetness and acidity to your liking.
What to Serve With Raspberry Filling?
This sweet and tangy raspberry filling is super versatile and works great as a topping or filling for all sorts of desserts! You can spread it between layers of vanilla cake, swirl it into cheesecake batter, or use it as a filling for homemade pastries and tarts. For breakfast treats, try spooning it over pancakes or waffles, or mixing it into your morning yogurt parfait. If you’re keeping things simple, you can even serve it warm over vanilla ice cream for an easy but tasty dessert that everyone will love.
Storage Instructions
Keep Fresh: This raspberry filling stays good in an airtight container in the fridge for up to 5 days. The cornstarch helps keep it nicely thickened, so you don’t need to worry about it becoming runny over time.
Freeze: If you want to make a bigger batch, this filling freezes really well! Put it in a freezer-safe container or zip-top bag and it’ll keep for up to 3 months. Just leave a little space at the top of your container since it might expand slightly when frozen.
Thaw: When you’re ready to use your frozen filling, just move it to the fridge the night before and let it thaw slowly. Give it a good stir once it’s thawed – this helps smooth out any separation that might have happened during freezing.
| Preparation Time | 5-10 minutes |
| Cooking Time | 15-20 minutes |
| Total Time | 20-30 minutes |
| Level of Difficulty | Easy |
Estimated Nutrition
Estimated nutrition for the whole recipe (without optional ingredients):
- Calories: 200-250
- Protein: 1-2 g
- Fat: 0-1 g
- Carbohydrates: 50-60 g
Ingredients
- 3/4 tbsp cornstarch (sifted to prevent lumps)
- 1 tbsp fresh lemon juice (freshly squeezed preferred for bright flavor)
- 3 tbsp sugar
- 1 cup frozen raspberries (thaw slightly before cooking for better juice release)
Step 1: Prepare Ingredients and Build the Base
- 1 cup frozen raspberries
- 3/4 tbsp cornstarch
- 1 tbsp fresh lemon juice
- 3 tbsp sugar
Lightly thaw the frozen raspberries for about 5-10 minutes until they begin to release their juices but are still cold.
Sift the cornstarch through a fine mesh strainer to remove any lumps—this prevents clumping when the cornstarch hits the warm fruit.
Measure out the sugar and fresh lemon juice.
Combine these prepared ingredients in a medium saucepan, stirring gently to distribute the cornstarch evenly throughout the raspberries.
Step 2: Cook Raspberries Until Broken Down
- Raspberry mixture from Step 1
Place the pot over low-medium heat and stir frequently as the mixture begins to warm.
The raspberries will gradually soften and release their juices, creating a loose, liquid consistency—continue stirring every minute or so to ensure even heat distribution and to help the berries break down completely.
Once the raspberries are mostly broken down and the mixture is noticeably more liquid than the starting point (about 3-5 minutes), you’re ready to thicken it.
Step 3: Thicken the Filling to Perfect Consistency
- Thickened raspberry mixture
Continue cooking over low-medium heat for an additional 2-3 minutes, stirring constantly.
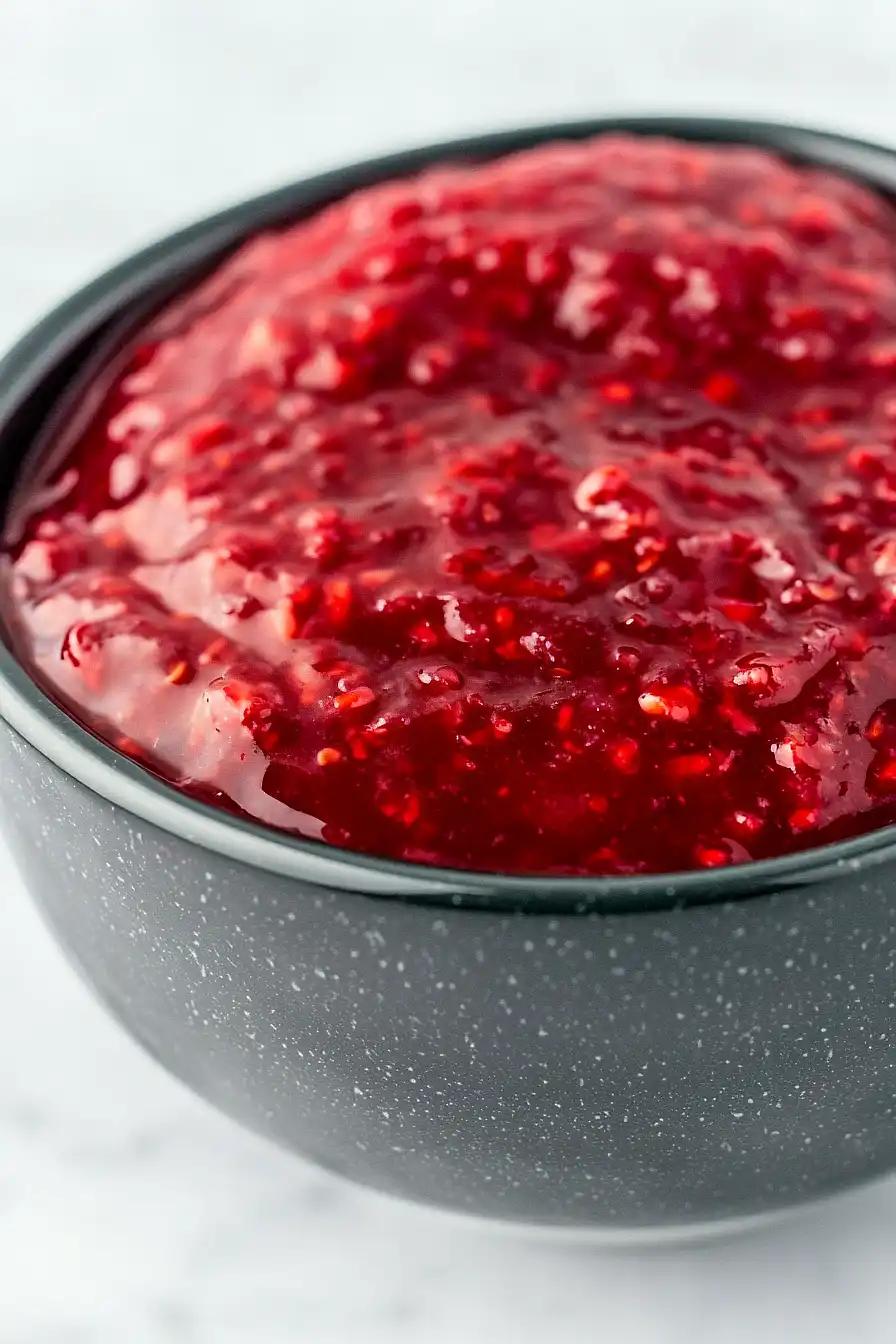
You’ll notice the mixture becoming noticeably thicker and more glossy as the cornstarch does its job—it should coat the back of a spoon when ready.
I like to cook it just until it still flows slightly when tilted, but holds its shape on a plate; this creates the perfect balance between spreadable and structured for any tart or pie.
Step 4: Cool and Set the Filling
- Cooked raspberry filling from Step 3
Remove the pot from heat and transfer the filling to a clean bowl to stop the cooking process and allow it to cool to room temperature.
As it cools, it will continue to thicken slightly as the cornstarch fully sets, creating an even more stable filling perfect for pastries.


