Finding a way to use up overripe bananas while also embracing the flavors of the holiday season can feel like an impossible task. Sure, regular banana bread is always a safe bet, but after making the same recipe countless times, it’s easy to fall into a baking rut and crave something a little different.
That’s where this eggnog banana bread comes in: it takes the comfort of classic banana bread and adds a festive twist with eggnog and warm nutmeg, creating a treat that’s perfect for cozy winter mornings or holiday gatherings without requiring any fancy techniques or hard-to-find ingredients.
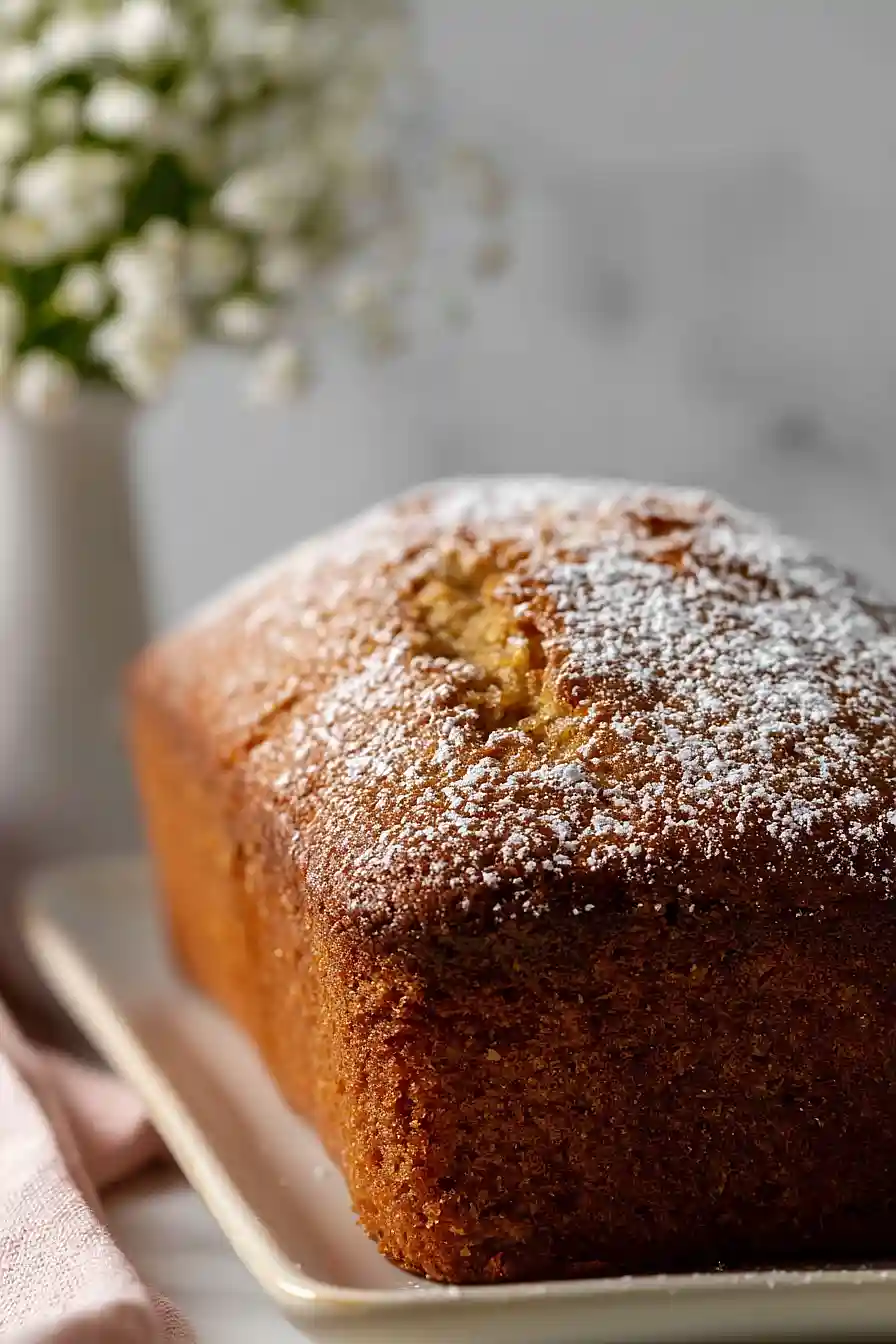
Why You’ll Love This Eggnog Banana Bread
- Festive holiday twist – The eggnog and nutmeg give classic banana bread a cozy, seasonal flavor that’s perfect for Christmas morning or any winter gathering.
- Simple pantry ingredients – You probably have most of these items on hand already, making it easy to whip up whenever the craving hits.
- Quick and easy – This bread comes together in about 70 minutes from start to finish, with minimal hands-on time required.
- Perfect for using ripe bananas – Got brown bananas sitting on your counter? This recipe is a delicious way to put them to good use instead of letting them go to waste.
What Kind of Bananas Should I Use?
The riper your bananas are, the better this eggnog banana bread will turn out. Look for bananas with lots of brown spots or even ones that are mostly black – these overripe bananas are sweeter and mash up much easier than firmer yellow ones. If your bananas aren’t quite ripe enough yet, you can speed up the process by leaving them on the counter for a few days or popping them in a paper bag. Don’t toss those sad-looking bananas sitting on your counter – they’re actually perfect for baking and will give your bread the most flavor and moisture.
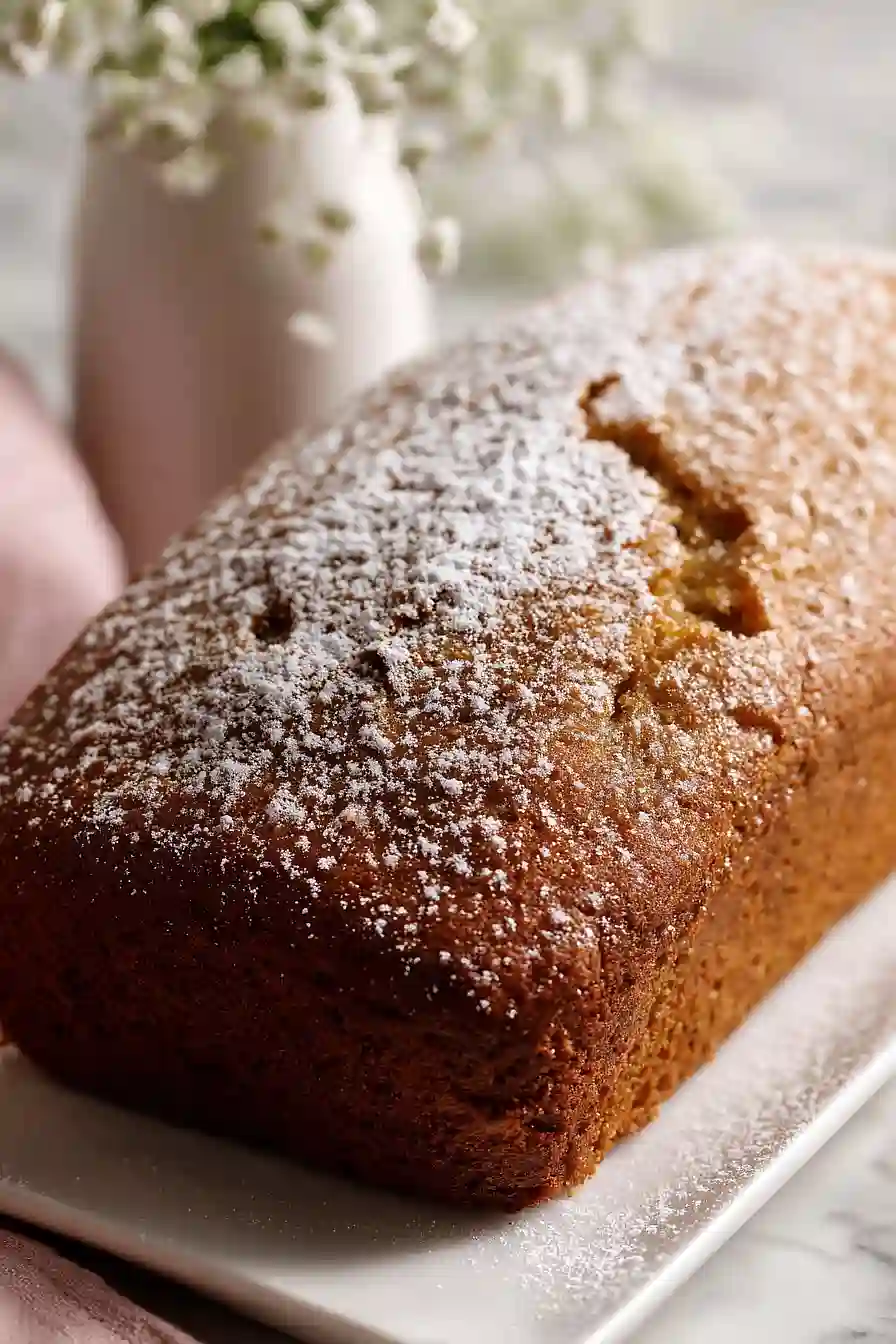
Options for Substitutions
This festive banana bread is pretty forgiving when it comes to swaps:
- Eggnog: If you don’t have eggnog on hand, you can use whole milk mixed with 1/4 teaspoon of nutmeg and a splash of vanilla extract. It won’t be quite as rich, but it’ll still taste great.
- Canola oil: Feel free to swap this with vegetable oil, melted coconut oil, or even melted butter for a richer flavor. The measurements stay the same.
- All purpose flour: You can use whole wheat flour for half of the all purpose flour to make it a bit heartier, but I wouldn’t recommend replacing all of it or your bread might turn out dense.
- Granulated sugar: Brown sugar works well here and adds a nice caramel note. You can also reduce the sugar to 3/4 cup if you prefer a less sweet bread.
- Ground nutmeg: If nutmeg isn’t your thing, try cinnamon or a mix of cinnamon and allspice. You could also add 1/2 teaspoon of vanilla extract for extra warmth.
- Baking soda: Don’t substitute this one – baking soda is essential for the bread to rise properly and get that nice texture.
Watch Out for These Mistakes While Baking
The biggest mistake when making banana bread is overmixing the batter once you add the flour, which develops too much gluten and creates a tough, dense loaf instead of a tender one – mix just until the flour disappears and you still see a few streaks.
Using bananas that aren’t ripe enough will leave you with a bland bread that lacks sweetness and moisture, so wait until your bananas have plenty of brown spots or even look a bit past their prime.
Another common error is not checking for doneness early enough, since ovens vary widely – start testing with a toothpick at the 50-minute mark rather than waiting the full hour, and remember the toothpick should come out with just a few moist crumbs, not completely clean.
To get an extra boost of eggnog flavor, try brushing the top of the warm bread with a tablespoon of eggnog right after it comes out of the oven.
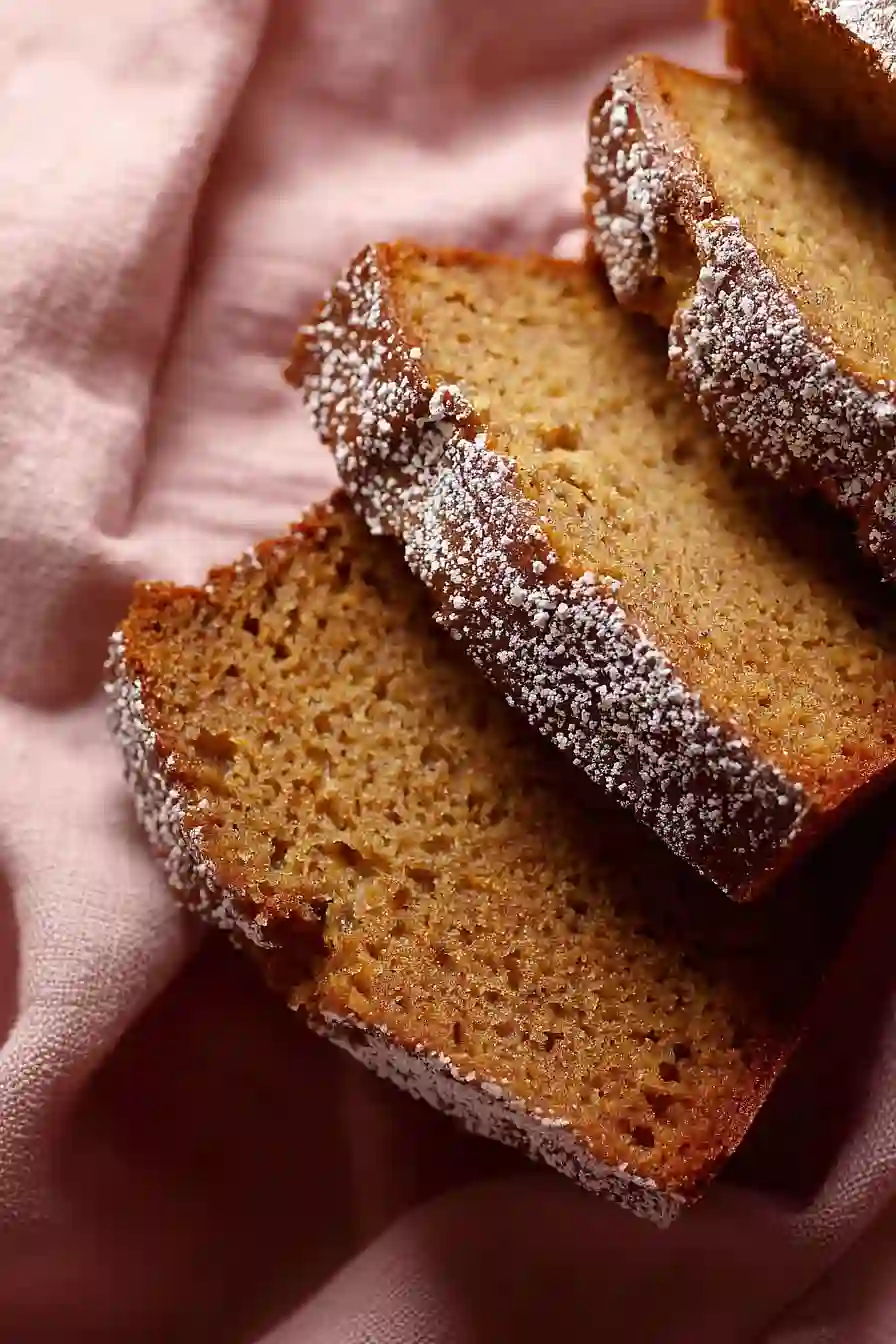
What to Serve With Eggnog Banana Bread?
This banana bread is perfect for breakfast or an afternoon snack with a hot cup of coffee or tea. I love slicing it thick and spreading softened butter or cream cheese on top while it’s still slightly warm – the butter melts right into all those little nooks and crannies. For a holiday brunch spread, serve it alongside scrambled eggs, crispy bacon, and fresh fruit like berries or orange slices. You can also toast leftover slices the next day and top them with a drizzle of maple syrup or a dollop of whipped cream for an extra special treat.
Storage Instructions
Store: Keep your eggnog banana bread wrapped tightly in plastic wrap or in an airtight container at room temperature for up to 3 days. If you want it to last longer, store it in the fridge for up to a week – just know it might dry out a bit faster that way.
Freeze: This bread freezes really well for up to 3 months. Wrap it tightly in plastic wrap, then in foil, or slice it first and freeze individual pieces with parchment paper between them. That way you can grab just a slice or two whenever you want.
Serve: Let frozen slices thaw at room temperature for about an hour, or pop them in the microwave for 20-30 seconds. I love warming up a slice in the toaster for a minute or two – it makes the edges slightly crispy while keeping the inside soft and moist.
| Preparation Time | 15-20 minutes |
| Cooking Time | 50-60 minutes |
| Total Time | 65-80 minutes |
| Level of Difficulty | Easy |
Estimated Nutrition
Estimated nutrition for the whole recipe (without optional ingredients):
- Calories: 2100-2300
- Protein: 22-26 g
- Fat: 70-80 g
- Carbohydrates: 360-390 g
Ingredients
- 1 cup sugar
- 2 cups all-purpose flour (King Arthur all-purpose flour works best)
- 1 tsp baking soda
- 1/2 cup eggnog (room temperature preferred)
- 1 large egg (room temperature)
- 3 ripe bananas (mashed until smooth, about 1 cup)
- 1/2 cup canola oil
- 1/2 tsp salt
- 1 tsp ground nutmeg (freshly ground for best flavor)
- cooking spray
Step 1: Prepare Your Mise en Place and Preheat
- 3 ripe bananas
- cooking spray
Start by preheating your oven to 350°F and positioning the rack to the middle.
While the oven heats, prepare two 9×5 loaf pans by lightly coating them with cooking spray—this ensures your banana bread releases cleanly after baking.
Mash your ripe bananas in a small bowl until completely smooth with no large chunks remaining, which helps distribute moisture evenly throughout the batter.
Step 2: Combine Dry Ingredients
- 2 cups all-purpose flour
- 1 tsp baking soda
- 1/2 tsp salt
- 1 tsp ground nutmeg
In a large mixing bowl, whisk together the flour, baking soda, salt, and freshly ground nutmeg.
Whisking these together rather than just mixing ensures the leavening agent and spices are evenly distributed throughout the flour, which prevents dense pockets in your finished loaves.
I find that freshly ground nutmeg makes a noticeable difference in the warmth and complexity of the flavor compared to pre-ground varieties.
Step 3: Mix Wet Ingredients and Create the Batter
- 1 large egg
- 1/2 cup eggnog
- 1/2 cup canola oil
- 1 cup sugar
- dry ingredient mixture from Step 2
- mashed bananas from Step 1
In a separate medium bowl, whisk together the room-temperature egg, room-temperature eggnog, canola oil, and sugar until well combined and slightly frothy.
The room temperature ingredients are important because they blend more smoothly and create a more uniform batter.
Pour the wet mixture into the bowl with the dry ingredients from Step 2, then fold everything together with a spatula until just combined—be careful not to overmix, as this can develop gluten and make the bread tough.
The batter should look slightly lumpy, which is exactly what you want.
Step 4: Fill Pans and Bake Until Golden
- batter from Step 3
- prepared pans from Step 1
Divide the batter evenly between your prepared pans from Step 1, filling each about two-thirds full.
Place both pans in the preheated oven and bake for 50-60 minutes, checking for doneness by inserting a toothpick into the center of each loaf—it should come out clean or with just a few moist crumbs, not wet batter.
I like to start checking around the 50-minute mark to avoid overbaking, which can dry out the bread.
When done, the tops should be golden brown and a toothpick inserted in the thickest part should come out clean.
Step 5: Cool and Serve
Remove the pans from the oven and let the banana bread cool in the pans for about 10 minutes.
This resting time allows the structure to set slightly, making it easier to turn out without crumbling.
Turn the loaves out onto a wire rack to cool completely before slicing, which takes about 1-2 hours.
Once fully cooled, slice and serve as is or with a drizzle of glaze if desired.
Tasty Eggnog Banana Bread
Ingredients
- 1 cup sugar
- 2 cups all-purpose flour (King Arthur all-purpose flour works best)
- 1 tsp baking soda
- 1/2 cup eggnog (room temperature preferred)
- 1 large egg (room temperature)
- 3 ripe bananas (mashed until smooth, about 1 cup)
- 1/2 cup canola oil
- 1/2 tsp salt
- 1 tsp ground nutmeg (freshly ground for best flavor)
- cooking spray
Instructions
- Start by preheating your oven to 350°F and positioning the rack to the middle. While the oven heats, prepare two 9x5 loaf pans by lightly coating them with cooking spray—this ensures your banana bread releases cleanly after baking. Mash your ripe bananas in a small bowl until completely smooth with no large chunks remaining, which helps distribute moisture evenly throughout the batter.
- In a large mixing bowl, whisk together the flour, baking soda, salt, and freshly ground nutmeg. Whisking these together rather than just mixing ensures the leavening agent and spices are evenly distributed throughout the flour, which prevents dense pockets in your finished loaves. I find that freshly ground nutmeg makes a noticeable difference in the warmth and complexity of the flavor compared to pre-ground varieties.
- In a separate medium bowl, whisk together the room-temperature egg, room-temperature eggnog, canola oil, and sugar until well combined and slightly frothy. The room temperature ingredients are important because they blend more smoothly and create a more uniform batter. Pour the wet mixture into the bowl with the dry ingredients from Step 2, then fold everything together with a spatula until just combined—be careful not to overmix, as this can develop gluten and make the bread tough. The batter should look slightly lumpy, which is exactly what you want.
- Divide the batter evenly between your prepared pans from Step 1, filling each about two-thirds full. Place both pans in the preheated oven and bake for 50-60 minutes, checking for doneness by inserting a toothpick into the center of each loaf—it should come out clean or with just a few moist crumbs, not wet batter. I like to start checking around the 50-minute mark to avoid overbaking, which can dry out the bread. When done, the tops should be golden brown and a toothpick inserted in the thickest part should come out clean.
- Remove the pans from the oven and let the banana bread cool in the pans for about 10 minutes. This resting time allows the structure to set slightly, making it easier to turn out without crumbling. Turn the loaves out onto a wire rack to cool completely before slicing, which takes about 1-2 hours. Once fully cooled, slice and serve as is or with a drizzle of glaze if desired.







