I never thought much about cooking pork roast until I moved in with my husband. His family always made theirs bone-dry and bland. Mine wasn’t much better—we’d just throw it in the oven and hope for the best.
That’s because we were missing the secret that makes all the difference: apple cider. The cider keeps the meat moist while it cooks and adds this sweet, tangy flavor that pairs perfectly with pork. Now when I make this apple cider pork roast, it comes out tender and juicy every single time.
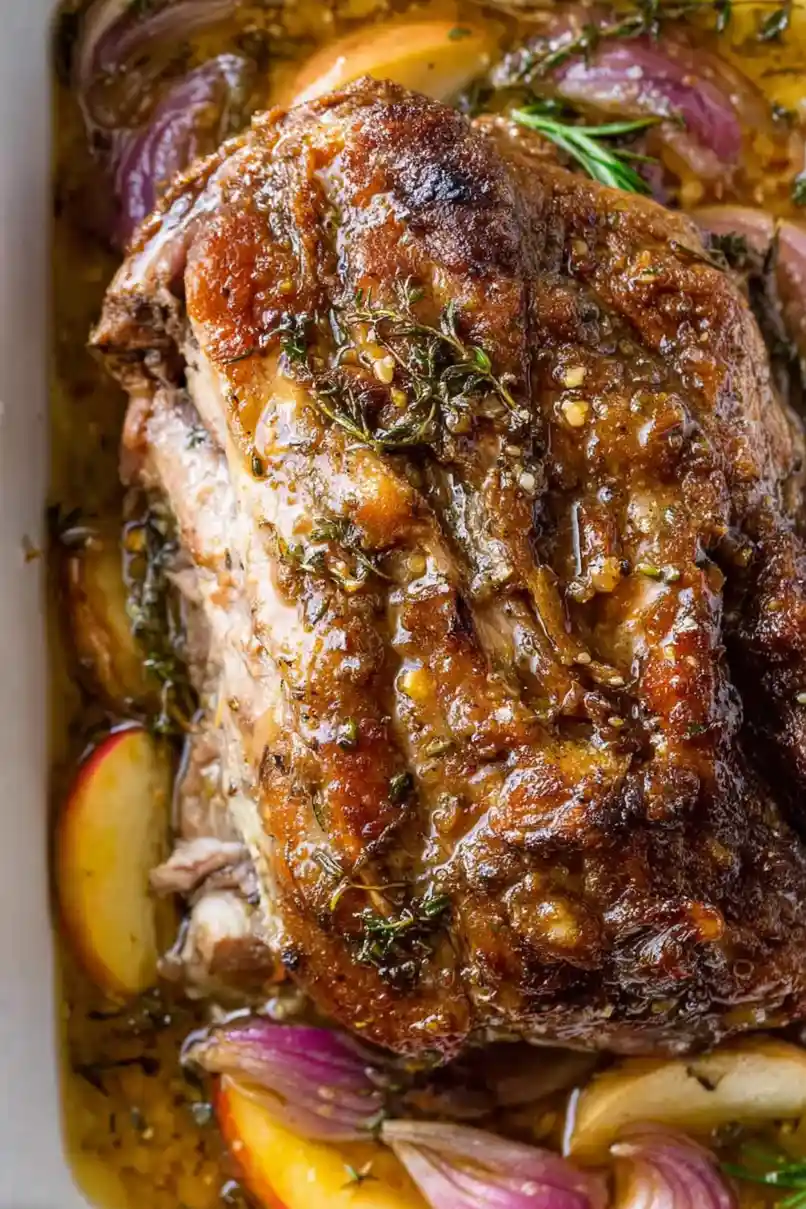
Why You’ll Love This Apple Cider Pork Roast
- Fall flavors – The apple cider and fresh apples create a sweet and savory combination that screams cozy autumn dinner, making your kitchen smell amazing while it cooks.
- Tender, juicy meat – The slow braising method breaks down the pork shoulder into fork-tender perfection that practically falls apart on your plate.
- One-pot meal – Everything cooks together in one dish, which means less cleanup and more time to enjoy dinner with your family.
- Perfect for entertaining – This impressive-looking roast feeds a crowd and can mostly cook itself while you prep sides or spend time with guests.
- Simple ingredients – You probably already have most of these pantry staples and fresh herbs on hand, making it easy to whip up any time.
What Kind of Pork Should I Use?
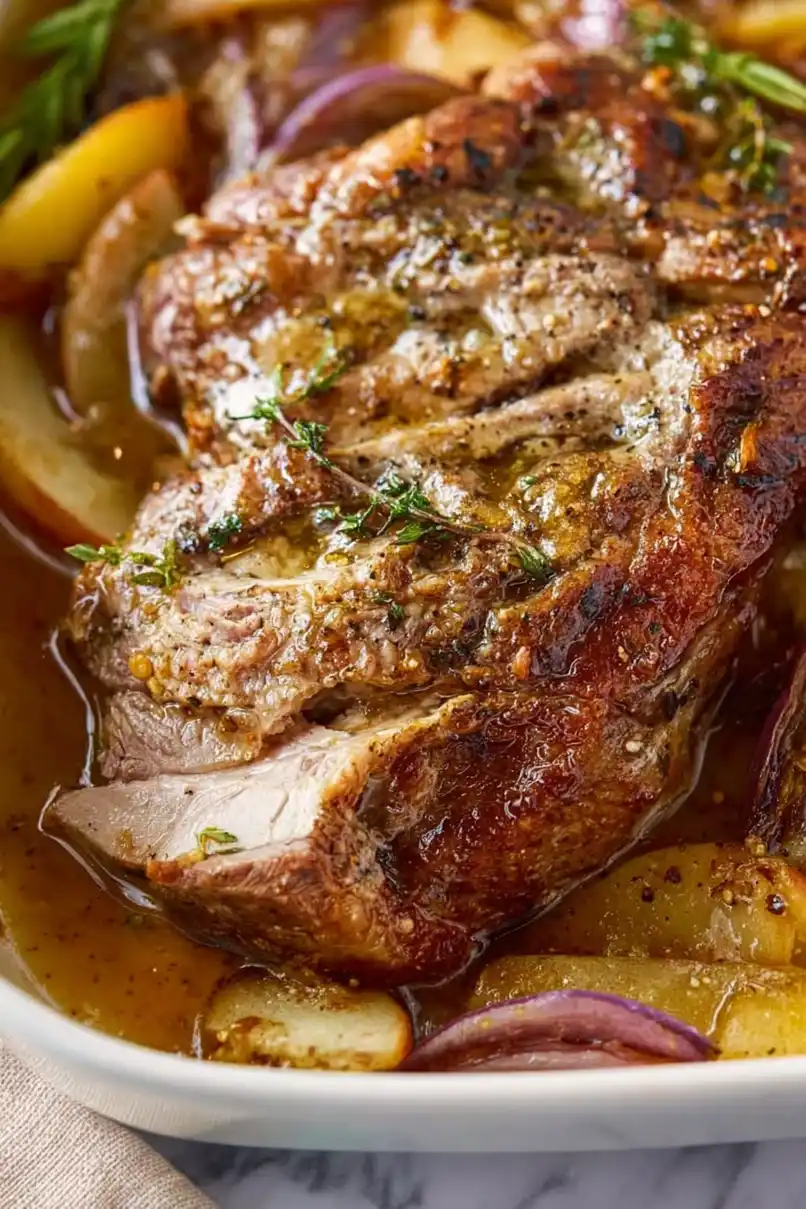
For this recipe, you’ll want to stick with bone-in pork shoulder, which is sometimes labeled as pork butt or Boston butt at the grocery store. The bone helps keep the meat moist during the long cooking process, and pork shoulder has just the right amount of marbling to stay tender and juicy. If you can only find boneless pork shoulder, that’ll work too, but you might need to reduce the cooking time slightly since boneless cuts tend to cook a bit faster. Look for a roast that has some fat cap on it but ask your butcher to trim off any excess – you want some fat for flavor, but too much can make your dish greasy.
Options for Substitutions
This apple cider pork roast is pretty forgiving when it comes to swaps – here’s what you can change up:
- Pork shoulder: If you can’t find bone-in pork shoulder, a boneless one works fine – just reduce cooking time by about 30 minutes. Pork butt is basically the same cut and makes a great substitute.
- White wine: No wine on hand? Just use extra chicken broth instead. The recipe already calls for chicken broth as an alternative, so you’re all set.
- Apple cider: This is pretty important for the flavor profile, but if you’re stuck, try apple juice mixed with a splash of lemon juice. It won’t be quite the same depth, but it’ll still taste good.
- Fresh herbs: Dried herbs work too – use about 1/3 of the amount called for. So 2/3 teaspoon dried thyme and 1/3 teaspoon dried rosemary instead of the fresh amounts.
- Honey mustard: Mix 1 tablespoon regular Dijon mustard with 1 tablespoon honey if you don’t have honey mustard ready-made.
- Apple varieties: Any firm apples work here – try Gala, Fuji, or even Braeburn. Just avoid really soft varieties like Red Delicious that might turn to mush during cooking.
Watch Out for These Mistakes While Cooking
The biggest mistake when making pork shoulder is not searing it properly before braising – you need a good golden-brown crust on all sides to lock in flavor, so don’t rush this step even if it takes 10-15 minutes.
Another common error is confusing apple cider with apple cider vinegar (they’re completely different!), so make sure you’re using the sweet, unfiltered apple cider that tastes like liquid apples, not the sharp vinegar.
To avoid dry meat, keep your oven temperature around 325°F and check that there’s always liquid in the bottom of your pan – add more chicken broth if needed during the long cooking process.
Finally, resist the urge to slice the roast immediately after cooking; let it rest for at least 15 minutes so the juices redistribute throughout the meat, giving you tender, moist slices instead of a dry mess.
What to Serve With Apple Cider Pork Roast?
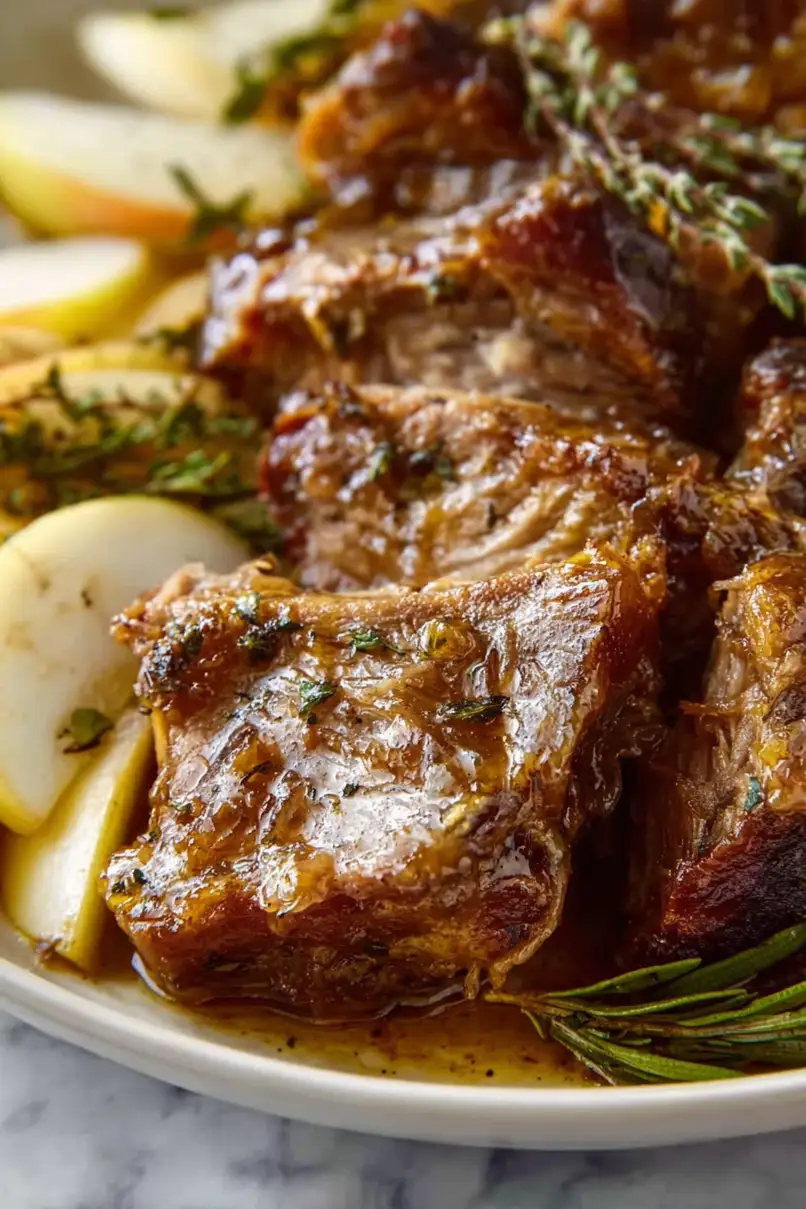
This apple cider pork roast pairs beautifully with classic fall sides that complement those sweet and savory flavors. Creamy mashed potatoes or roasted sweet potatoes are perfect for soaking up all that delicious apple cider gravy, while roasted Brussels sprouts or green beans add a nice crisp contrast to the tender pork. I love serving this with some crusty dinner rolls or cornbread to round out the meal, and if you really want to lean into the autumn vibes, try adding some roasted butternut squash or carrots on the side. The natural sweetness from the apples and cider in the roast makes it feel like the perfect cozy dinner for cooler weather.
Storage Instructions
Refrigerate: This pork roast keeps really well in the fridge for up to 4 days. Store the sliced meat and any leftover pan juices in separate airtight containers. The flavors actually get even better after a day or two, making it perfect for meal prep throughout the week.
Freeze: You can freeze portions of this roast for up to 3 months in freezer-safe containers or bags. I like to freeze it in family-sized portions with some of the cooking liquid to keep the meat moist. Just make sure to label everything with the date so you don’t forget what’s in there!
Reheat: To warm up your pork roast, add it to a covered dish with a splash of the reserved cooking juices and heat in a 325°F oven until warmed through. You can also reheat individual portions in the microwave on medium power, stirring occasionally to heat evenly.
| Preparation Time | 15-20 minutes |
| Cooking Time | 180-225 minutes |
| Total Time | 195-245 minutes |
| Level of Difficulty | Medium |
Estimated Nutrition
Estimated nutrition for the whole recipe (without optional ingredients):
- Calories: 3750-4050
- Protein: 320-340 g
- Fat: 230-250 g
- Carbohydrates: 100-120 g
Ingredients
For the pork and braising liquid:
- 1 large red onion (thickly sliced into 1/2-inch pieces)
- 1 tsp black pepper (freshly ground for better flavor)
- 2 cups apple cider (not vinegar, cold-pressed for better flavor)
- 2 cups chicken broth (plus additional if needed for braising)
- 1 cup dry white wine or chicken broth
- 2 tsp fresh thyme (finely chopped)
- 6 sprigs fresh rosemary and thyme (for aromatic braising)
- 5 lb bone-in pork shoulder (fat trimmed to 1/4-inch thickness)
- 6 garlic cloves (minced, about 2 tbsp)
- 2 tsp kosher salt (Diamond Crystal preferred for precise seasoning)
- 2 bay leaves
- Olive oil (for searing, about 2-3 tbsp)
- 1 tsp fresh rosemary (finely chopped)
- 1 tbsp apple cider vinegar
- 2 tbsp honey mustard (I use Gulden’s)
For finishing:
- 2 apples (one Honeycrisp and one Granny Smith, unpeeled and sliced 1/4-inch thick)
Step 1: Prepare Mise en Place and Season the Pork
- 5 lb bone-in pork shoulder
- 2 tsp kosher salt
- 1 tsp black pepper
- 1 large red onion
- 6 garlic cloves
- 2 tsp fresh thyme
- 1 tsp fresh rosemary
- 2 apples
Pat the pork shoulder dry with paper towels and trim the fat to an even 1/4-inch thickness across the entire roast.
Season generously on all sides with kosher salt and freshly ground black pepper, pressing the seasoning into the meat so it adheres well.
While the pork sits at room temperature for 15-20 minutes, slice the red onion into thick 1/2-inch pieces, mince the garlic cloves, finely chop the fresh thyme and rosemary, and slice both apples (leaving the skin on for texture and flavor) into 1/4-inch thick slices.
Preheat your oven to 325°F.
Step 2: Sear the Pork to Develop Deep Flavor
- 5 lb bone-in pork shoulder
- Olive oil
Heat 2-3 tablespoons of olive oil in a large Dutch oven or heavy pot over medium-high heat until it shimmers.
Once the oil is hot, carefully place the seasoned pork shoulder in the pot and resist the urge to move it—let it sear undisturbed for 4-5 minutes until a deep golden-brown crust forms on the bottom.
Rotate the pork and continue searing all sides for another 8-10 minutes total, working in batches if needed to achieve a rich brown crust everywhere.
This browning step builds complex flavors through the Maillard reaction.
Once golden on all sides, transfer the pork to a plate and set aside.
Step 3: Build the Aromatic Base
- 1 large red onion
- 6 garlic cloves
- 2 tsp fresh thyme
- 1 tsp fresh rosemary
In the same pot with the flavorful browned bits still clinging to the bottom, add the sliced red onions and cook over medium heat for 4 minutes, stirring occasionally until they begin to soften and caramelize slightly.
Add the minced garlic, chopped fresh thyme, and chopped fresh rosemary, cooking for 1-2 minutes until fragrant—you want the aromatics to bloom in the hot oil but not brown.
I like to add these herbs separately from the braising sprigs because fresh chopped herbs release their essential oils more quickly and flavor the base more intensely.
Step 4: Deglaze and Build the Braising Liquid
- 1 cup dry white wine or chicken broth
- 2 cups chicken broth
- 2 cups apple cider
- 2 tbsp honey mustard
- 1 tbsp apple cider vinegar
- 2 bay leaves
Pour the white wine or chicken broth into the pot and use a wooden spoon to scrape up all the caramelized bits from the bottom—this fond is pure flavor and essential to the sauce.
Let the liquid simmer for 1-2 minutes to reduce slightly.
Now add the 2 cups chicken broth, 2 cups apple cider, honey mustard, apple cider vinegar, and bay leaves, stirring to combine everything evenly.
The combination of apple cider and vinegar creates a balanced sweet-tart complexity that will keep the pork from tasting one-dimensional.
Step 5: Braise the Pork Low and Slow
- 5 lb bone-in pork shoulder
- braising liquid from Step 4
- 6 sprigs fresh rosemary and thyme
Return the seared pork shoulder to the pot, nestling it into the liquid so it’s partially submerged (the top should peek above the liquid slightly).
Scatter the 6 fresh rosemary and thyme sprigs around and on top of the meat for aromatics, then bring the liquid to a gentle simmer over medium heat.
Cover the pot with a tight-fitting lid and transfer it to the preheated 325°F oven.
Braise for 2.5 to 3 hours, checking after 2 hours to ensure the liquid is gently simmering—you want the occasional bubble breaking the surface, not a rolling boil, which toughens the meat.
Step 6: Finish with Apples and Final Roasting
- 2 apples
Remove the pot from the oven and carefully arrange the sliced apples on top of and around the pork.
Return the pot to the oven uncovered and continue roasting for 30 to 45 minutes—the apples should become tender and lightly caramelized at the edges while the pork becomes even more tender.
The uncovered roasting allows the top to concentrate in flavor and the apples to caramelize slightly, creating textural contrast in the final dish.
Step 7: Finish and Serve
Remove the pot from the oven and let the pork rest in the liquid for 10 minutes—this allows the juices to redistribute throughout the meat, ensuring it stays moist when shredded.
Transfer the pork to a cutting board, remove and discard the bones, then gently shred the meat into bite-sized pieces using two forks, being careful to leave some texture rather than reducing it to mush.
Discard the bay leaves and herb sprigs from the cooking liquid, then serve the shredded pork in shallow bowls topped with the roasted apples and a generous ladleful of the rich braising liquid.








Is it possible to cook a roast that tastes like this but doesn’t get shredded? I’d love all these flavors but want a sliced presentation. Thanks!
Don’t cook it quite as long. If you have a thermometer about 190 is slicing, 200 is shredding
I do t have a thermometer. Can you confirm the adjusted cooking time to achieve a slice presentation.
Made this in my pressure cooker. it’s become a favorite 😍
How long did you cook it in your pressure cooker? Thank you!
Do I leave the skin of the pork on or do I remove it before cooking?