Summer grilling season means corn on the cob at our house. We go through dozens of ears every week when the local corn is in season. But I got tired of the mess of boiling water and the kids complaining that their corn was too plain or too hot to handle.
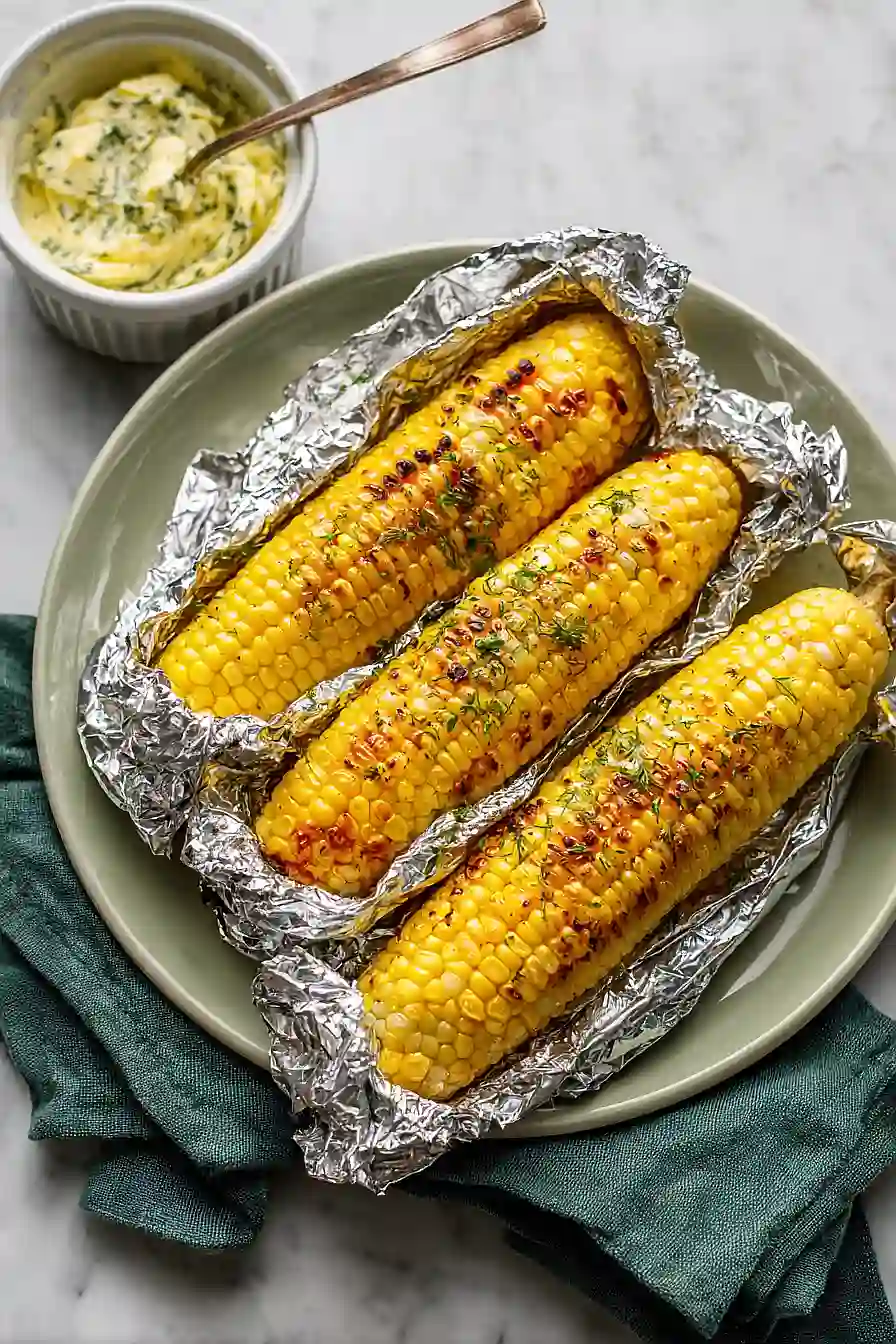
That’s when I started wrapping corn in foil with a flavored butter before throwing it on the grill. The foil keeps everything moist and makes cleanup a breeze. Plus, the butter melts right into the kernels while it cooks, so every bite tastes good. No more passing around a stick of butter at the table.
This version uses fresh dill and lemon, which sounds fancy but really just means I’m chopping some herbs while the grill heats up. You can swap in whatever herbs you have on hand. The important part is the foil. It does all the work for you.
Why You’ll Love This Grilled Corn
- Quick and easy – This grilled corn is ready in under 30 minutes, making it perfect for busy weeknight dinners or last-minute cookouts.
- Minimal cleanup – Cooking the corn in foil means no mess on your grill grates and easy cleanup when you’re done eating.
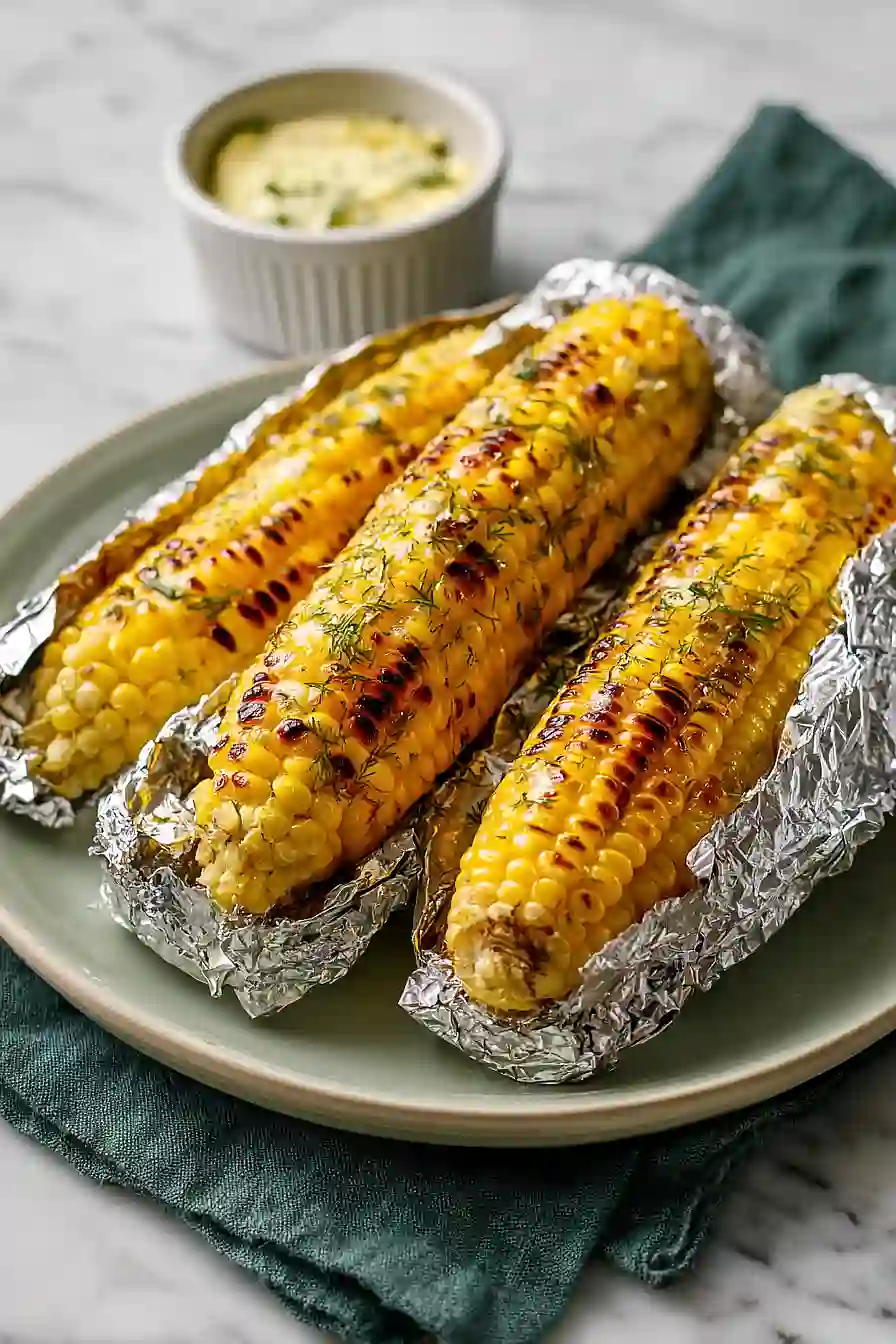
- Fresh, bright flavors – The combination of butter, dill, and lemon juice gives you a lighter take on classic grilled corn that tastes like summer.
- Simple ingredients – You probably have most of these ingredients in your kitchen already, and fresh corn is the star of the show.
- Perfect for gatherings – This recipe easily scales up or down, so whether you’re feeding two people or a backyard full of guests, you’re covered.
What Kind of Corn Should I Use?
Fresh corn on the cob is definitely the way to go for this recipe, and you’ll want to look for ears that feel firm with bright green husks that fit snugly around the corn. When you peel back a small section of the husk, the kernels should look plump and milky, not dried out or shriveled. The best corn is usually found at farmers markets or farm stands during peak summer season, but supermarket corn works great too as long as it’s fresh. If you can, try to use your corn within a day or two of buying it since the natural sugars start converting to starch once it’s picked, which means it won’t be quite as sweet.
Options for Substitutions
This grilled corn recipe is simple, which means you have some room to play around with substitutions:
- Fresh corn: Fresh corn is really the star here, so I’d recommend sticking with it for the best results. Frozen corn just won’t give you that same grilled flavor and texture.
- Unsalted butter: If you only have salted butter on hand, go ahead and use it – just skip the added salt or reduce it to a pinch to avoid over-salting.
- Fresh dill: Don’t have dill? Try fresh parsley, cilantro, or basil instead. You could also use about 1 teaspoon of dried dill, though fresh herbs really make a difference here.
- Lemon juice: Lime juice works just as well and gives a slightly different citrus kick. You could also use a splash of white wine vinegar if that’s what you have.
- Butter: For a dairy-free option, olive oil or melted coconut oil can replace the butter. Use about 3 tablespoons and mix it with the seasonings the same way.
Watch Out for These Mistakes While Grilling
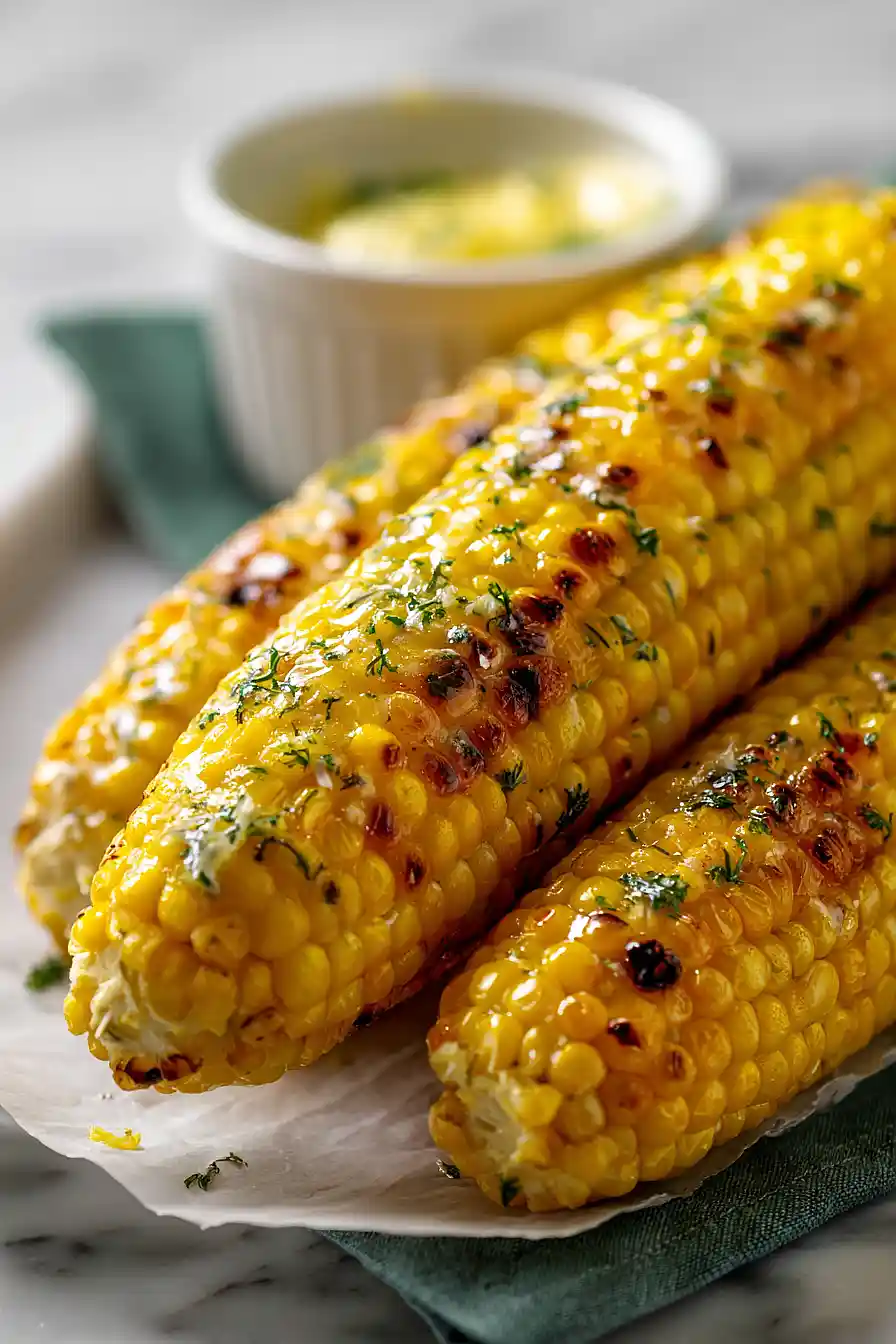
The biggest mistake when grilling corn in foil is wrapping it too tightly, which traps steam and can make your corn mushy instead of slightly charred and flavorful – leave a little air pocket in the foil to let heat circulate. Another common error is forgetting to turn the corn regularly, which leads to uneven cooking with some kernels burnt while others stay undercooked, so set a timer for every 2-3 minutes to keep things consistent. To avoid dry corn, brush a thin layer of butter inside the foil before wrapping, or add a tablespoon of water to create steam that keeps the kernels tender. Finally, don’t skip the resting step after grilling – let the corn sit in the foil for 2-3 minutes before unwrapping so the heat distributes evenly and you won’t burn your fingers trying to butter it right away.
What to Serve With Grilled Corn?
Grilled corn is perfect alongside just about any summer BBQ main dish – think burgers, hot dogs, grilled chicken, or steak. The buttery, lemony flavor of this corn pairs really well with smoky meats and other grilled vegetables like zucchini or bell peppers. I love serving it at cookouts with coleslaw and potato salad for a full spread, or you can keep things simple with just some grilled protein and a fresh tomato salad. If you’re going for a lighter meal, the corn works great next to fish tacos or as a side to pulled pork sandwiches.
Storage Instructions
Store: Leftover grilled corn keeps well in the fridge for up to 3 days. Just wrap each ear tightly in foil or plastic wrap, or cut the kernels off the cob and store them in an airtight container. The cut kernels are great to toss into salads, soups, or quesadillas later in the week.
Freeze: If you want to freeze your grilled corn, I recommend cutting the kernels off the cob first. Spread them on a baking sheet to freeze individually, then transfer to a freezer bag. They’ll keep for up to 3 months and you can grab just what you need for recipes.
Reheat: To warm up your corn, you can pop it back on the grill for a few minutes, heat it in the microwave wrapped in a damp paper towel, or warm it in a skillet with a little butter. If you froze the kernels, just toss them straight into whatever you’re cooking without thawing first.
| Preparation Time | 10-15 minutes |
| Cooking Time | 15-20 minutes |
| Total Time | 25-35 minutes |
| Level of Difficulty | Easy |
| Servings | 6 servings |
Estimated Nutrition
Estimated nutrition for the whole recipe (without optional ingredients):
- Calories: 650-750
- Protein: 15-20 g
- Fat: 28-34 g
- Carbohydrates: 90-105 g
Ingredients
For the corn:
- 6 ears corn (husks and silk removed)
For the lemon dill butter:
- 4 tbsp butter (room temperature)
- 1/2 tsp salt
- 1/8 tsp black pepper
- 1.5 tbsp fresh dill (finely chopped)
- 1 tbsp lemon juice
- 1/2 tsp fresh lemon zest
- 1 pinch garlic powder
Step 1: Prepare the Herb Butter
- 4 tbsp butter
- 1/2 tsp salt
- 1/8 tsp black pepper
- 1 pinch garlic powder
- 1 tbsp lemon juice
- 1/2 tsp fresh lemon zest
- 1.5 tbsp fresh dill
In a small bowl, combine the room temperature butter, salt, black pepper, garlic powder, lemon juice, and lemon zest.
Stir until well combined and the mixture is uniform.
Fold in the fresh dill gently to distribute it evenly throughout the butter.
Set aside at room temperature so it stays spreadable.
Step 2: Prepare and Wrap Corn for Grilling
- 6 ears corn
- herb butter mixture from Step 1
Preheat your grill to medium-high heat (around 375-400°F).
While the grill heats, tear off 6 pieces of heavy-duty aluminum foil, each about 12 inches long.
Place one ear of corn in the center of each foil piece, then divide the herb butter from Step 1 evenly among the 6 ears, spreading it generously over the top and sides of each corn cob.
Wrap each ear tightly in foil, making sure the seams are sealed to trap the steam and butter inside.
Step 3: Grill the Corn
- wrapped corn from Step 2
Place the foil-wrapped corn directly on the grill grates with the lid closed.
I like to rotate each ear a quarter turn every 2-3 minutes to ensure even cooking and prevent any side from charring too much.
This rotation keeps the butter heating evenly around the corn.
Grill for 15-20 minutes total until the corn is tender when pierced with a fork (you can carefully unwrap a small corner of foil to test).
Step 4: Rest and Serve
- grilled corn from Step 3
Carefully remove the corn from the grill using tongs, as the foil will be very hot and the steam inside will be intense.
Let the corn rest in the foil for 1-2 minutes to allow the butter to fully absorb into the kernels.
Unwrap the foil away from your face to avoid the hot steam, then serve immediately while warm.
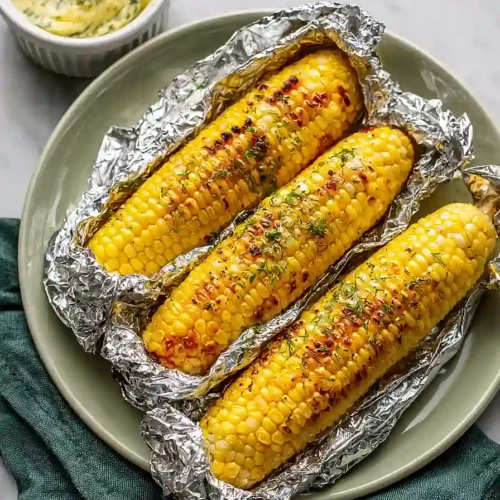
Tender Grilled Corn on the Cob in Foil
Ingredients
For the corn:
- 6 ears corn (husks and silk removed)
For the lemon dill butter:
- 4 tbsp butter (room temperature)
- 1/2 tsp salt
- 1/8 tsp black pepper
- 1.5 tbsp fresh dill (finely chopped)
- 1 tbsp lemon juice
- 1/2 tsp fresh lemon zest
- 1 pinch garlic powder
Instructions
- In a small bowl, combine the room temperature butter, salt, black pepper, garlic powder, lemon juice, and lemon zest. Stir until well combined and the mixture is uniform. Fold in the fresh dill gently to distribute it evenly throughout the butter. Set aside at room temperature so it stays spreadable.
- Preheat your grill to medium-high heat (around 375-400°F). While the grill heats, tear off 6 pieces of heavy-duty aluminum foil, each about 12 inches long. Place one ear of corn in the center of each foil piece, then divide the herb butter from Step 1 evenly among the 6 ears, spreading it generously over the top and sides of each corn cob. Wrap each ear tightly in foil, making sure the seams are sealed to trap the steam and butter inside.
- Place the foil-wrapped corn directly on the grill grates with the lid closed. I like to rotate each ear a quarter turn every 2-3 minutes to ensure even cooking and prevent any side from charring too much. This rotation keeps the butter heating evenly around the corn. Grill for 15-20 minutes total until the corn is tender when pierced with a fork (you can carefully unwrap a small corner of foil to test).
- Carefully remove the corn from the grill using tongs, as the foil will be very hot and the steam inside will be intense. Let the corn rest in the foil for 1-2 minutes to allow the butter to fully absorb into the kernels. Unwrap the foil away from your face to avoid the hot steam, then serve immediately while warm.


