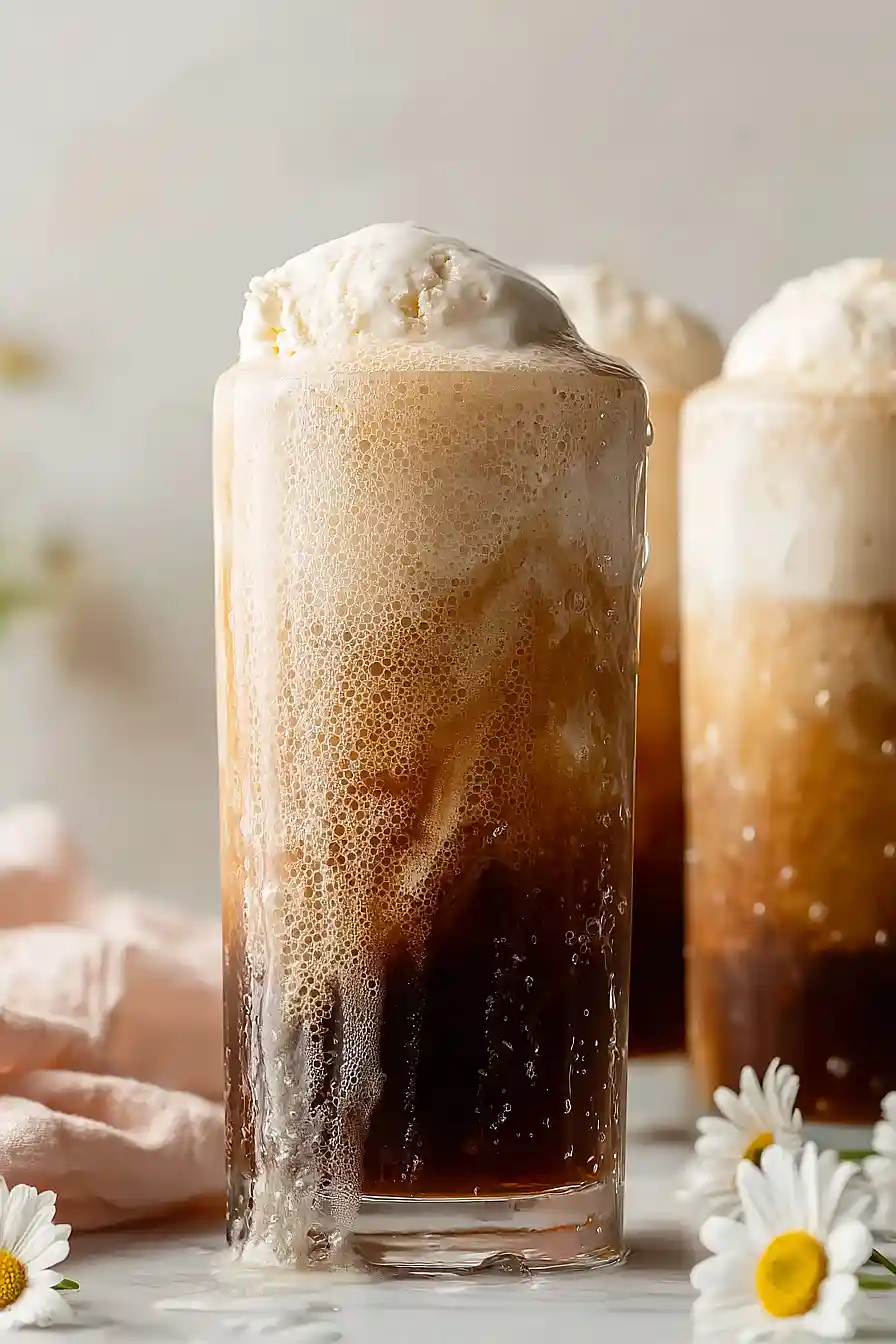
There’s something about a root beer float that just takes you back to simpler times. Maybe it’s memories of summer afternoons at the local diner, or treating yourself after a long day at the pool. Whatever it is, this classic drink never gets old.
The best part? You don’t need any special skills or fancy equipment to make one at home. With just a few basic ingredients and about two minutes of your time, you can whip up a float that’s even better than what you’d get at an old-fashioned soda shop. Plus, this version has a little twist with whipped cream and a pinch of sea salt that really makes the flavors pop.
Why You’ll Love This Root Beer Float
- Ready in minutes – This classic treat takes less than 5 minutes to make, perfect for when you need a quick dessert or afternoon pick-me-up.
- Just two main ingredients – All you need is vanilla ice cream and root beer to create this nostalgic favorite that tastes like childhood.
- No cooking required – There’s no baking, no stovetop work, and no special equipment needed—just scoop, pour, and enjoy.
- Kid-friendly dessert – Children love making these themselves, and it’s a fun way to get them involved in the kitchen without any mess or complicated steps.
What Kind of Root Beer Should I Use?
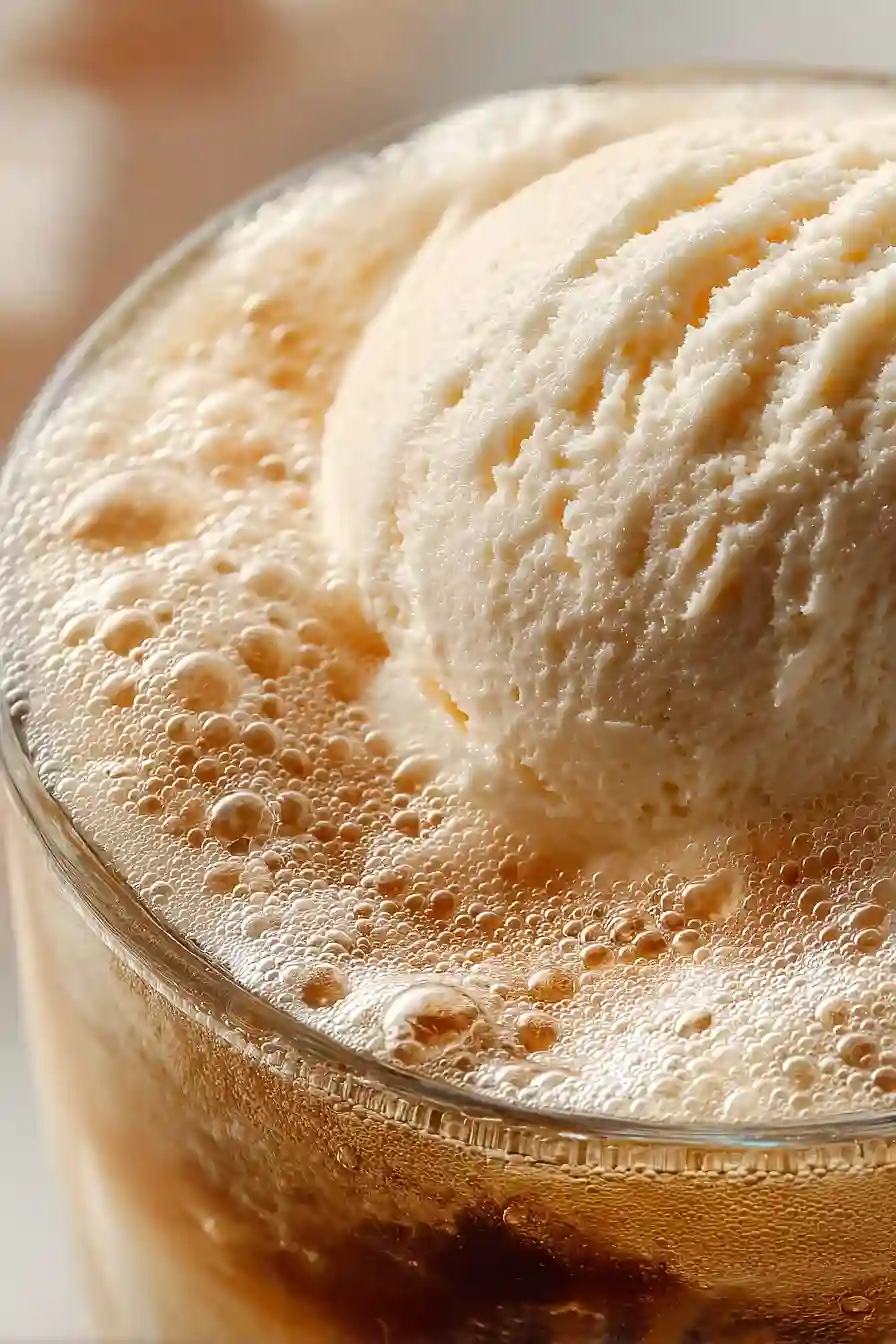
You can use any brand of root beer you like for this recipe, though A&W is a classic choice that many people grew up with. If you prefer a stronger root beer flavor, go for a craft or artisanal brand – they tend to have more complex, robust flavors compared to mainstream options. Some folks even like using diet root beer to cut down on sugar, and it works just fine. The most important thing is to make sure your root beer is ice cold before you pour it over the ice cream, as this helps create that signature foamy top that makes a root beer float so fun to drink.
Options for Substitutions
This classic treat is simple, but here are some ways you can mix things up:
- Vanilla ice cream: While vanilla is the traditional choice, you can experiment with chocolate, coffee, or even butter pecan ice cream for a fun twist. French vanilla works great too if you want a richer flavor.
- A&W Root Beer: Any brand of root beer will work fine – Barq’s, Mug, or even store brands. You can also try birch beer or sarsaparilla for a slightly different taste. For a creamier float, use diet root beer which tends to foam less.
- Whipped cream: Store-bought whipped topping or homemade whipped cream both work equally well. You can skip it entirely if you prefer a simpler float.
- Maraschino cherry: Fresh cherries work nicely when they’re in season, or you can leave the cherry off completely. Some people like adding a drizzle of chocolate syrup instead for extra sweetness.
Watch Out for These Mistakes While Making
The biggest mistake people make with root beer floats is pouring the root beer too quickly, which creates an overflowing foam volcano that ends up all over your counter – pour it slowly down the side of the glass instead.
Another common error is using room temperature root beer, but ice-cold soda keeps the ice cream from melting too fast and gives you that perfect creamy-to-fizzy ratio throughout your drink.
If you want the ideal texture, add the ice cream first and let it sit for about 30 seconds before pouring the root beer, which helps prevent excessive foaming and gives you more drinkable float instead of just foam.
Finally, don’t skip freezing your glass for at least 15 minutes beforehand – a cold glass keeps everything frosty longer and prevents the ice cream from melting into soup before you can enjoy it.
What to Serve With Root Beer Floats?
Root beer floats are pretty much a dessert on their own, but they pair really well with classic American comfort foods like burgers and hot dogs at a backyard cookout. I love serving them alongside grilled cheese sandwiches or pizza for a fun retro diner vibe that kids and adults both enjoy. If you’re going for a full dessert spread, brownies or chocolate chip cookies make great companions since the creamy vanilla ice cream balances out the richer chocolate flavors. Root beer floats are also perfect after a plate of nachos or wings during game day, giving everyone a sweet and refreshing way to cool down.
Storage Instructions
Best Enjoyed Fresh: Root beer floats are definitely a make-and-serve kind of treat. The fizzy root beer and creamy ice cream combo is at its best when you drink it right away, while it’s still bubbly and cold. If you let it sit too long, the ice cream melts and the carbonation fizzles out, so grab a straw and dig in!
Prep Ahead: While you can’t really store a finished float, you can definitely prep for it. Keep your root beer chilled in the fridge and your ice cream in the freezer so everything’s ready to go. I like to pop my serving glasses in the freezer for about 15 minutes before making the floats too—it keeps them extra cold and frosty.
| Preparation Time | 5-10 minutes |
| Cooking Time | 0 minutes |
| Total Time | 5-10 minutes |
| Level of Difficulty | Easy |
| Servings | 1 glass |
Estimated Nutrition
Estimated nutrition for the whole recipe (without optional ingredients):
- Calories: 350-400
- Protein: 4-6 g
- Fat: 8-12 g
- Carbohydrates: 65-75 g
Ingredients
- 3 scoops vanilla bean ice cream
- 10 oz root beer, chilled
- 1/4 cup heavy whipped cream
- 1 maraschino cherry with stem
- 1 pinch sea salt
Step 1: Chill the Glass
Place your serving glass in the freezer for at least 15 minutes before assembling the float.
A cold glass prevents the ice cream from melting too quickly when you add the chilled root beer, keeping your float at the perfect consistency for longer.
If you’re short on time, fill the glass with ice for a few minutes, then empty it just before use.
Step 2: Scoop and Assemble the Float
- 3 scoops vanilla bean ice cream
- 10 oz root beer, chilled
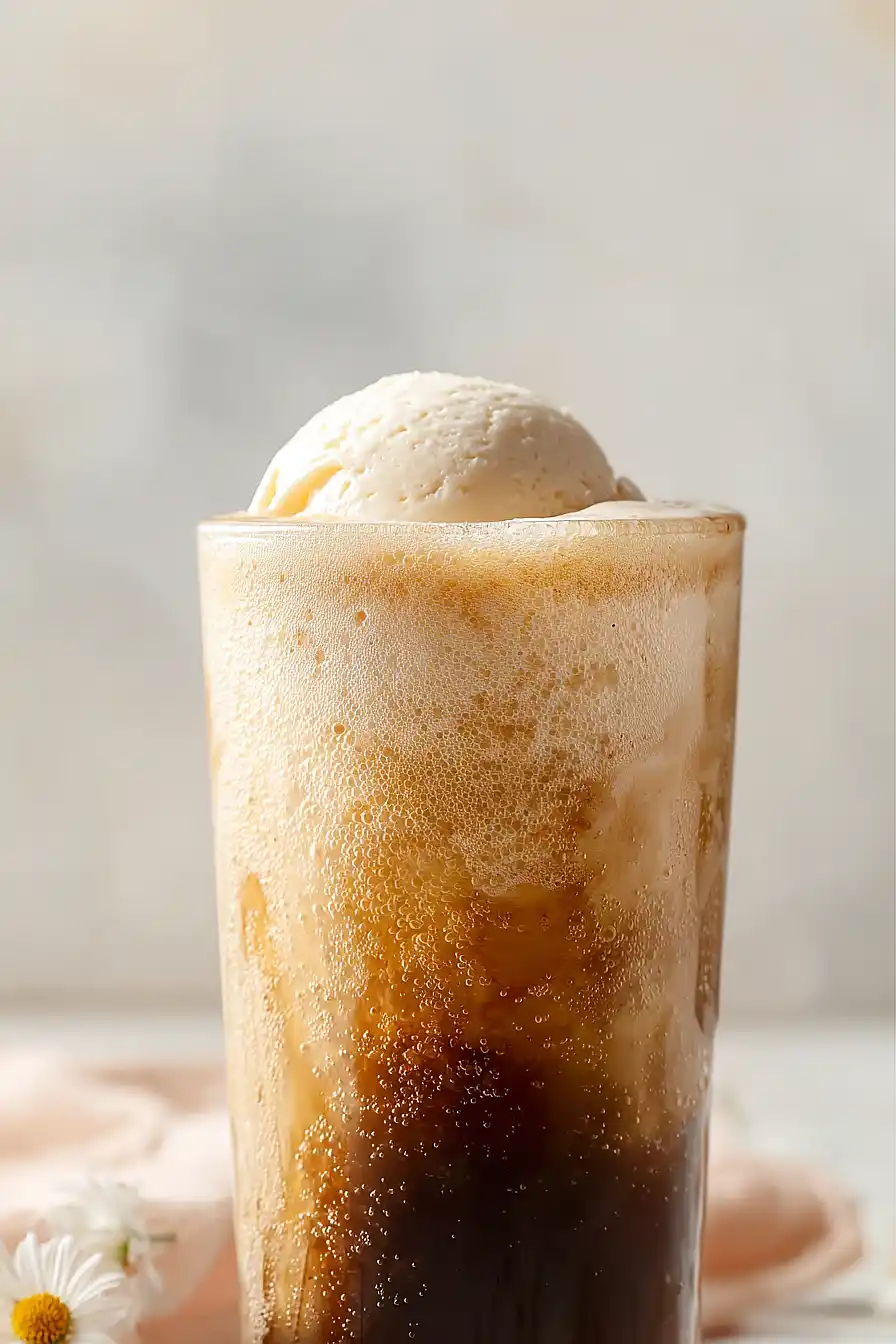
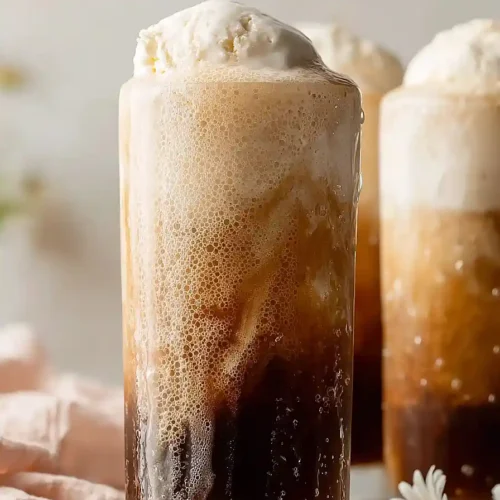
Remove the chilled glass from the freezer and add 3 scoops of vanilla bean ice cream directly into it.
Pour the chilled root beer slowly over the ice cream, tilting the glass slightly as you pour to control the foam and allow the root beer to blend gently with the melting ice cream.
The slow pour creates a better distribution of flavors and prevents excessive overflow.
I like to pause between pours to let the foam settle, then continue—this technique gives you a fuller glass in the end.
Step 3: Top and Garnish
- 1/4 cup heavy whipped cream
- 1 maraschino cherry with stem
- 1 pinch sea salt
Crown the float with a generous dollop of whipped cream, then place the maraschino cherry with stem on top of the cream.
Finish with a pinch of sea salt sprinkled over the whipped cream—the salt enhances the sweetness of the cherry and adds a subtle sophistication to this classic treat.
Traditional Root Beer Float
Ingredients
- 3 scoops vanilla bean ice cream
- 10 oz root beer, chilled
- 1/4 cup heavy whipped cream
- 1 maraschino cherry with stem
- 1 pinch sea salt
Instructions
- Place your serving glass in the freezer for at least 15 minutes before assembling the float. A cold glass prevents the ice cream from melting too quickly when you add the chilled root beer, keeping your float at the perfect consistency for longer. If you're short on time, fill the glass with ice for a few minutes, then empty it just before use.
- Remove the chilled glass from the freezer and add 3 scoops of vanilla bean ice cream directly into it. Pour the chilled root beer slowly over the ice cream, tilting the glass slightly as you pour to control the foam and allow the root beer to blend gently with the melting ice cream. The slow pour creates a better distribution of flavors and prevents excessive overflow. I like to pause between pours to let the foam settle, then continue—this technique gives you a fuller glass in the end.
- Crown the float with a generous dollop of whipped cream, then place the maraschino cherry with stem on top of the cream. Finish with a pinch of sea salt sprinkled over the whipped cream—the salt enhances the sweetness of the cherry and adds a subtle sophistication to this classic treat.


