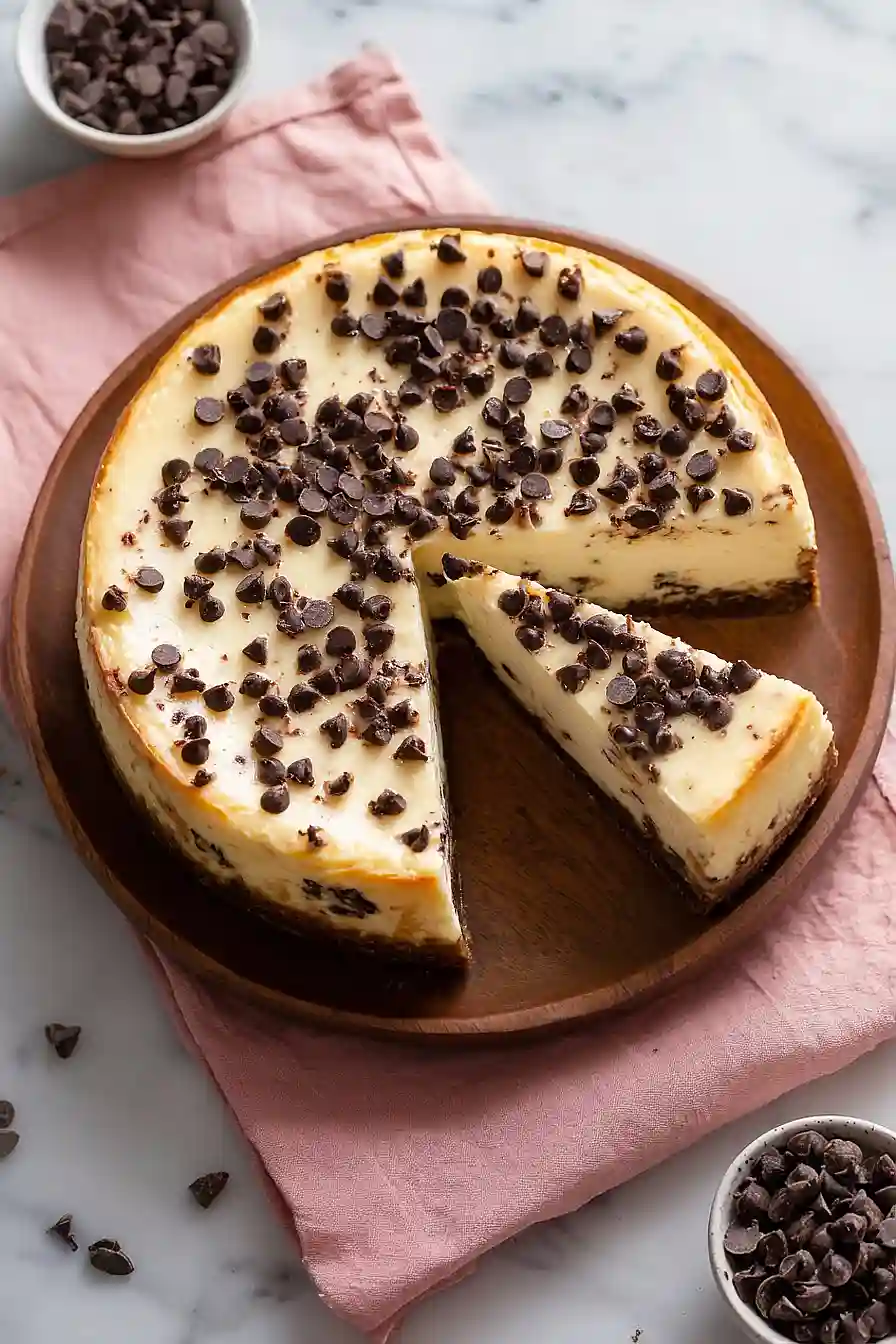
I’ve always loved cheesecake, but I don’t always love how I feel after eating half of one in a single sitting. Don’t judge me—I know you’ve been there too. The problem is that regular cheesecake is basically pure sugar and fat, which means the guilt kicks in before I’ve even put my fork down.
That’s why I started making high protein cheesecake. It has all the creamy, rich taste of regular cheesecake, but with way more protein and less sugar. I can actually feel good about having a second slice. Or a third. The secret is swapping out some of the cream cheese for Greek yogurt and adding protein powder.
The best part? Nobody can tell it’s a healthier version. I’ve served this at family dinners and parties, and people always ask for the recipe. They’re shocked when I tell them what’s in it.
Why You’ll Love This High Protein Cheesecake
- High protein content – With protein powder and Greek yogurt, this cheesecake packs way more protein than traditional versions, making it a smarter dessert choice that actually helps you hit your daily goals.
- Simple ingredients – You only need five basic ingredients to make this cheesecake, and you probably already have most of them in your kitchen.
- Quick to make – Ready in under an hour, this recipe is much faster than you’d expect for a homemade cheesecake.
- Guilt-free indulgence – You can enjoy a slice of creamy cheesecake without derailing your healthy eating habits, making it perfect for anyone watching their nutrition.
What Kind of Cream Cheese Should I Use?
For this high protein cheesecake, you’ll want to use full-fat cream cheese that’s been softened to room temperature before mixing. The brick-style cream cheese (like Philadelphia) works better than the spreadable tub varieties since it has a firmer texture that holds up well in baking. Make sure your cream cheese is truly softened – not melted – so it blends smoothly without lumps. If you’re in a pinch and forgot to take it out ahead of time, you can cut it into smaller cubes and let it sit for about 30 minutes, or microwave it in short 10-second bursts until it’s soft but not warm.
Options for Substitutions
This protein-packed cheesecake is pretty adaptable, so here are some swaps you can make:
- Cream cheese: You can use Neufchâtel cheese (the lighter version of cream cheese) or even mascarpone for a richer texture. Make sure whatever you use is at room temperature before mixing.
- Yogurt: Greek yogurt works great here, but regular yogurt, sour cream, or even cottage cheese (blended until smooth) can work too. If using cottage cheese, blend it really well to avoid lumps.
- Protein powder: Any flavor works, but vanilla or unflavored blends in best. If you don’t have protein powder, you can skip it, but you’ll need to add about 1/4 cup more yogurt or cream cheese to maintain the texture.
- Sweetener: Whether you’re using erythritol, stevia, monk fruit, or regular sugar, they all work here. Just keep in mind that different sweeteners have different levels of sweetness, so you might need to adjust the amount to taste.
- Vanilla essence: Vanilla extract works just as well as essence. You can also try almond extract (use half the amount) or skip it entirely if you’re adding other flavors like cocoa powder or fruit.
Watch Out for These Mistakes While Baking
The biggest mistake when making high protein cheesecake is adding cold cream cheese to your mixture, which creates lumps that are nearly impossible to smooth out – make sure your cream cheese sits at room temperature for at least an hour before you start.
Overmixing the batter once you add the protein powder can create a grainy texture and incorporate too much air, leading to cracks on the surface, so mix just until everything is combined and no streaks remain.
Skipping the water bath or removing the cheesecake from the oven too quickly causes dramatic temperature changes that result in a cracked top and sunken center, so resist the urge to peek and let it cool gradually in the oven with the door closed.
For the smoothest texture, tap the pan gently on the counter before baking to release any air bubbles trapped in the batter.
What to Serve With High Protein Cheesecake?
This high protein cheesecake is rich and creamy enough to stand on its own, but a handful of fresh berries on top makes it even better. I love adding strawberries, blueberries, or raspberries right before serving because the tartness cuts through the sweetness perfectly. If you want something a bit more indulgent, drizzle some sugar-free chocolate sauce or a spoonful of fruit compote over each slice. A cup of black coffee or unsweetened tea also pairs really well with this dessert, especially if you’re keeping things on the lighter side.
Storage Instructions
Store: Keep your cheesecake covered in the fridge for up to 5 days. I like to wrap it tightly with plastic wrap or keep it in an airtight container so it doesn’t pick up any funky fridge smells. It actually tastes better after sitting overnight since the flavors have time to come together.
Freeze: This cheesecake freezes really well for up to 2 months. I usually slice it first and wrap individual pieces in plastic wrap, then put them all in a freezer bag. That way you can grab just one slice whenever you want a sweet treat without thawing the whole thing.
Thaw: When you want to eat a frozen slice, just move it to the fridge and let it thaw overnight. If you’re in a hurry, you can leave it on the counter for about 30 minutes, but I think the texture is better when it thaws slowly in the fridge.
| Preparation Time | 15-20 minutes |
| Cooking Time | 35-40 minutes |
| Total Time | 50-60 minutes |
| Level of Difficulty | Medium |
| Servings | 8 slices |
Estimated Nutrition
Estimated nutrition for the whole recipe (without optional ingredients):
- Calories: 2600-2900
- Protein: 140-170 g
- Fat: 170-200 g
- Carbohydrates: 100-130 g
Ingredients
- 26 oz cream cheese (softened to room temperature)
- 2 cups yogurt (I use Fage Total 0% Plain Greek Yogurt)
- 1/2 cup protein powder (vanilla flavored or unflavored)
- 3/4 cup sweetener
- 3 tsp vanilla extract
- 1/4 tsp salt
Step 1: Prepare the Oven and Water Bath
Preheat your oven to 350°F and position one rack in the lower third and another in the center.
Fill a larger roasting pan or baking dish with water until it’s about two-thirds full, then carefully place it on the lower rack.
This water bath will create steam during baking, which keeps the cheesecake moist and prevents cracking—a crucial step for a creamy texture.
Step 2: Prepare the Springform Pan
While the oven preheats, prepare your 9-inch springform pan with a crust of your choice (graham cracker crust is traditional).
Press it firmly and evenly into the bottom of the pan, then set aside.
If you prefer a crustless cheesecake, you can skip this step and simply grease the pan lightly.
Step 3: Mix the Cheesecake Filling
- 26 oz cream cheese
- 2 cups yogurt
- 1/2 cup protein powder
- 3/4 cup sweetener
- 3 tsp vanilla extract
- 1/4 tsp salt
In a large bowl, combine the softened cream cheese, Greek yogurt, protein powder, sweetener, vanilla extract, and salt.
Using an electric mixer on medium speed, beat for 2-3 minutes until the mixture is completely smooth and creamy with no lumps.
I like to scrape down the sides of the bowl halfway through to ensure everything is evenly incorporated.
Avoid overbeating, as this can incorporate too much air and cause cracks.
Step 4: Pour and Bake the Cheesecake
- cheesecake filling from Step 3
Spread the filling mixture evenly into the prepared springform pan, smoothing the top with a spatula.
Place the pan on the center rack of your preheated oven, directly above the water bath.
Bake for 30 minutes until the edges are set but the center still has a slight jiggle when gently shaken—this indicates the cheesecake is cooked perfectly without being overdone.
Step 5: Cool Gently in the Oven
Turn off the oven and crack the door open about 2 inches.
Let the cheesecake sit in the warm oven for 5 minutes.
I always do this gentle cooling step because it allows the internal temperature to decrease gradually, which prevents the sudden temperature shock that causes cracks to form on the surface.
Step 6: Cool Completely at Room Temperature
Remove the cheesecake from the oven and place it on the counter to cool completely, about 1-2 hours.
Once cooled to room temperature, refrigerate for at least 4 hours or overnight before serving.
This resting time allows the filling to set properly and develop its full creamy texture.
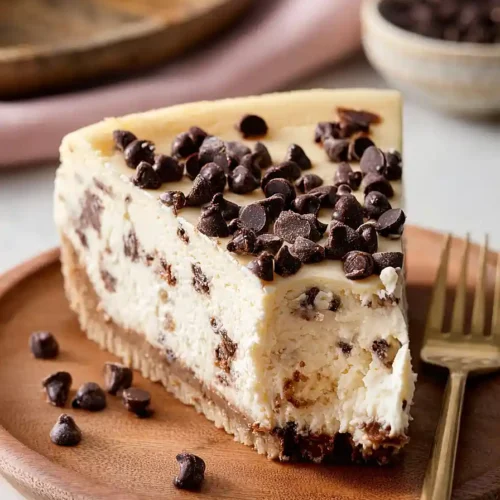
Creamy High Protein Cheesecake
Ingredients
- 26 oz cream cheese (softened to room temperature)
- 2 cups yogurt (I use Fage Total 0% Plain Greek Yogurt)
- 1/2 cup protein powder (vanilla flavored or unflavored)
- 3/4 cup sweetener
- 3 tsp vanilla extract
- 1/4 tsp salt
Instructions
- Preheat your oven to 350°F and position one rack in the lower third and another in the center. Fill a larger roasting pan or baking dish with water until it's about two-thirds full, then carefully place it on the lower rack. This water bath will create steam during baking, which keeps the cheesecake moist and prevents cracking—a crucial step for a creamy texture.
- While the oven preheats, prepare your 9-inch springform pan with a crust of your choice (graham cracker crust is traditional). Press it firmly and evenly into the bottom of the pan, then set aside. If you prefer a crustless cheesecake, you can skip this step and simply grease the pan lightly.
- In a large bowl, combine the softened cream cheese, Greek yogurt, protein powder, sweetener, vanilla extract, and salt. Using an electric mixer on medium speed, beat for 2-3 minutes until the mixture is completely smooth and creamy with no lumps. I like to scrape down the sides of the bowl halfway through to ensure everything is evenly incorporated. Avoid overbeating, as this can incorporate too much air and cause cracks.
- Spread the filling mixture evenly into the prepared springform pan, smoothing the top with a spatula. Place the pan on the center rack of your preheated oven, directly above the water bath. Bake for 30 minutes until the edges are set but the center still has a slight jiggle when gently shaken—this indicates the cheesecake is cooked perfectly without being overdone.
- Turn off the oven and crack the door open about 2 inches. Let the cheesecake sit in the warm oven for 5 minutes. I always do this gentle cooling step because it allows the internal temperature to decrease gradually, which prevents the sudden temperature shock that causes cracks to form on the surface.
- Remove the cheesecake from the oven and place it on the counter to cool completely, about 1-2 hours. Once cooled to room temperature, refrigerate for at least 4 hours or overnight before serving. This resting time allows the filling to set properly and develop its full creamy texture.


